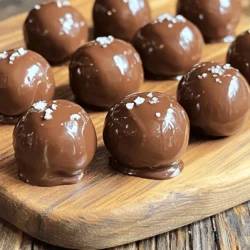
Chocolate Peanut Butter Protein Balls
Indulge in these delicious Chocolate Peanut Butter Protein Balls that are perfect for a quick snack or post-workout boost! Made with wholesome ingredients like oats, natural peanut butter, and dark chocolate chips, these treats are not only easy to make but also packed with protein. In just 10 minutes, you can create a delightful batch that will satisfy your cravings. Click to explore the full recipe and elevate your snack game!