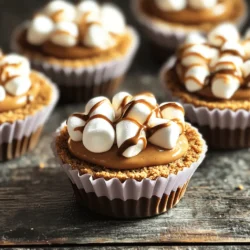
Craving a sweet treat that blends rich flavors with a crunchy twist? Let me introduce you to Peanut Butter S’mores Cups! These delightful desserts combine creamy peanut butter, melty chocolate, and gooey marshmallows—all tucked in a buttery graham cracker crust. They’re easy to make and perfect for both kids and adults. Ready to impress your taste buds? Let’s dive into the delicious steps to create this irresistible dessert!
Ingredients
To make Peanut Butter S’mores Cups, you need a few simple ingredients. Each one adds a special touch to the treat. Here’s what you will need:
– 1 cup graham cracker crumbs
– 1/4 cup granulated sugar
– 1/3 cup unsalted butter, melted
– 1 cup creamy peanut butter
– 1 cup mini marshmallows
– 1 cup semi-sweet chocolate chips
– 1 teaspoon vanilla extract
– Pinch of salt
Each ingredient plays a key role. The graham cracker crumbs create a crunchy base. Sugar adds sweetness, while melted butter binds it all together. Creamy peanut butter gives a rich flavor that pairs perfectly with the other ingredients.
Mini marshmallows add a soft texture and sweetness. Semi-sweet chocolate chips melt into a gooey layer on top, making each bite delightful. Vanilla extract enhances the overall taste, and a pinch of salt balances the sweetness.
You can find most of these items at your local grocery store. Having everything ready will make the process smooth and fun. Enjoy mixing these ingredients to create a treat everyone loves!
Step-by-Step Instructions
Preheating the Oven
Start by preheating your oven to 350°F (175°C). This step is key for a great bake. While the oven warms up, line a muffin tin with paper liners. This makes it easy to remove the cups later.
Preparing the Graham Cracker Crust
In a medium bowl, mix together:
– 1 cup graham cracker crumbs
– 1/4 cup granulated sugar
– 1/3 cup unsalted butter, melted
Stir until it looks like wet sand. Use about 1 tablespoon of this mix for each muffin liner. Press it down firmly with a spoon to create a solid crust. Bake this in the oven for about 5 minutes. Let it cool a little before adding the next layers.
Assembling the Layers
In another bowl, mix:
– 1 cup creamy peanut butter
– 1 teaspoon vanilla extract
– A pinch of salt
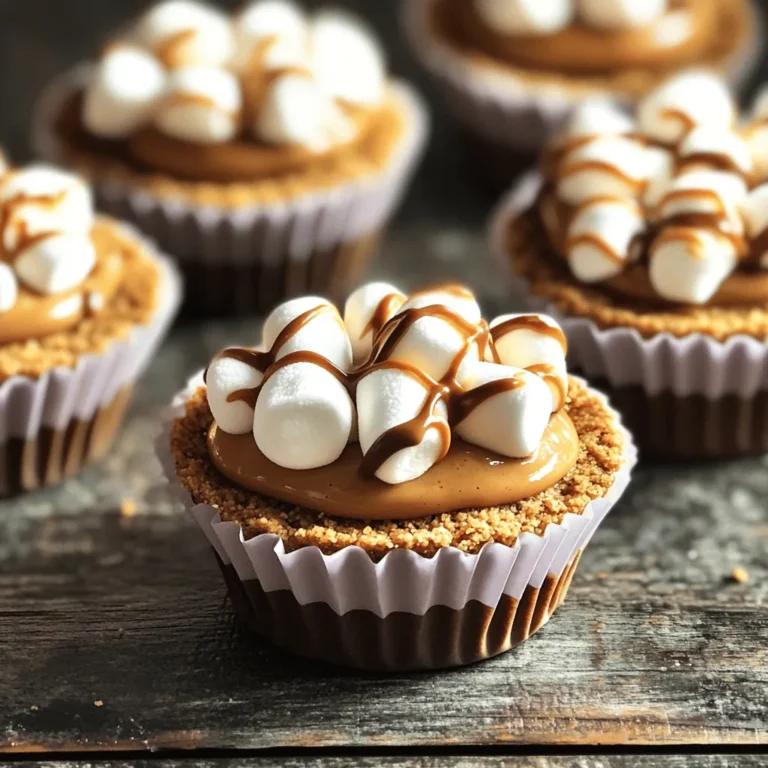
Stir until it’s smooth. Spoon about 1 tablespoon of this peanut butter mix over each crust. Smooth it out so it’s even. Next, add a generous amount of mini marshmallows on top.
Melt 1 cup of semi-sweet chocolate chips in a microwave-safe bowl. Heat them in 30-second bursts, stirring each time until they’re smooth. Drizzle the melted chocolate over the marshmallows, covering them well.
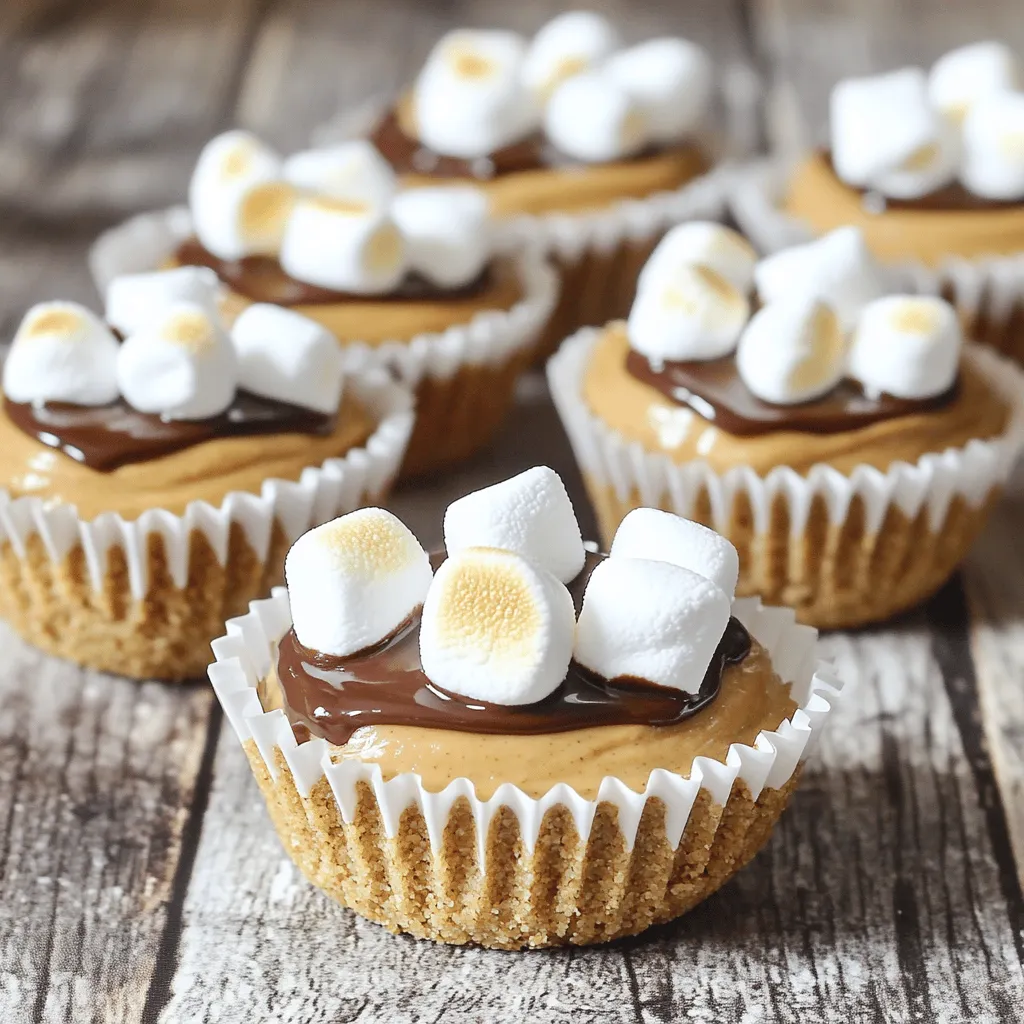
Return the cups to the oven and bake them for another 5 minutes. You want the marshmallows to be golden and gooey. After that, let them cool for at least 10 minutes. Then, transfer them to the fridge for 30 minutes to set. Finally, remove the cups from the muffin tin and enjoy your treat!
Tips & Tricks
Best Practices for Melting Chocolate
To melt chocolate, use a microwave-safe bowl. Microwave in 30-second bursts. Stir well between each burst. This method helps avoid burning. You want the chocolate smooth and creamy. If it gets too thick, add a small amount of vegetable oil to loosen it. Always scrape the sides of the bowl to mix in any unmelted bits. This ensures a perfect drizzle over your marshmallows.
How to Store Leftovers
To store leftover Peanut Butter S’mores Cups, place them in an airtight container. Keep them in the fridge for best freshness. They stay good for about a week. If you want to enjoy them later, let them sit at room temperature for a few minutes before eating. This helps soften them a bit for that perfect bite.
Customization Ideas
You can easily customize these cups to fit your taste. Try different nut butters like almond or cashew for a new twist. Add toppings like chopped nuts or dried fruits for extra crunch. If you like a bit of spice, sprinkle in some cinnamon or sea salt. You can even swap out mini marshmallows for larger ones, or use flavored chocolate chips for added fun. The options are endless!
Variations
Swapping Flavors: Alternate Nut Butters
You can change up the nut butter in this recipe. Almond butter works great too. Cashew butter gives a creamy twist. Sunflower seed butter is perfect for allergies. Each choice adds its own flavor. Just ensure the nut butter is creamy for easy spreading.
Adding Toppings: Nuts and Dried Fruits
Want to add more crunch? Sprinkle chopped nuts on top! Walnuts or pecans add nice flavor. You can also use dried fruits, like cranberries or raisins. These toppings add a fun twist. They bring both taste and texture to your Peanut Butter S’mores Cups.
Gluten-Free Options
For a gluten-free treat, use gluten-free graham crackers. These are widely available now. Check the label to ensure they are certified gluten-free. This keeps your dessert safe for everyone. You still get the same great taste without gluten.
Storage Info
Best Way to Store Peanut Butter S’mores Cups
Store your Peanut Butter S’mores Cups in an airtight container. Keep them in the fridge. This helps them stay fresh and firm. If you plan to eat them later, make sure they are fully cooled before sealing.
How Long Do They Last?
These treats will last about five days in the fridge. They taste best when enjoyed fresh, but they still hold up well. Just remember to check for any changes in texture or flavor before eating.
Reheating Instructions
If you want to warm them up, use the microwave. Heat for about 10-15 seconds. Keep an eye on them to avoid melting too much. You want the chocolate soft, not a gooey mess. Enjoy them warm for a cozy treat!
FAQs
Can I make Peanut Butter S’mores Cups ahead of time?
Yes, you can make Peanut Butter S’mores Cups ahead of time. Prepare them and store them in the fridge. They stay fresh for up to three days. Just make sure to keep them in an airtight container. This way, you can enjoy them whenever you want.
What can I use instead of graham crackers?
If you don’t have graham crackers, use crushed cookies or cereal. Chocolate cookies work great for a richer taste. You can also try vanilla wafers for a different flavor. Just crush them to the same size as graham cracker crumbs. The texture will still be nice and crunchy.
Can I freeze Peanut Butter S’mores Cups?
Yes, you can freeze Peanut Butter S’mores Cups! First, let them cool completely. Then, wrap each cup in plastic wrap. Place them in a freezer-safe container. They will last for up to two months. When ready to eat, let them thaw in the fridge overnight. Enjoy them chilled or at room temperature!
This guide covered how to make delicious Peanut Butter S’mores Cups. We explored ingredients, step-by-step instructions, and tips to make your treats perfect. Whether you want to swap flavors or store leftovers, you have options. Remember, these cups are not only tasty but also fun to customize. Enjoy making these simple desserts with friends and family. Happy cooking!