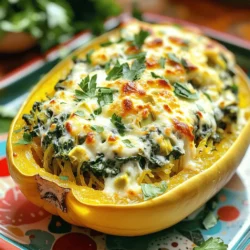
Are you ready to enjoy a delicious and healthy twist on your favorite comfort food? In this blog post, I’ll guide you through making Spinach Artichoke Stuffed Spaghetti Squash Delight. This dish packs flavor, nutrition, and fun! Whether you are gluten-free or a busy parent, you’ll find tips, tricks, and variations to suit everyone. Let’s dive into this delightful recipe and make mealtime exciting again!
Ingredients
List of Ingredients
– 1 large spaghetti squash
– 2 cups fresh spinach, chopped
– 1 cup canned artichoke hearts, drained and chopped
– 1 cup cream cheese, softened
– 1/2 cup sour cream
– 1 cup shredded mozzarella cheese
– 1/4 cup grated Parmesan cheese
– 2 cloves garlic, minced
– 1 teaspoon lemon juice
– 1/2 teaspoon red pepper flakes (optional)
– Salt and pepper to taste
– Olive oil for drizzling
Suggested Ingredient Brands
For the best flavors, I recommend these brands:
– Spaghetti Squash: Look for fresh, firm squash from your local farmer’s market.
– Cream Cheese: Philadelphia is a classic choice for smooth texture.
– Mozzarella Cheese: Galbani offers creamy, melt-in-your-mouth cheese.
– Artichoke Hearts: Del Monte offers quality canned artichokes.
– Sour Cream: Daisy is a great pick for rich flavor.
Nutritional Information Overview
Each serving of Spinach Artichoke Stuffed Spaghetti Squash is packed with nutrients. Here’s a quick look:
– Calories: Approximately 300
– Protein: 12g
– Carbohydrates: 18g
– Fat: 22g
– Fiber: 4g
– Vitamins: High in Vitamin A from spinach and healthy fats from cheese.
This dish is a wonderful choice for a healthy meal. You get fiber from the squash and greens, plus protein from cheese. Enjoy the taste while nourishing your body!
Step-by-Step Instructions
Preparation of Spaghetti Squash
Start by preheating your oven to 400°F (200°C). This step warms the oven for the squash. Next, take a large spaghetti squash and cut it in half lengthwise. Be careful with the knife! Scoop out the seeds using a spoon. Drizzle a bit of olive oil on the cut sides. Then, sprinkle salt and pepper on top for flavor. Place the squash halves cut-side down on a baking sheet. Roast them in the oven for about 30-40 minutes. You want them to be fork-tender when done.
Making the Spinach Artichoke Filling
While the squash roasts, it’s time to make the filling. Heat a drizzle of olive oil in a large skillet over medium heat. Add two cloves of minced garlic and sauté for about one minute until you smell the garlic. Then, add two cups of chopped fresh spinach and one cup of drained and chopped canned artichoke hearts. Cook until the spinach wilts, which should take about 3-4 minutes.
In a mixing bowl, combine the sautéed spinach and artichokes with one cup of softened cream cheese, half a cup of sour cream, half a cup of shredded mozzarella cheese, and a quarter cup of grated Parmesan cheese. Add one teaspoon of lemon juice and, if you like spice, half a teaspoon of red pepper flakes. Mix everything well until it’s smooth. Taste and add salt and pepper as needed.
Combining and Baking the Dish
Once the spaghetti squash is done, remove it from the oven. Use a fork to scrape the squash strands loose from the skin. Mix these strands with your creamy spinach-artichoke filling until well combined. Pour this mixture back into the squash halves. Don’t forget to top with the remaining half cup of mozzarella cheese!
Return the stuffed squash to the oven and bake for an additional 15-20 minutes. You’re looking for the cheese to be bubbly and golden. When it’s ready, take it out and let it cool slightly before serving. Enjoy your Spinach Artichoke Stuffed Spaghetti Squash!
Tips & Tricks
Best Cooking Techniques for Spaghetti Squash
When cooking spaghetti squash, the goal is to make it tender and easy to shred. Start by preheating your oven to 400°F (200°C). Cut the squash in half lengthwise, and scoop out the seeds. Drizzle olive oil on the cut sides and sprinkle salt and pepper. Place the squash cut-side down on a baking sheet. This method helps steam the squash, making it soft and fluffy inside. Roast for about 30-40 minutes, until you can easily pierce it with a fork.
How to Prevent Sogginess in the Filling
To avoid a soggy filling, make sure to drain and chop the artichoke hearts well. Excess water from the artichokes can make the mixture too watery. Also, cook the spinach until just wilted. If you overcook it, it releases too much water. Lastly, use cream cheese and sour cream that are at room temperature. This helps them mix better and prevents adding extra moisture.
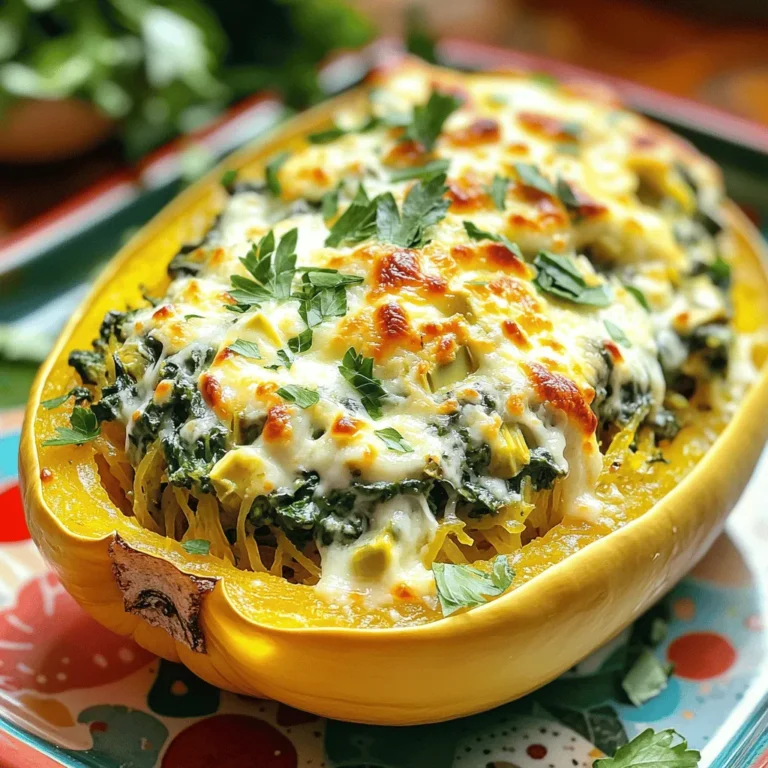
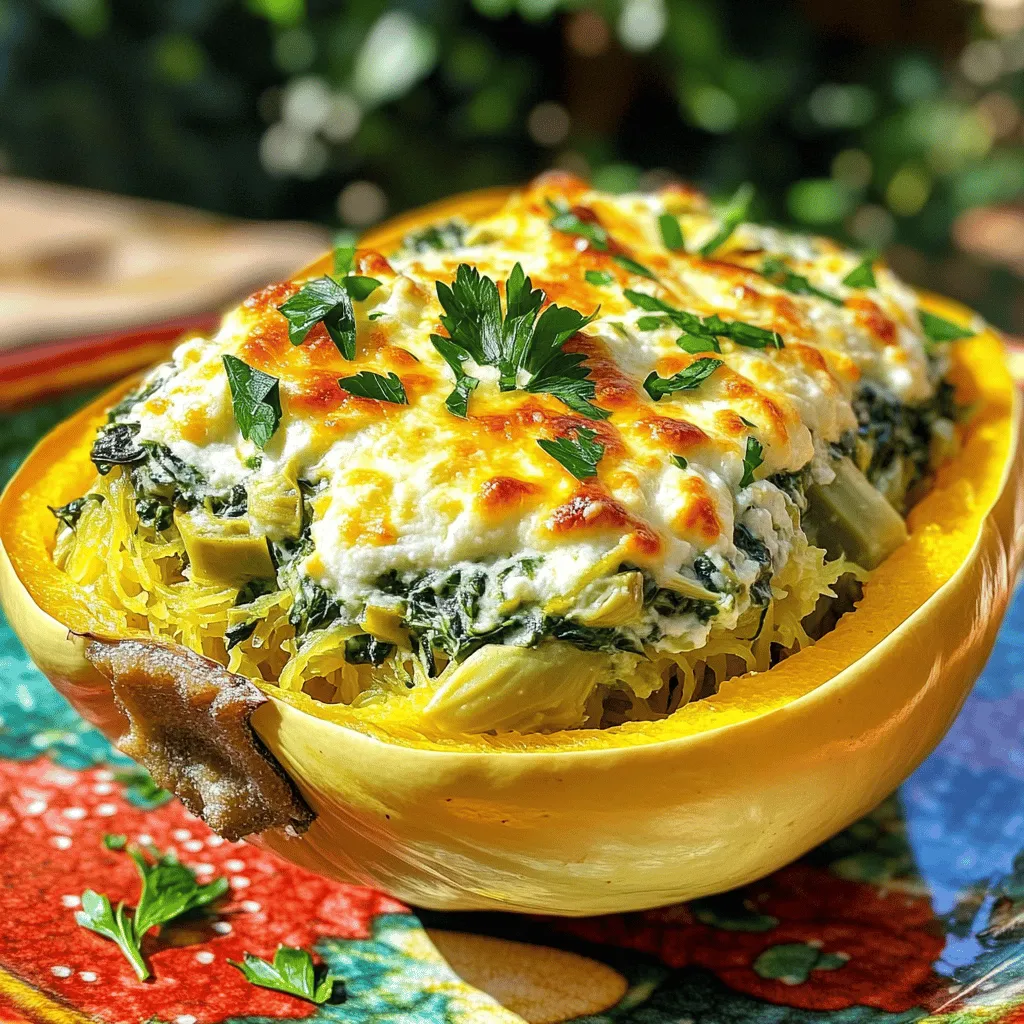
Presentation Tips for Serving
For a stunning presentation, serve the stuffed squash on a colorful platter. After baking, let it cool slightly. Garnish with fresh herbs like parsley or basil to add a pop of color. You can also sprinkle some extra Parmesan cheese on top for a nice touch. This not only makes your dish look appetizing but also enhances the flavors, making it a feast for the eyes and the palate.
Variations
Gluten-Free Options
This dish is already gluten-free! The main ingredients, like spinach, artichokes, and spaghetti squash, have no gluten. Just be sure to check your cream cheese and sour cream labels. Most brands are gluten-free, but it’s wise to confirm. You can enjoy this recipe without worry!
Vegan Adaptations
To make this dish vegan, swap out the cream cheese and sour cream with vegan alternatives. Look for brands that use nuts or tofu to create creamy textures. Instead of mozzarella and Parmesan, you can use vegan cheese or nutritional yeast for a cheesy flavor. This keeps the dish rich and satisfying while sticking to vegan guidelines.
Additional Flavor Boosters
Want to make your stuffed squash even tastier? Here are some ideas:
– Herbs: Fresh herbs like basil or thyme add a nice touch.
– Spices: Add a pinch of smoked paprika for a hint of heat.
– Nuts: Chopped walnuts or pine nuts can give a crunchy texture.
– Lemon Zest: Grate some lemon zest for a bright, fresh flavor.
– Sun-Dried Tomatoes: These can add a delicious sweet-tart flavor to the mix.
Experiment with these variations to find your favorite twist on this classic dish!
Storage Info
Storing Leftovers
After you enjoy your Spinach Artichoke Stuffed Spaghetti Squash, let it cool down. Place any leftovers in an airtight container. This keeps them fresh and tasty. Store in the fridge for up to three days. Label the container with the date to track freshness.
Reheating Instructions
To reheat, take the stuffed squash from the fridge. Preheat your oven to 350°F (175°C). Place the squash in a baking dish. Cover it with foil to keep moisture in. Heat for about 20 minutes or until warm. If you’re in a hurry, you can use the microwave. Heat in short bursts, stirring in between, until warm.
Freezing Guidelines
If you want to save some for later, freezing is a great option. First, allow the stuffed squash to cool completely. Then, wrap each half tightly in plastic wrap. Place them in a freezer bag or airtight container. They can last up to three months in the freezer. When you’re ready to eat, thaw them in the fridge overnight before reheating.
FAQs
Can I use frozen spinach instead of fresh?
Yes, you can use frozen spinach. Just make sure to thaw and drain it well. This helps prevent excess water in your dish. Frozen spinach is convenient and saves time. It also packs great nutrients, just like fresh spinach.
How do I know when the spaghetti squash is cooked?
You will know the spaghetti squash is done when it feels fork-tender. After about 30-40 minutes, check by poking it with a fork. If it easily pierces the flesh, it is ready. The strands should pull apart easily, resembling spaghetti.
What can I serve with Spinach Artichoke Stuffed Spaghetti Squash?
This dish pairs well with a fresh salad. A simple side salad with mixed greens works great. You could also serve it with garlic bread or a light soup. These sides balance the rich flavors of the stuffed squash. Enjoy your meal!
This article covered how to make Spinach Artichoke Stuffed Spaghetti Squash. We talked about ingredients, brands, and nutrition. You learned step-by-step instructions for preparing the dish. I shared tips on cooking and serving it well. We also discussed gluten-free and vegan options. Finally, I provided storage tips and answered common questions.
With these insights, you can enjoy this dish with ease. Get cooking and share your results!