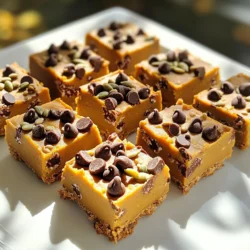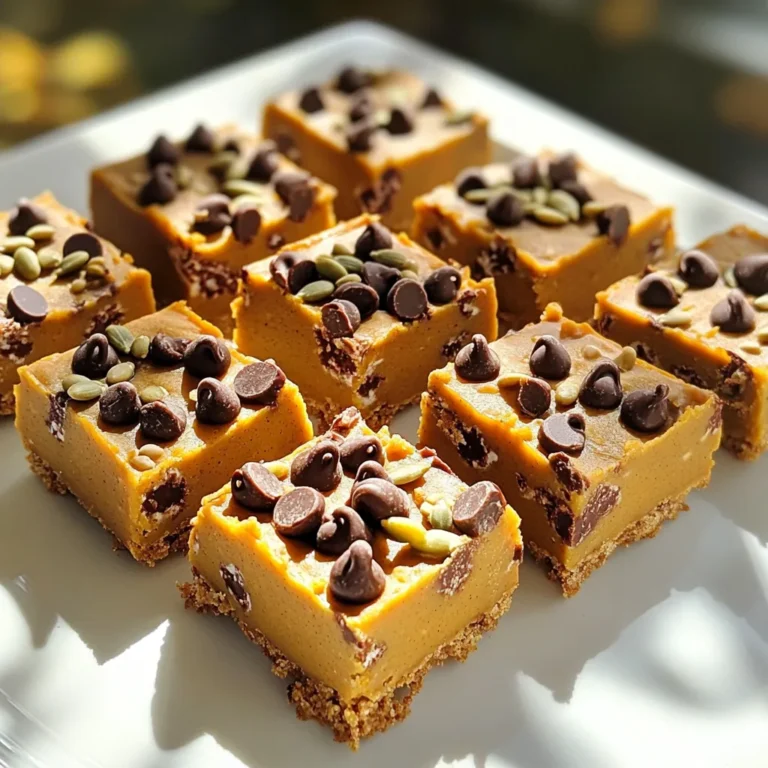

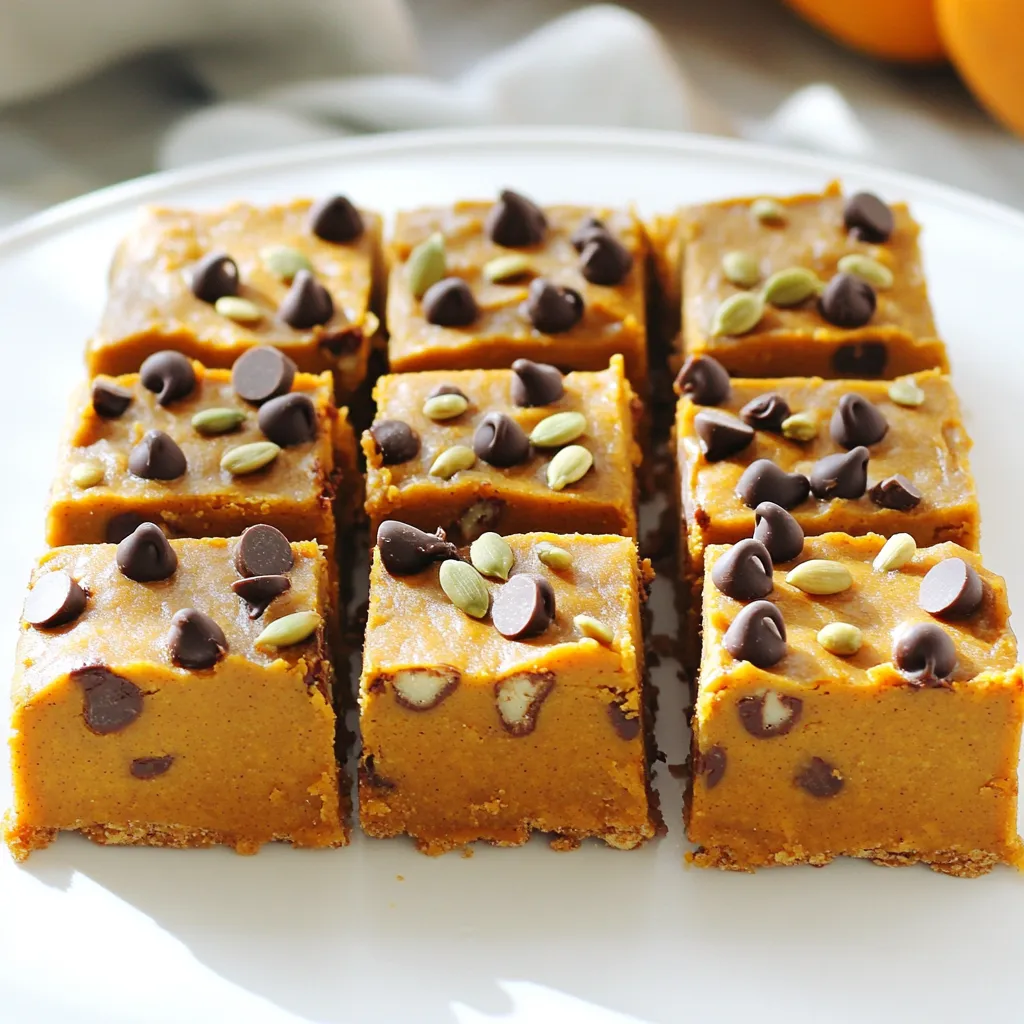
Looking for a tasty treat that’s easy to make? These No Bake Pumpkin Chocolate Chip Bars are perfect for you! With simple ingredients and no oven needed, you can whip them up in no time. Imagine rich pumpkin flavor mixed with sweet chocolate chips, all in a chewy, satisfying bar. Let’s dive into the recipe and make your new favorite dessert today!
Ingredients
Main Ingredients
– 1 cup pumpkin puree
– 1/2 cup creamy almond butter (or peanut butter)
– 1/4 cup maple syrup
– 2 teaspoons vanilla extract
Additional Ingredients
– 2 cups rolled oats
– 1/2 teaspoon pumpkin pie spice
– 1/4 teaspoon salt
– 1/2 cup mini chocolate chips
Optional Add-ins
– 1/4 cup chopped nuts (walnuts or pecans)
– Extra chocolate chips for topping
Gathering the right ingredients is key to making these no bake pumpkin chocolate chip bars. The pumpkin puree gives them a rich and creamy base. Almond butter or peanut butter adds creaminess and flavor. Maple syrup sweetens the mix, while vanilla extract brings warmth.
Next, rolled oats provide texture and help bind everything together. Pumpkin pie spice adds that classic fall flavor. A pinch of salt balances the sweetness perfectly. Finally, mini chocolate chips add delightful bites of chocolate.
For those who want a twist, consider adding chopped nuts for crunch or extra chocolate chips on top. These ingredients make this treat not just tasty but also fun to customize.
Step-by-Step Instructions
Preparation Steps
1. In a large bowl, mix the pumpkin puree, almond butter, maple syrup, and vanilla extract. This creates a creamy base.
2. Next, add rolled oats, pumpkin pie spice, and salt to the bowl. Stir until the oats are well coated.
Assembly Steps
1. Now, fold in the mini chocolate chips and optional chopped nuts. This adds a nice crunch.
2. Line an 8×8 inch baking pan with parchment paper. Leave some paper over the edges for easy removal.
3. Pour the pumpkin-oat mixture into the pan. Use a spatula to press it down evenly.
Chilling Steps
1. Place the pan in the fridge. Let it chill for at least two hours until firm.
2. Once set, lift the bars out using the parchment paper. Cut them into squares and serve.
Tips & Tricks
Perfecting the Recipe
To make sure you mix well, start with the wet ingredients. Use a big bowl for this step. Stir the pumpkin puree, almond butter, maple syrup, and vanilla extract until smooth. Then add the dry ingredients. This order helps the oats coat evenly. When you press down the mixture, use a spatula. Press firmly into the corners and make it level. This helps the bars hold together better.
Serving Suggestions
For a nice look, arrange the bars on a pretty platter. You can drizzle some extra almond butter on top. A sprinkle of pumpkin seeds adds color and crunch. These bars taste great with a warm drink. Try serving with hot apple cider or coffee.
Common Mistakes to Avoid
One mistake is oversaturating the mixture. If you add too much liquid, the bars may not set well. Stick to the recipe measurements for success. Another mistake is not chilling the bars long enough. They need at least two hours in the fridge. This helps them firm up for easy slicing.
Variations
Flavor Variations
You can change the taste of these bars easily. Add spices like cinnamon or nutmeg for warmth. Both spices enhance the pumpkin flavor well. You can also try different nut butters. Almond butter adds creaminess, while peanut butter gives a nutty kick. Each choice changes the flavor profile in fun ways.
Healthier Options
If you want a healthier sweetener, swap maple syrup for honey. Honey adds sweetness and has its own unique flavor. You can also make these bars gluten-free. Use certified gluten-free oats to ensure they fit your diet. This choice makes the bars safe for those with gluten sensitivities.
Add-in Variations
Mixing in dried fruits or seeds can add texture and flavor. Try raisins or dried cranberries for a sweet bite. For crunch, add pumpkin seeds or sunflower seeds. If you love dark chocolate, use dark chocolate chips instead of mini ones. This change gives a richer taste and pairs nicely with pumpkin.
Storage Info
How to Store
To keep your bars fresh, store them in the fridge. Use an airtight container. This helps keep the bars soft and tasty. If you want to save them longer, you can freeze them. Wrap each bar in plastic wrap, then place them in a freezer bag. This way, they stay fresh for up to three months.
Shelf Life
These bars last about a week in the fridge. Check for signs of spoilage. Look for changes in color or smell. If they seem dry or hard, it’s time to toss them out. To maintain the best quality, always store them in a cool place.
Reheating Guidelines
If your bars feel too firm, you can soften them. Just let them sit at room temperature for a few minutes. You can also microwave them for about ten seconds. This makes them warm and chewy again. When serving leftovers, try drizzling some extra almond butter on top. It adds flavor and makes them look nice!
FAQs
Can I use fresh pumpkin instead of canned?
Yes, you can use fresh pumpkin. Just make sure to cook and puree it first. This helps keep the texture right. Fresh pumpkin can add a nice flavor twist to your bars.
What can I substitute for almond butter?
If you don’t have almond butter, peanut butter works well too. Sunflower seed butter is another good choice. These options keep the bars creamy and tasty.
How can I make these bars vegan-friendly?
To make these bars vegan, use maple syrup and avoid honey. Make sure your chocolate chips are dairy-free. This way, all can enjoy these delicious treats.
Can I freeze these pumpkin chocolate chip bars?
Yes, these bars freeze great! Just wrap them well in plastic wrap or foil. You can enjoy them later for a quick snack or dessert.
How long do the bars last in the fridge?
These bars can last up to a week in the fridge. Keep them in an airtight container for best freshness. This makes them a perfect make-ahead treat!
This recipe for pumpkin chocolate chip bars combines delicious simplicity and healthy ingredients. You learned about the key components like pumpkin puree, almond butter, and maple syrup. We also explored tips for making, serving, and storing these bars. Remember to avoid common mistakes, like not chilling long enough. With the right tweaks, you can make these bars fit your taste and dietary needs. Enjoy creating a treat that’s both tasty and nutritious!