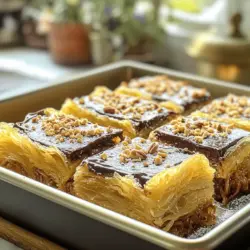
Craving a sweet treat that’s easy to make? Let me introduce you to Chocolate Kataifi Bars. This simple recipe combines flaky pastry and rich chocolate in a delightful way. You’ll impress friends and family with this fun dessert that everyone will love. Ready to dive into the world of Kataifi? This guide walks you through every step, so let’s get baking!
Ingredients
Complete List of Ingredients
To make Chocolate Kataifi Bars, gather these simple ingredients:
– 200g kataifi pastry
– 100g unsalted butter, melted
– 150g dark chocolate, chopped
– 1/2 cup heavy cream
– 1/4 cup powdered sugar
– 1/2 cup crushed nuts (such as pistachios or almonds)
– 1 teaspoon vanilla extract
– A pinch of salt
These items create a rich, crispy, and creamy treat. Each ingredient plays a key role in the final taste and texture.
Substitutions and Alternatives
You can swap some ingredients if needed. Use coconut oil instead of butter for a dairy-free option. Milk chocolate works well if you prefer a sweeter flavor. If you cannot find kataifi pastry, use phyllo dough instead. Just cut it into thin strips. For a nut-free version, skip the nuts or use seeds.
Importance of Freshness
Fresh ingredients make a big difference. Kataifi pastry should be soft and pliable. If it feels dry, it won’t bake right. Dark chocolate should be high quality for the best taste. Always check the expiration dates on heavy cream and other items. Fresh ingredients lead to tasty, satisfying bars.
Step-by-Step Instructions
Preparation Steps
First, gather your ingredients to make Chocolate Kataifi Bars. You will need:
– 200g kataifi pastry
– 100g unsalted butter, melted
– 150g dark chocolate, chopped
– 1/2 cup heavy cream
– 1/4 cup powdered sugar
– 1/2 cup crushed nuts (such as pistachios or almonds)
– 1 teaspoon vanilla extract
– A pinch of salt
Preheat your oven to 350°F (175°C). Grease your 9×9 inch baking pan with cooking spray or butter. In a large bowl, gently fluff the kataifi pastry. Pour the melted butter over it and mix. Make sure every strand is coated.
Next, press half of the buttered kataifi into the bottom of your pan. This forms the base layer.
Baking Process
Now, it’s time to bake! Place your pan in the oven for 15-20 minutes. You want the base to be golden and crisp. Keep an eye on it to avoid burning. Once it’s done, remove it from the oven and let it cool for a few minutes.
While the base cools, make the chocolate filling. In a saucepan over medium heat, combine heavy cream and chopped dark chocolate. Stir until the chocolate melts and the mixture is smooth. Once smooth, remove it from the heat. Stir in the powdered sugar, vanilla extract, and a pinch of salt until mixed well.
Pour the chocolate mixture over the baked kataifi base. Spread it evenly for a nice finish.
Tips for Layering
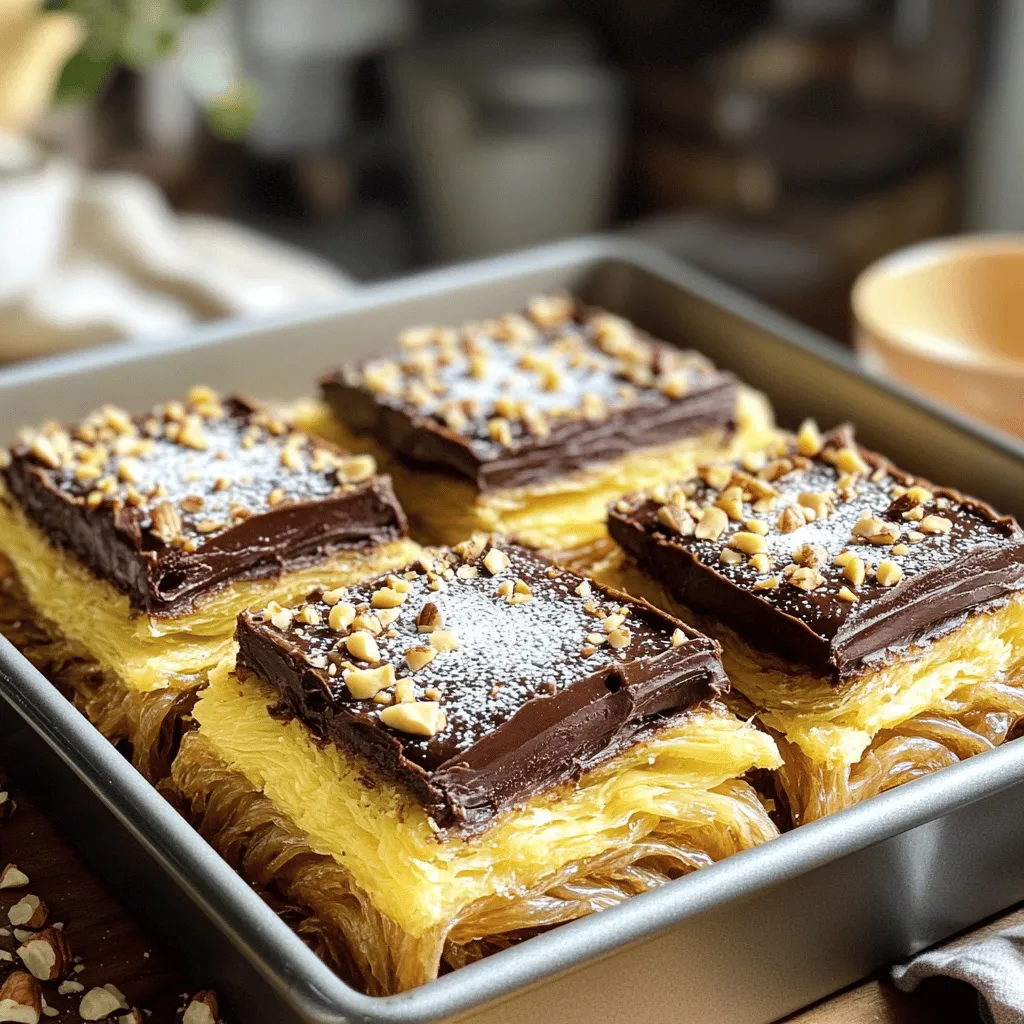
For the topping, combine the remaining kataifi pastry with the crushed nuts in a bowl. This adds a nice crunch. Sprinkle this mixture over the chocolate layer. Press down lightly to help it stick.
Bake again for 10-15 minutes. You want the top to be golden and crispy. After baking, let the bars cool completely in the pan. This helps them set before cutting into squares.
Follow these steps, and you will have tasty Chocolate Kataifi Bars.
Tips & Tricks
Common Mistakes to Avoid
When making Chocolate Kataifi Bars, some common mistakes can ruin your dessert. First, avoid using dry kataifi pastry. It should feel soft and moist. If it seems dry, sprinkle a bit of water to help it along. Be careful not to over-bake the base. You want it golden, not burnt. Lastly, when pouring chocolate, spread it evenly. This helps each bite be rich and smooth.
Perfecting the Texture
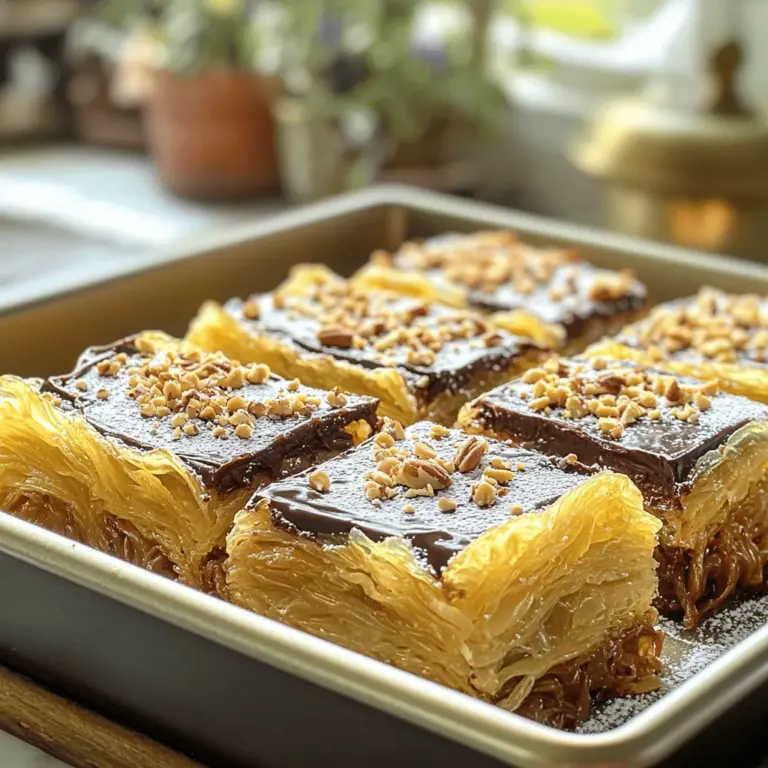
The texture of your Chocolate Kataifi Bars is key. For a crispy top, ensure you bake the kataifi until golden. This gives a nice crunch to each bite. When mixing the chocolate, do not rush. Stir slowly until it’s creamy. This makes the filling luscious. The nuts on top should add a bit of crunch, so choose your favorites like pistachios or almonds.
Serving Recommendations
Serve your bars at room temperature. This way, the chocolate stays soft and rich. Cut them into squares for easy sharing. You can also pair them with a scoop of vanilla ice cream. This adds a nice contrast to the rich chocolate. If you like, dust some powdered sugar on top for a sweet touch. Enjoy these treats with friends or family for a special dessert!
Variations
Flavor Combinations
You can mix different flavors into your Chocolate Kataifi Bars. Try adding orange zest for a citrus kick. You might also use milk chocolate instead of dark for a sweeter taste. If you love coffee, consider adding instant coffee granules to the chocolate mix. This will create a rich mocha flavor that excites your palate.
Additional Toppings
Toppings can elevate your bars. After baking, drizzle melted chocolate on top for extra sweetness. Sprinkle sea salt over the bars for a nice contrast to the chocolate. You can also add shredded coconut or more crushed nuts for added texture. These toppings can make your bars even more appealing.
Dietary Modifications
If you have dietary needs, you can adjust this recipe easily. For a gluten-free option, ensure that your kataifi pastry is gluten-free. You can also swap out heavy cream for coconut cream to make it dairy-free. If you want a healthier twist, use a sugar substitute in place of powdered sugar. These modifications let everyone enjoy this tasty treat.
Storage Info
Best Storage Practices
To keep your Chocolate Kataifi Bars fresh, store them in an airtight container. Place parchment paper between layers to avoid sticking. You can keep them at room temperature for up to three days. If you want to keep them longer, refrigerate them. They will stay tasty for about a week in the fridge.
Freezing Instructions
If you want to freeze these bars, cut them into squares first. Wrap each piece tightly in plastic wrap. Then, place them in a freezer-safe bag or container. These bars can last in the freezer for up to three months. When you are ready to enjoy them, let them thaw in the fridge overnight.
Reheating Tips
To enjoy the bars warm, preheat your oven to 300°F (150°C). Place the bars on a baking sheet. Heat them for about 10-15 minutes. This will make the chocolate gooey again. You can also use a microwave. Heat them for about 10 seconds at a time until warm. This method is quick and easy!
FAQs
What is Kataifi pastry?
Kataifi pastry is a thin, noodle-like dough. It comes from Middle Eastern and Mediterranean cooking. This pastry is made from wheat flour and water. It has a unique texture that crisps up well when baked. You can find it in many Middle Eastern markets. Kataifi is perfect for sweet and savory dishes. Its strands create a light, airy feel in desserts.
Can I make these bars ahead of time?
Yes, you can make these bars ahead of time. Prepare the bars and bake them as directed. After cooling, store them in an airtight container. Keep them in the fridge for up to a week. You can also freeze them for longer storage. Just wrap them well to prevent freezer burn. When ready to eat, let them thaw in the fridge overnight.
How do I know when the bars are baked properly?
You can tell the bars are baked properly by their color. The top should be golden brown and crispy. The base should also look lightly browned. You can test the texture by gently pressing the top. If it feels firm and springs back, it’s done. Remember, over-baking can make them too dry.
What can I serve with Chocolate Kataifi Bars?
These bars go well with many treats. You can serve them with whipped cream for added richness. A scoop of ice cream is also a great choice. Fresh fruit like berries adds a nice touch too. For a drink, try coffee or mint tea to balance the sweetness.
In this blog post, we explored the key ingredients for perfect Chocolate Kataifi Bars. You learned about substitutions, the importance of freshness, and how to layer for the best results. We shared tips to avoid common mistakes and variations for added flavor. Finally, we offered storage tips for keeping your bars fresh.
Keep these insights in mind as you create your own delicious treats. Enjoy the process and have fun!