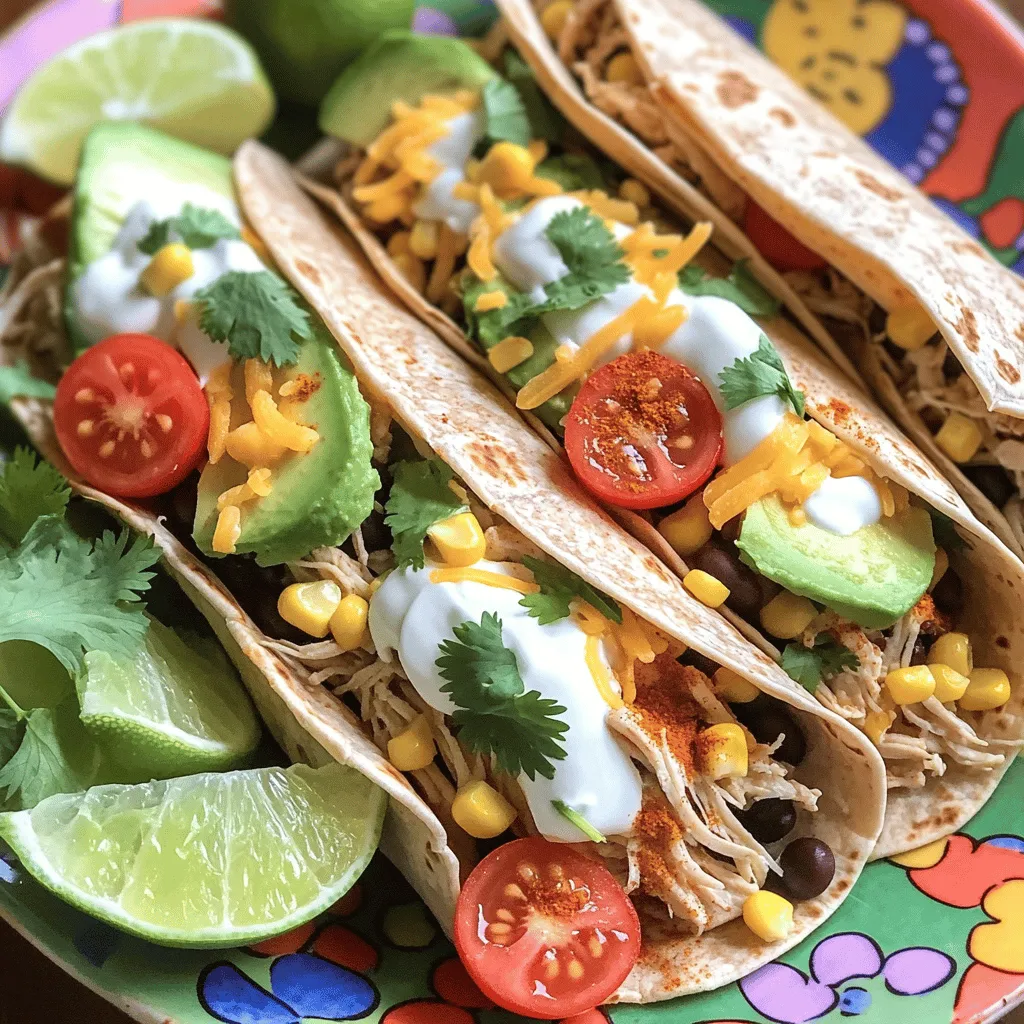
Creative Tortilla Recipes for Kids to Enjoy Together
Looking for fun in the kitchen with your kids? Creative Tortilla Recipes for Kids to Enjoy Together is your go-to
Looking for fun in the kitchen with your kids? Creative Tortilla Recipes for Kids to Enjoy Together is your go-to
![- 4 medium-sized apples (Granny Smith or Fuji recommended) - 2 cups granulated sugar - 1 cup corn syrup - 1/2 cup water - 1/2 teaspoon vanilla extract - 1 cup Jolly Rancher candies (mixed flavors, crushed) - Wooden sticks or candy apple sticks - Optional: Parchment paper for cooling Choosing the right type of apple is key. I recommend Granny Smith or Fuji apples. They are crisp, tart, and hold up well with the candy coating. The tartness of these apples balances the sweetness of the candy, creating a perfect bite. Using fresh ingredients is also important. Fresh apples not only taste better but also look great. If your apples are bruised or soft, they won’t hold the candy well. Make sure to inspect your apples for quality before you start. For the Jolly Rancher candies, pick a mix of your favorite flavors. This adds fun colors and tastes to your candy apples. Crush them into small bits to make it easier to stick on the warm candy coating. Feel free to check the [Full Recipe] for more details on making these tasty treats! Start by washing and drying the apples. Use cold water to wash off dirt. Pat them dry with a clean towel. This step helps the candy stick better. Next, insert a wooden stick into each apple. Push the stick in about halfway. This secures the apple for dipping later. Now, let’s make the candy mixture. In a medium-sized saucepan, combine the sugar, corn syrup, and water. Stir well over medium heat until the sugar dissolves. This should only take a few minutes. Once dissolved, stop stirring and bring the mixture to a boil. You need to cook it until it reaches the hard crack stage. This is around 300°F (150°C). Use a candy thermometer for accuracy. It usually takes 8-10 minutes to reach this stage. When the mixture is ready, remove it from the heat. Stir in the vanilla extract right away. This adds a nice flavor to your candy. Now comes the fun part! Quickly dip each apple into the hot candy mixture. Rotate the apple slowly to coat it evenly. Make sure the entire apple gets covered. Let the excess candy drip off for a few seconds. This ensures a nice, thick coat. Place the dipped apple on a lined baking sheet. Let the candy apples cool and harden at room temperature. This process usually takes about 30 minutes. Keep them in a cool, dry place. If you want, you can place them in the fridge for a quicker hardening. Just be careful with moisture, as it can make the candy sticky. Enjoy your sweet Jolly Rancher Candy Apples! They are fun to make and even better to eat. For a complete recipe, check out the Full Recipe. - Overheating the candy mixture: Cooking the candy too long can burn it. Watch the temperature closely. Use a candy thermometer to check when it reaches 300°F. This is the hard crack stage. If you miss this point, your candy apples may not set well. - Not adhering the Jolly Rancher correctly: If the crushed candies don't stick, the apples will look dull. Make sure to sprinkle the candies on while the candy coating is still warm. Press lightly to ensure they bond well. - Ensuring perfect candy consistency: The candy mixture should be smooth and glossy. If it looks grainy, it may have cooked too long. Stir gently as it heats, but don't mix while boiling. This helps keep the texture right. - How to achieve vibrant colors with Jolly Ranchers: Use a mix of Jolly Rancher flavors for bright colors. The crushed candies create a fun, colorful topping. Mix red, blue, and green for a rainbow effect. Each color adds a unique flavor and visual appeal. - Essential kitchen tools for candy making: You need a few tools for this recipe. A medium-sized saucepan is key for cooking the candy mixture. A candy thermometer ensures the right temperature. Use a baking sheet lined with parchment paper for cooling. Wooden sticks are also vital for easy handling of the apples. These tips will help you create the best Jolly Rancher candy apples. Enjoy the process and have fun experimenting! For the complete recipe, check out the Full Recipe section. {{image_2}} Mixing Jolly Rancher flavors can make your candy apples even more fun. You can use the classic flavors like watermelon, blue raspberry, and cherry. For a twist, try combining green apple with grape. This mix gives a sweet and tart taste. You might even create your own special blend! Experimenting with flavors lets you find the perfect taste for your candy apples. You can use other toppings to make your candy apples unique. Try crushed nuts, sprinkles, or coconut flakes. If you want something extra sweet, drizzle melted chocolate on top. You can also use caramel for a rich flavor. These toppings add texture and taste. They make your candy apples look even more tempting. You can make Jolly Rancher candy apples that fit different diets. For gluten-free versions, check the candy labels. Most Jolly Rancher candies are gluten-free. If you want vegan candy apples, swap the regular sugar for vegan sugar. Make sure to use vegan-friendly toppings too. These simple swaps let everyone enjoy this treat, no matter their diet. Store your Jolly Rancher candy apples at room temperature for short-term use. This keeps them tasty for a few days. If you want to save them for longer, wrap each apple in plastic wrap. Place them in an airtight container to keep them fresh. Avoid the fridge as it can cause them to sweat. This makes them sticky and less fun to eat. To prevent stickiness, let your candy apples cool completely before storing them. Place them on parchment paper while they harden. This will stop them from sticking to surfaces. If you notice any moisture, pat it dry with a paper towel. Avoid touching the candy coating with your hands, as this can leave marks or cause it to melt. Keep them in a cool, dry place away from sunlight for best results. To make Jolly Rancher Candy Apples, follow these easy steps: 1. Wash and dry 4 medium apples. Insert a wooden stick halfway into each apple. 2. Line a baking sheet with parchment paper. 3. In a saucepan, mix 2 cups sugar, 1 cup corn syrup, and 1/2 cup water. Heat until sugar dissolves. 4. Boil the mixture without stirring until it hits 300°F (150°C). 5. Take it off the heat and add 1/2 teaspoon vanilla extract. 6. Dip each apple into the hot mix, then let excess candy drip off. 7. Press 1 cup crushed Jolly Rancher candies onto the warm apples. 8. Let the apples cool for about 30 minutes on the sheet. You can find the full recipe in this article. Yes, you can buy pre-made Jolly Rancher Candy Apples at many candy shops and specialty stores. Some grocery stores also carry them, especially around Halloween. You can check online on sites like Amazon or local candy retailers. They may not be as fresh as homemade ones, but they can be a fun treat! If your candy mixture crystallizes, it usually means it got too cold. Here’s how to fix it: - Reheat: Put it back on low heat. Stir gently and let it melt again. - Add Water: If it’s still hard, add a small amount of water (1-2 teaspoons) and reheat. - Prevent Crystallization: To avoid this, don’t stir the mix while it’s boiling. Use a clean pan and utensils to keep it free of sugar crystals. These tips will help you achieve that perfect candy texture! We covered how to make Jolly Rancher candy apples step by step. We explored ingredient choices, tips for perfect results, and variations to try. Storing candy apples properly keeps them fresh and tasty. Remember, using the right apples and fresh ingredients makes a big difference. With these tips, you can enjoy this treat anytime. Get creative with flavors and toppings for a fun twist. Happy candy apple making!](https://mycookingcast.com/wp-content/uploads/2025/05/59f32f27-9328-46a4-8ccc-0db402f6fb4b.webp)
Are you ready to mix fun with flavor? Jolly Rancher Candy Apples are the perfect way to enjoy a twist
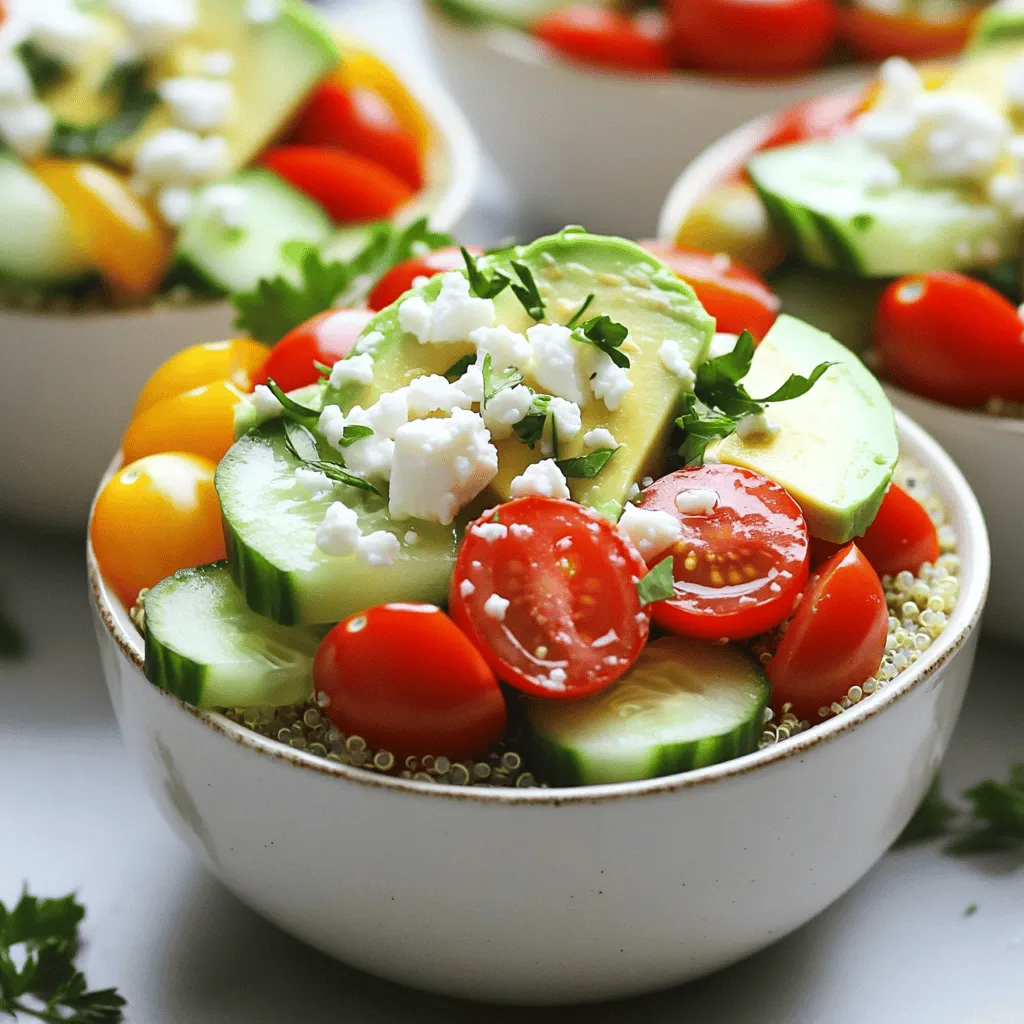
Are you ready to transform your lunchtime routine? Beginner meal prep lunches can save you time, money, and stress. In
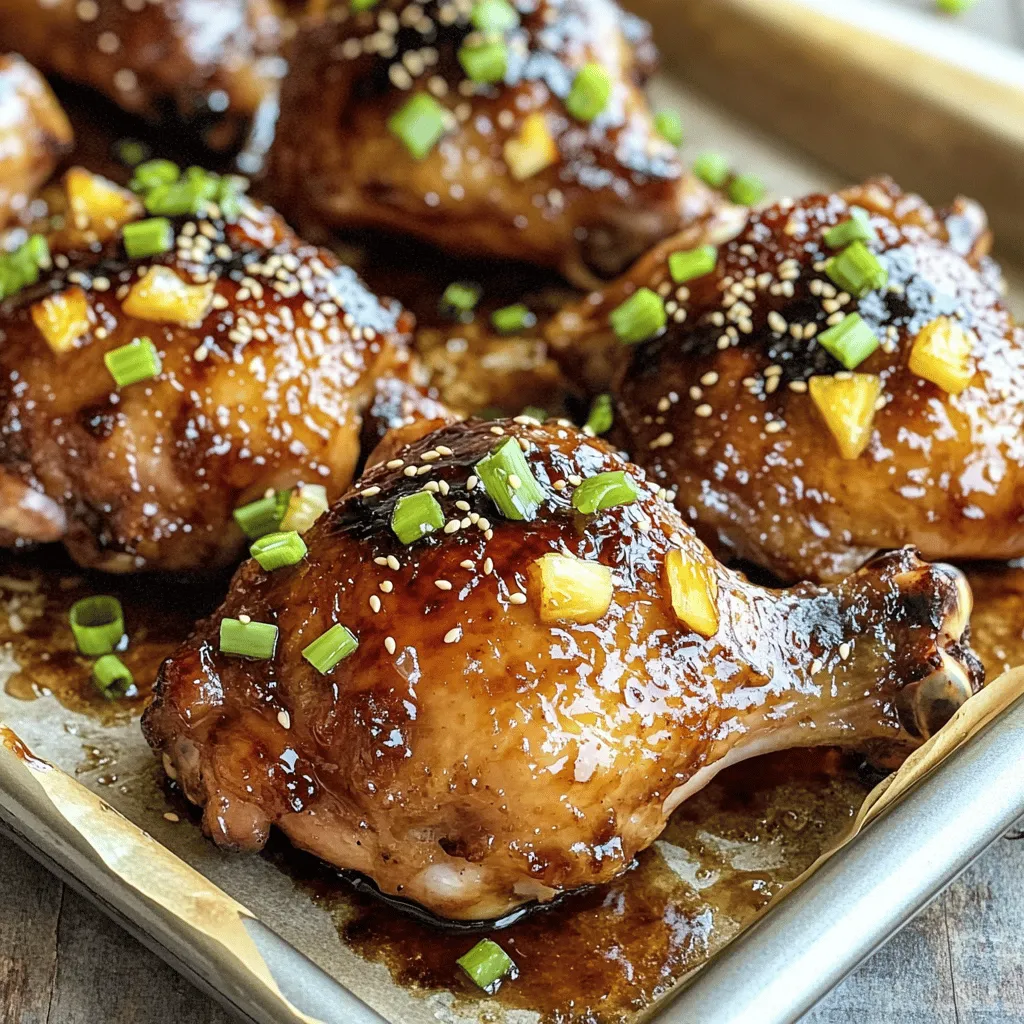
Craving a taste of the tropics? This Baked Huli Huli Chicken recipe delivers sweet, savory flavors right to your dinner
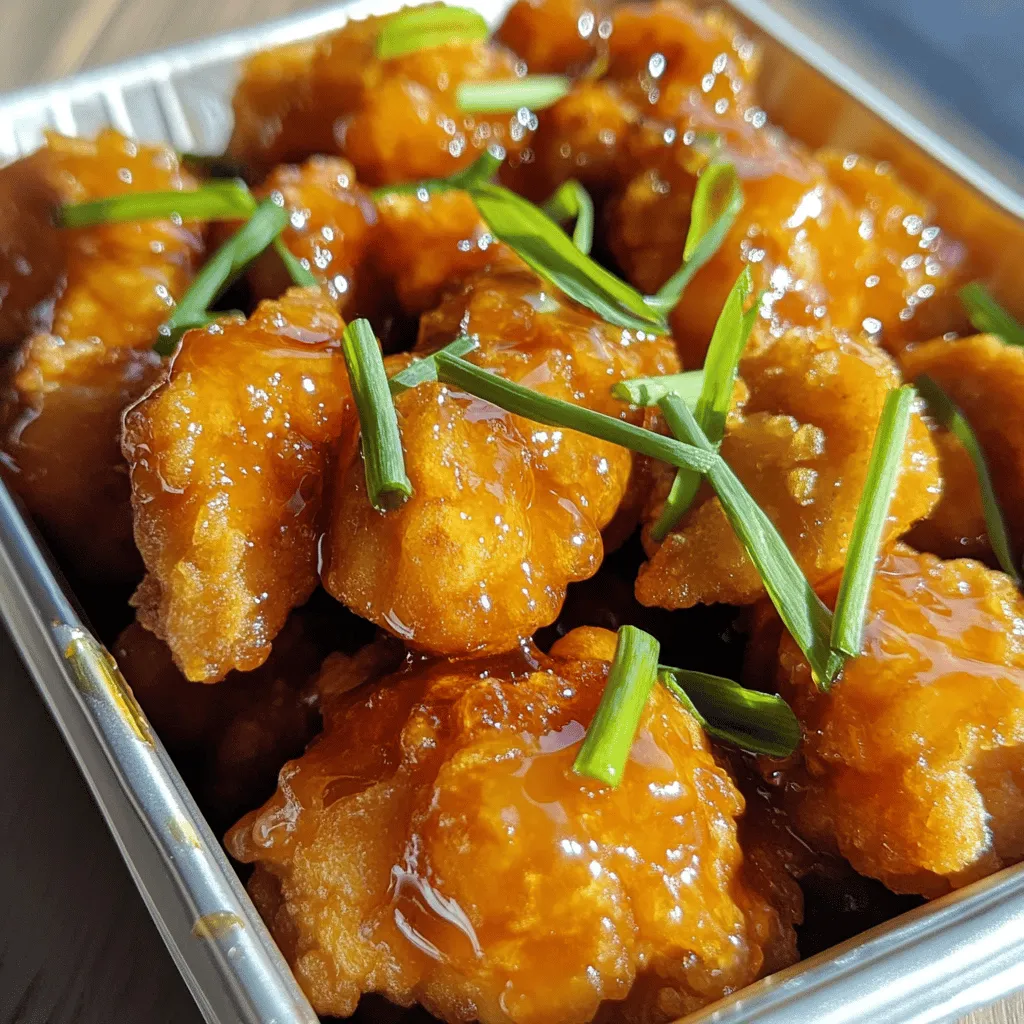
Craving something tasty? Panda Express Orange Chicken is a favorite for a reason! In this guide, I’ll share everything you
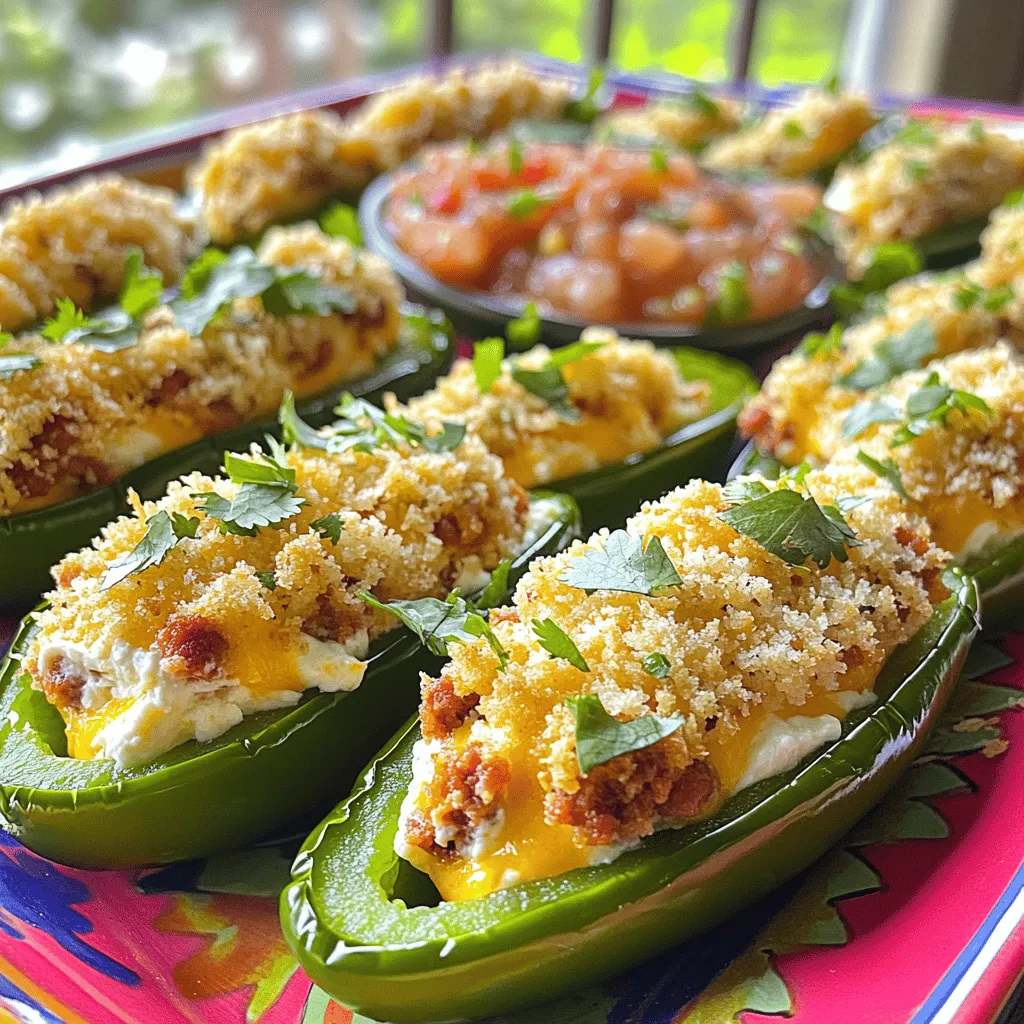
Are you ready to spice up your snack game? My quick, easy recipe for jalapeño poppers is a must-try! With

Cajun Chicken and Sausage Gumbo is more than just a meal; it’s pure comfort on a plate. If you’ve ever
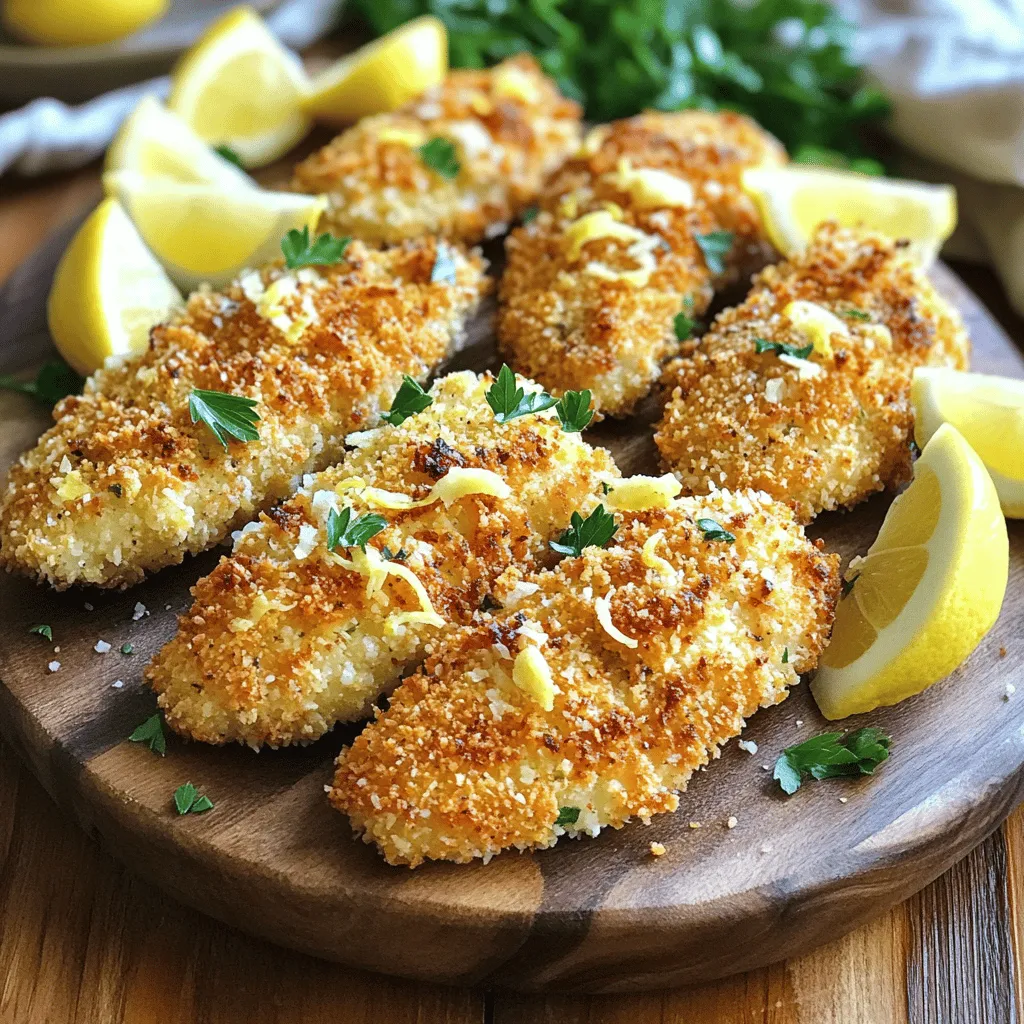
Are you ready to impress your taste buds? Lemon Garlic Parmesan Chicken Tenders are a crispy delight you won’t forget!
![- 200g cooked shrimp, peeled and deveined - 200g cooked scallops - 1 cup cherry tomatoes, halved - 1 avocado, diced - 1 cup cucumber, diced - 1/4 cup red onion, finely chopped - 1/4 cup fresh cilantro, chopped - 1/4 cup lemon juice - 2 tablespoons olive oil - Salt and pepper to taste - Lettuce leaves (for serving) Gathering fresh ingredients is key. I love using wild-caught shrimp and scallops. They taste better and are better for the ocean. The cherry tomatoes add a pop of color and sweetness. The creamy avocado and crunchy cucumber balance the dish perfectly. Each serving of this salad has about 250 calories. It offers a great mix of protein, healthy fats, and carbs. You get around 20g of protein from the seafood. Healthy fats come from the avocado and olive oil. The carbs mainly come from the veggies. Seafood provides many benefits. It’s rich in omega-3 fatty acids, which are good for your heart. Eating seafood can help improve your mood and brain health too. Plus, it’s low in calories but high in nutrients. For the full recipe, check out Ocean Breeze Seafood Salad 🦐. - Step 1: Combine seafood Start by taking a large mixing bowl. Add 200g of cooked shrimp and 200g of cooked scallops. Make sure they are peeled and deveined. This gives a nice base for your salad. - Step 2: Add fresh vegetables Next, add 1 cup of halved cherry tomatoes, 1 diced avocado, and 1 cup of diced cucumber. Toss in 1/4 cup of finely chopped red onion and 1/4 cup of fresh cilantro. This mix brings a bright and fresh taste. - Step 3: Prepare the dressing In a small bowl, whisk together 1/4 cup of lemon juice, 2 tablespoons of olive oil, salt, and pepper. Mix until the dressing is well combined. This will enhance the flavors of the salad. - Step 4: Toss and let sit Pour the dressing over the seafood and vegetable mix. Gently toss everything to coat it well. Let the salad sit for about 10 minutes. This allows the flavors to meld together, making each bite delicious. - Ensuring seafood is thoroughly cooked Always use fully cooked seafood for safety. If you use raw seafood, ensure it reaches the right internal temperature. - Preparing fresh ingredients Choose fresh vegetables for the best taste. Look for bright colors and firm textures. Fresh ingredients make the salad lively. - Emulsifying the dressing Whisk the dressing well to combine the oil and lemon juice. This creates a creamy texture that coats your salad nicely. Enjoy the process of making Ocean Breeze Seafood Salad. Don't forget to check the [Full Recipe] for more details! When selecting shrimp and scallops, look for bright colors. Fresh shrimp should smell like the ocean, not fishy. Pick scallops that feel firm and look shiny. Check for the seasonality of seafood. This ensures better flavor and quality. In the summer, shrimp are often sweeter and more tender. In winter, scallops come into peak season. Knowing when seafood is at its best helps you make better choices. To boost flavor, add spices or herbs. Fresh dill or parsley can brighten the dish. A hint of garlic can also add depth. You can try different dressings too. Instead of lemon juice and olive oil, use a yogurt-based dressing for creaminess. This can give a new twist to your salad. Experiment with flavors until you find your perfect mix. How you serve your seafood salad matters. Use a large bowl to show off the colors. You can also use individual plates for a fancy touch. Garnish with lemon wedges and extra cilantro leaves. This adds a pop of color and freshness. Serve on a bed of lettuce for a nice crunch. These simple tips make your seafood salad look as good as it tastes. {{image_2}} You can create many types of seafood salads. Shrimp salad is a favorite. You can mix shrimp with creamy dressing or keep it light with lemon juice. Add herbs like dill or parsley for fresh flavor. Crab salad is another great option. You can use fresh crab meat or canned. Mix it with mayo and add a touch of mustard for zest. Pair it with celery for crunch. You can even make a crab salad with avocado for a creamy twist. If you want a vegan option, try using chickpeas or tofu instead of seafood. Both provide protein and a nice texture. You can add smoked paprika to give it a seafood-like flavor. For vegetables, you can swap in bell peppers or radishes. They add a nice crunch and color. Broccoli florets or green beans also work well for a healthy boost. Use what you have on hand to make it your own. In summer, you can try a tropical seafood salad. Add mango or pineapple for sweetness. It pairs well with shrimp or scallops. Serve it chilled on hot days. In winter, a warm seafood salad works best. Use cooked seafood and mix it with roasted root veggies. You can add a warm vinaigrette for comfort. These choices keep your meals exciting all year round. To keep your seafood salad fresh, place it in the fridge right away. Use an airtight container to seal in flavor and moisture. This helps prevent any strong smells from spreading. I find glass containers work best. They are easy to clean and don't absorb odors. You can freeze seafood salad, but it can change texture. The seafood may become mushy upon thawing. To maintain texture and flavor, freeze it without the dressing. Prepare the dressing fresh when ready to serve. This keeps the salad tasting great. Seafood salad lasts about three days in the fridge. Keep an eye on it. Signs of spoilage include a sour smell or a slimy texture. If you notice these signs, it’s best to throw it away. Always trust your senses! For a tasty seafood salad, shrimp and scallops are top picks. They offer sweet, mild flavors. You can also use crab, lobster, or even smoked salmon. Each type brings a unique taste and texture. Yes, you can prep seafood salad ahead of time. Just keep the dressing separate until serving. This keeps the veggies crisp and fresh. You can store the salad in the fridge for about two days. Seafood salad is very healthy. It is low in calories and high in protein. The shrimp and scallops provide essential nutrients. Plus, the fresh veggies add fiber and vitamins. This dish supports a balanced diet. You can find the complete recipe for Ocean Breeze Seafood Salad in the earlier section. Ocean Breeze Seafood Salad offers a blend of fresh flavors and healthy ingredients. With cooked shrimp, scallops, and vibrant veggies, this salad is both tasty and nutritious. You can make it your own by swapping ingredients or adding spices. Remember to store leftovers properly for best taste. Enjoy your summer with this light and refreshing dish! Try different variations to keep things exciting. Enjoy every bite of your Ocean Breeze Seafood Salad!](https://mycookingcast.com/wp-content/uploads/2025/05/fd3938d9-43ca-4656-a89d-798eee63f795.webp)
Welcome to my kitchen! Today, I’m excited to share my Ocean Breeze Seafood Salad. This dish bursts with fresh flavors
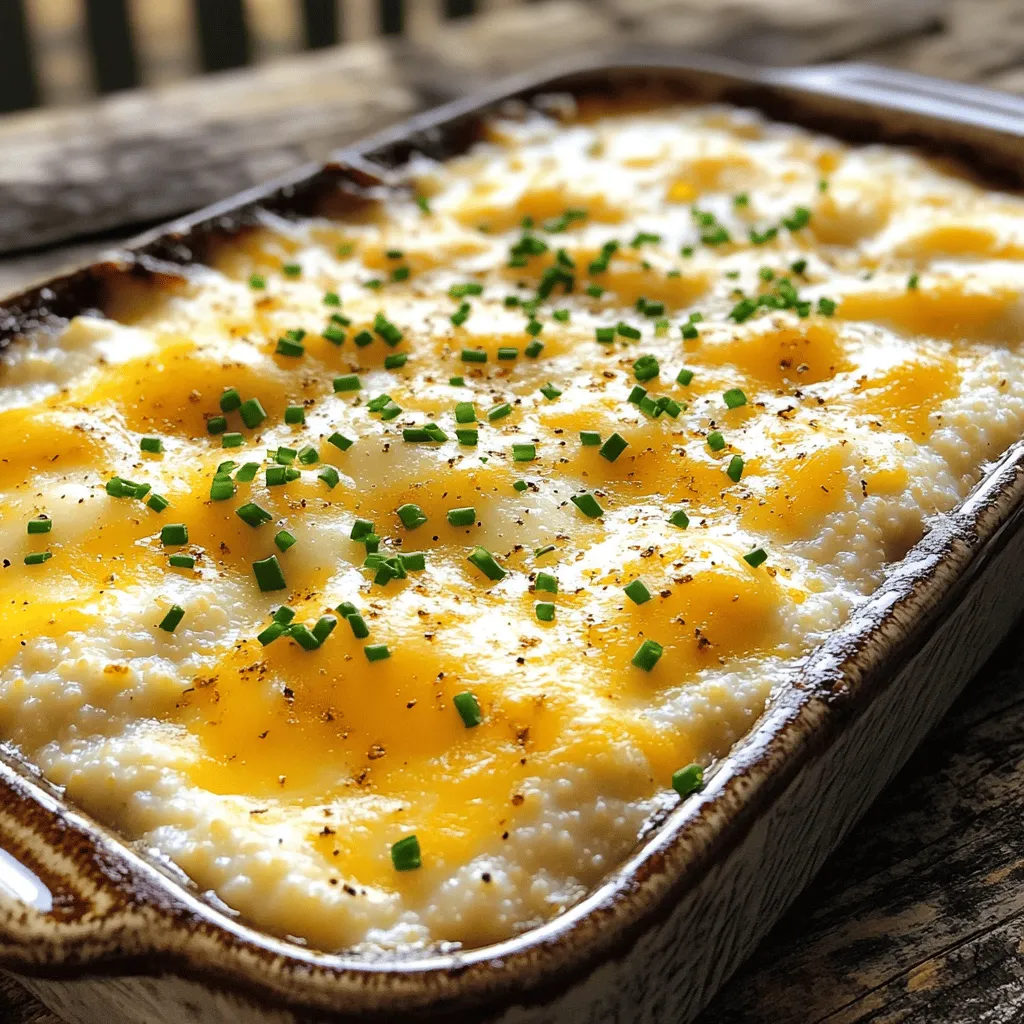
Are you ready to dive into a dish that warms your heart and satisfies your cravings? Baked Gouda Cheese Grits
