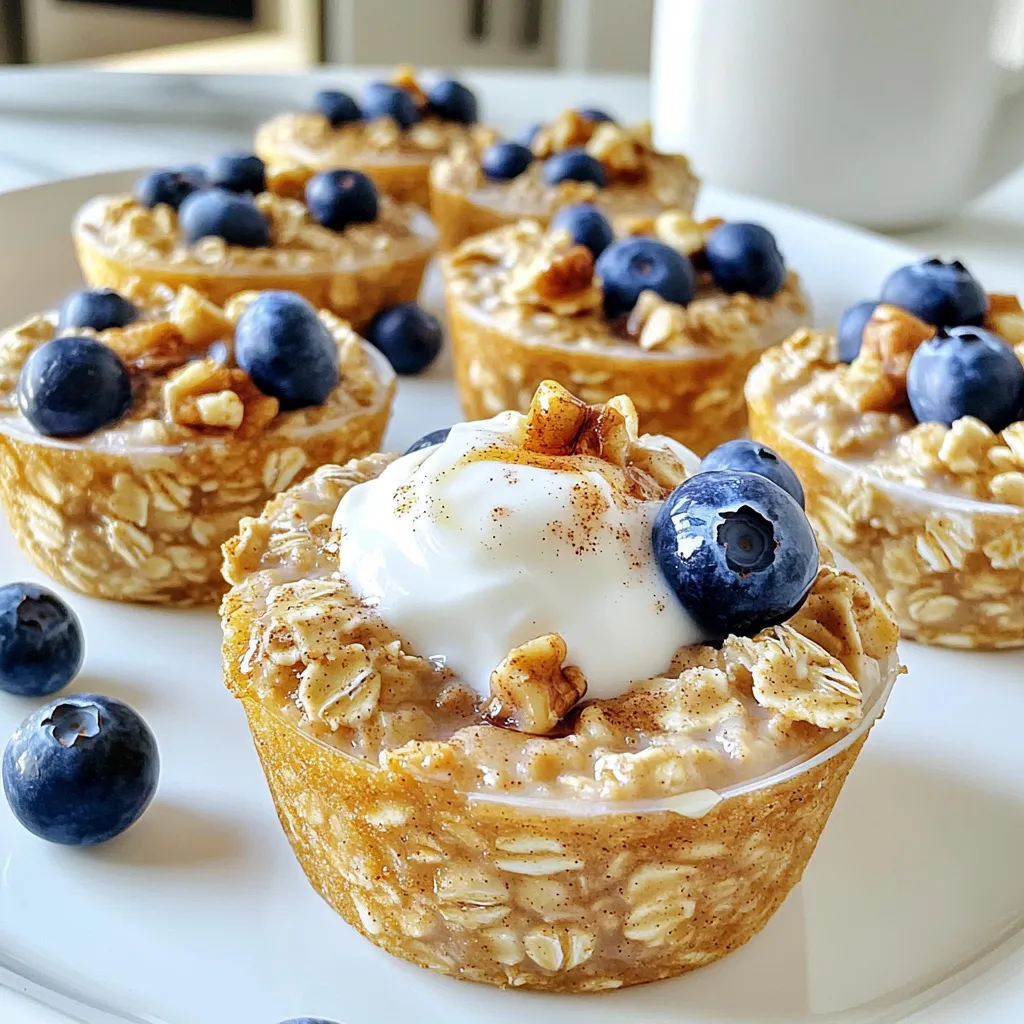
Maple Cinnamon Oatmeal Cups Healthy Breakfast Treat
Are you looking for a quick and healthy breakfast that packs a flavorful punch? Try my Maple Cinnamon Oatmeal Cups!
Are you looking for a quick and healthy breakfast that packs a flavorful punch? Try my Maple Cinnamon Oatmeal Cups!
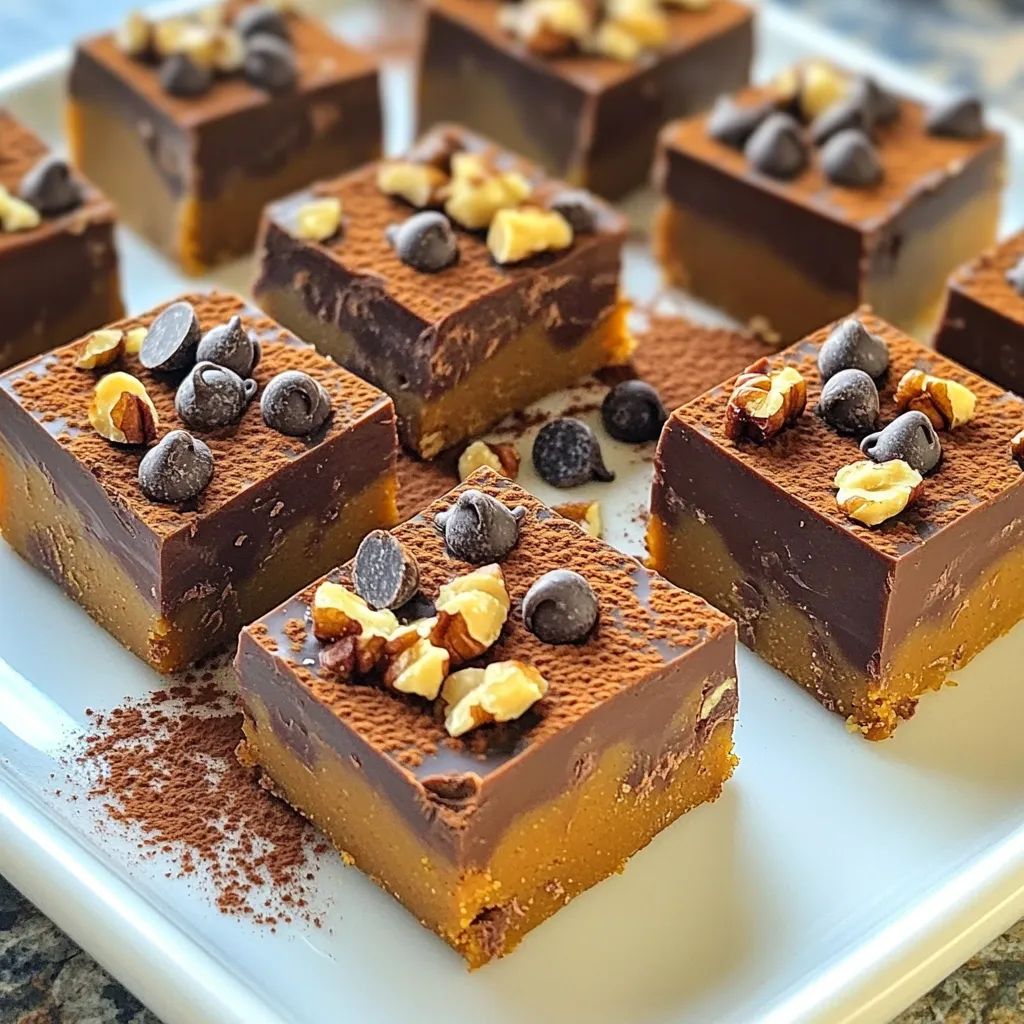
If you’re looking for a no-bake treat that combines the rich flavors of chocolate and pumpkin spice, you’re in the

Welcome to a creamy, dreamy dish that you’ll love! My Creamy Chicken Alfredo Tortellini One Pot Delight is simple and
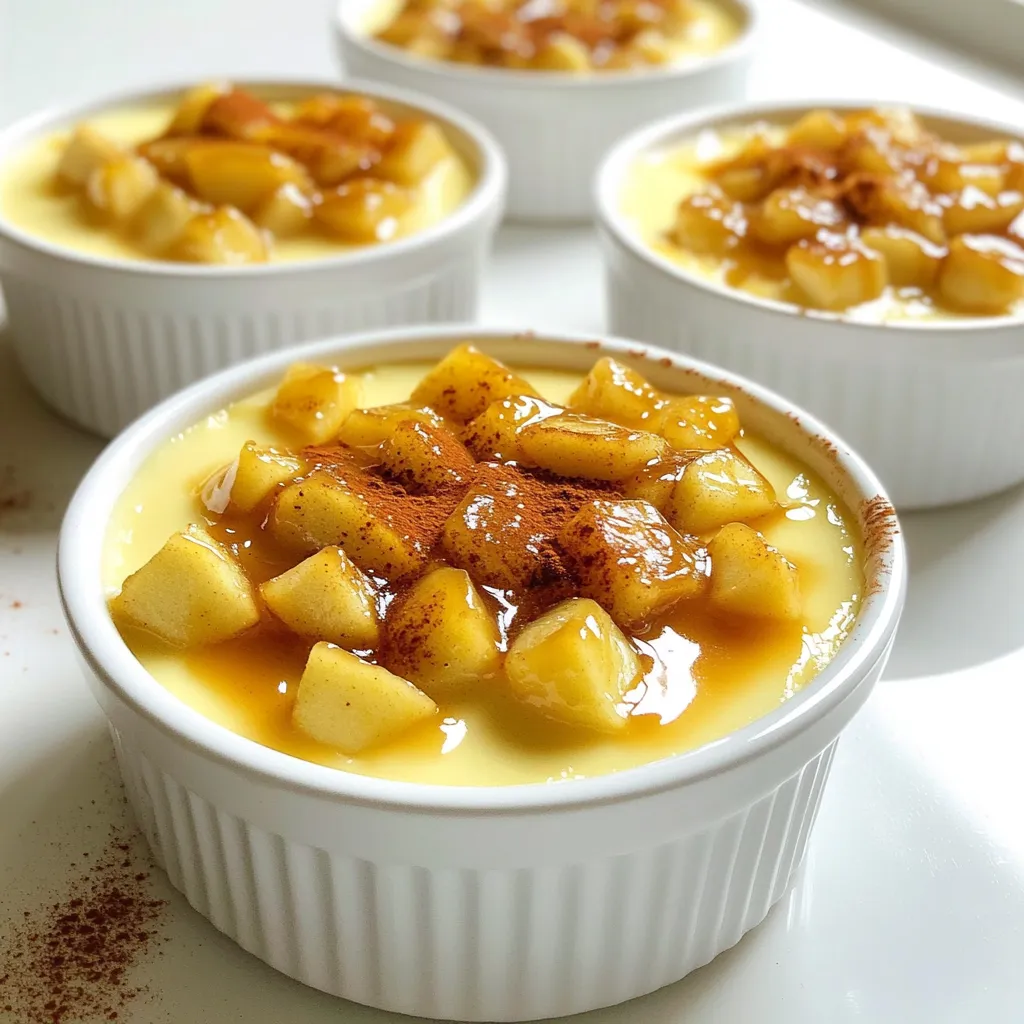
Get ready for a delicious twist on a classic dessert! This Caramel Apple Crème Brûlée combines the creamy richness of
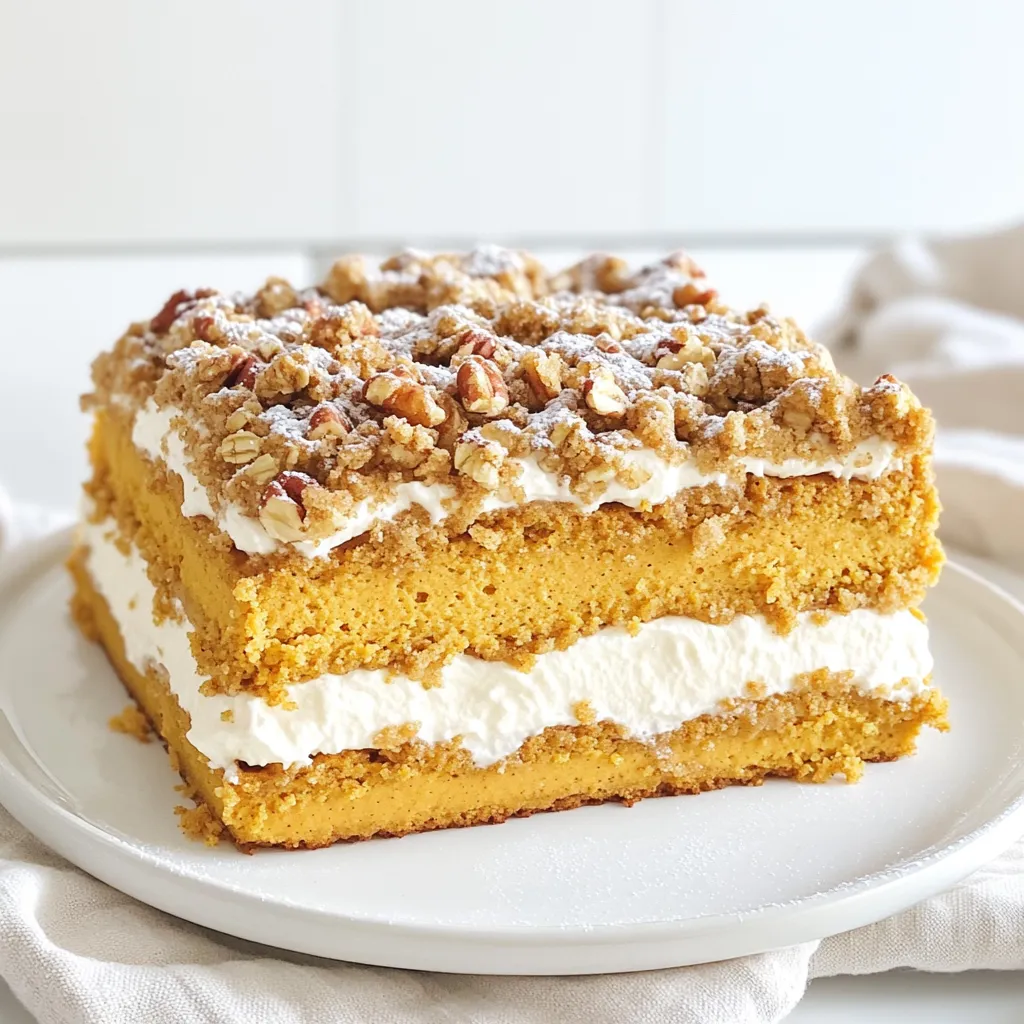
Get ready to dive into the cozy flavors of fall with my Pumpkin Cream Cheese Crumb Cake! This delightful treat
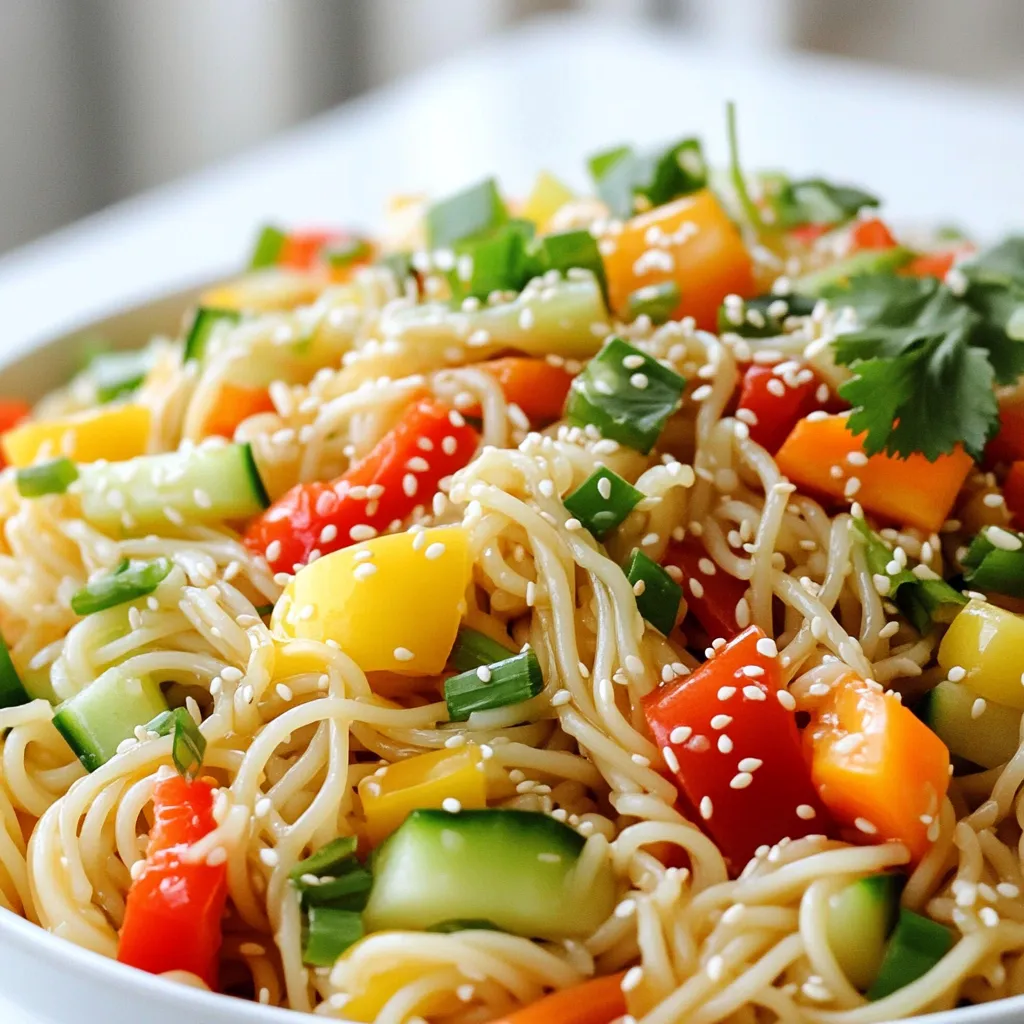
Looking for a quick and tasty meal? This Sesame Ginger Noodle Salad is ready in just 15 minutes! Packed with
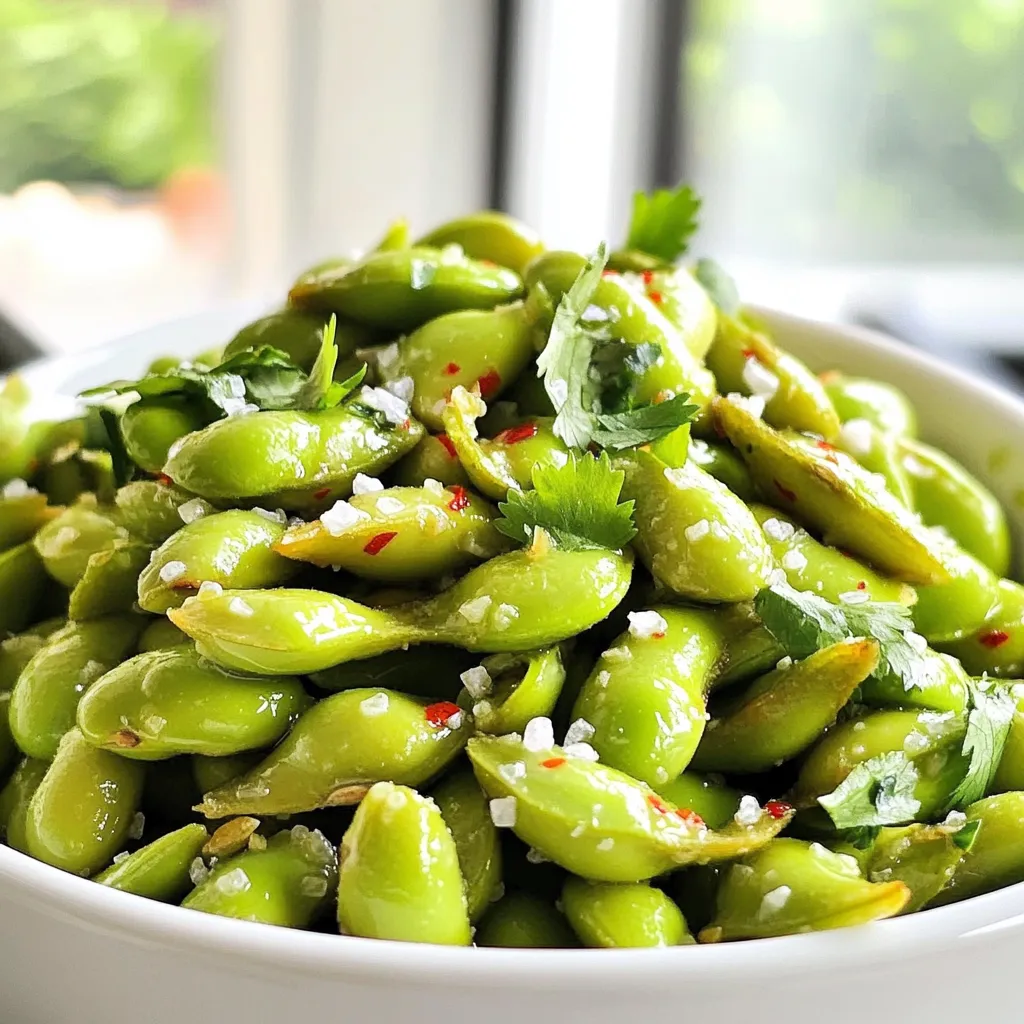
Looking for a tasty, easy snack that packs a punch? You’ve come to the right place! Air Fryer Garlic Edamame
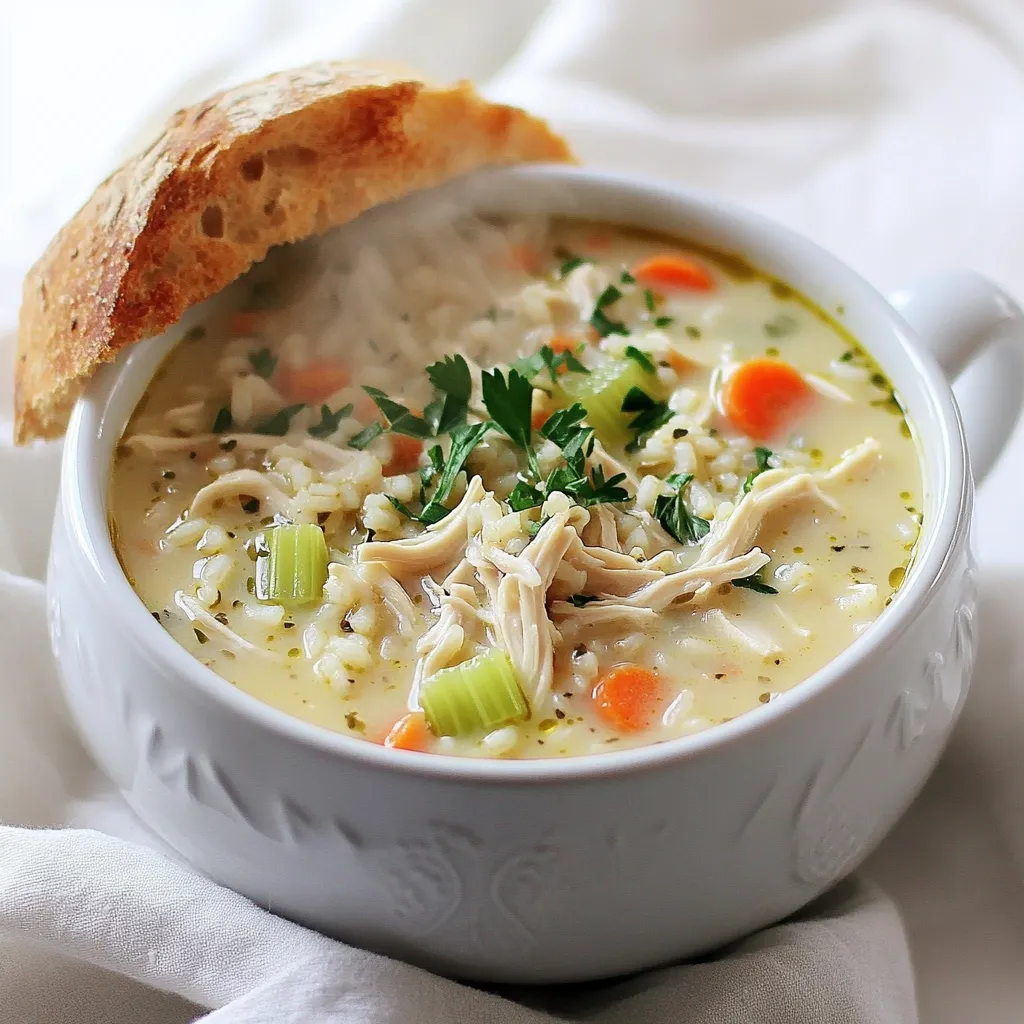
Craving a warm hug in a bowl? You’ll love my Slow Cooker Creamy Chicken and Rice Soup Delight! This easy
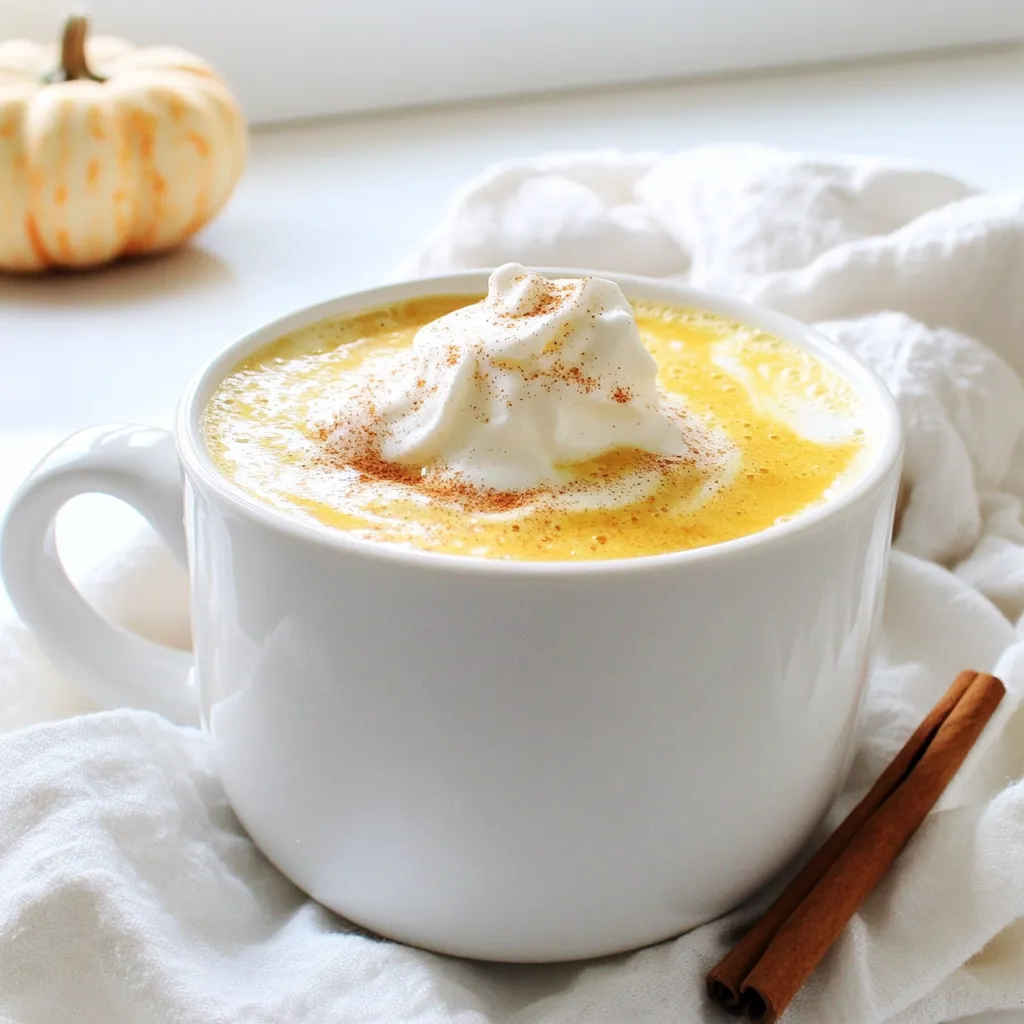
As the leaves change and the air turns crisp, there’s nothing like a warm drink to embrace fall. Imagine sipping
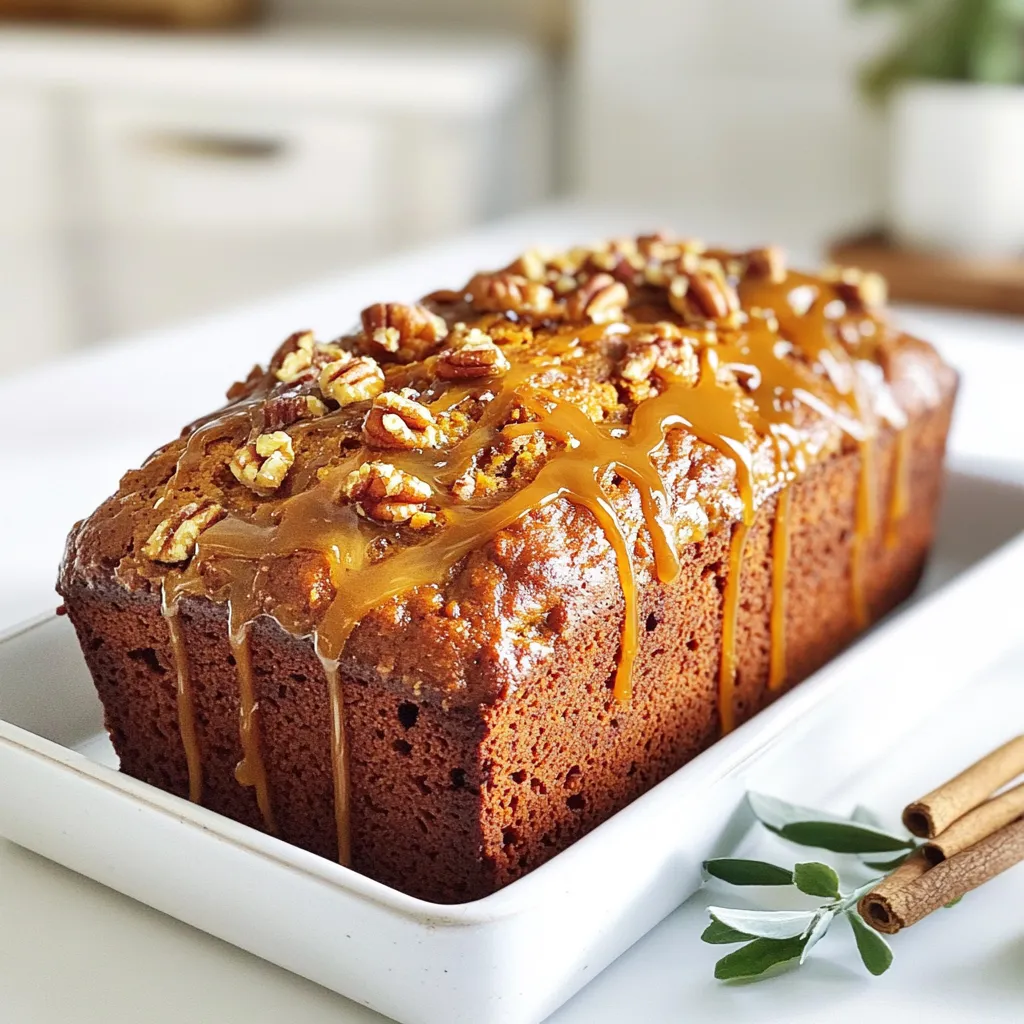
Fall is the perfect time for warm, sweet treats, and this Cinnamon Pumpkin Bread with Caramel will make your taste
