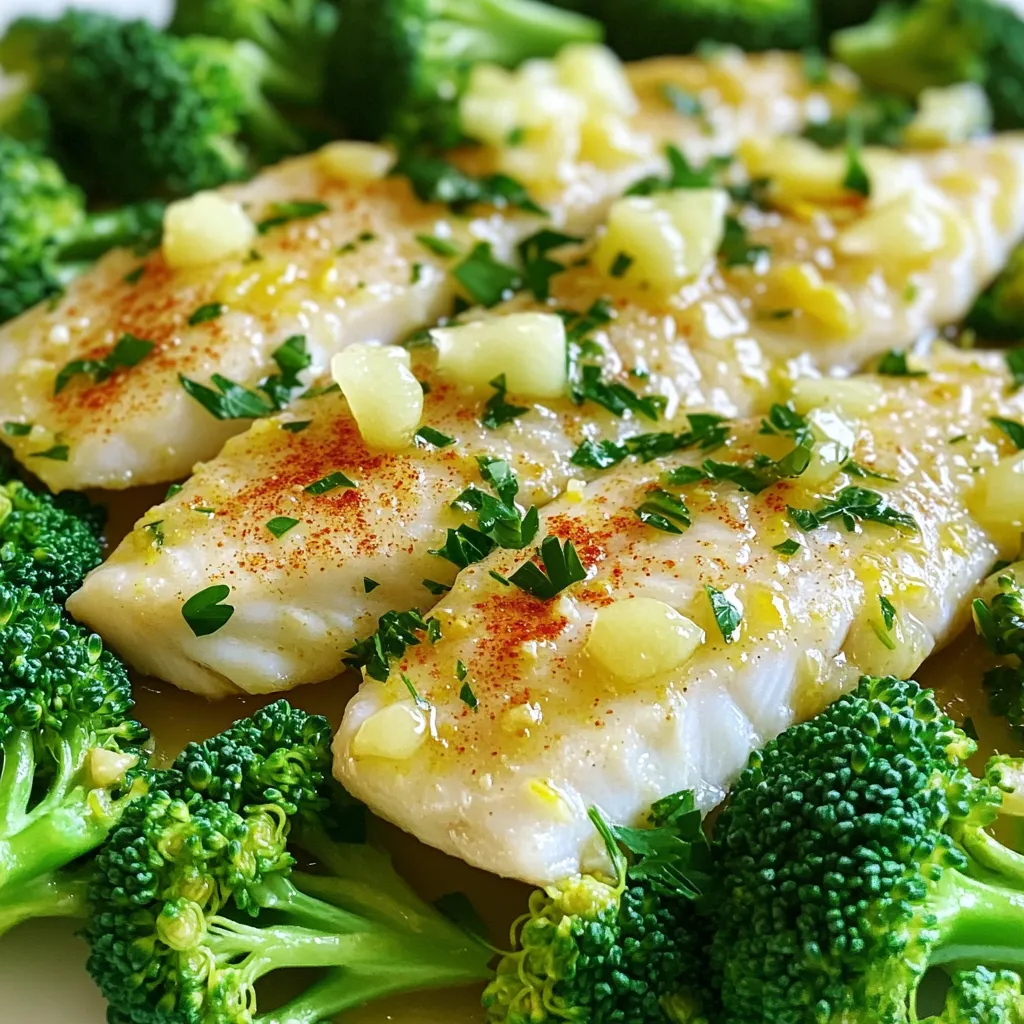
Lemon Garlic Tilapia and Broccoli Sheet Pan Delight
Looking for a quick, healthy meal? My Lemon Garlic Tilapia and Broccoli Sheet Pan Delight is the answer! This tasty
Looking for a quick, healthy meal? My Lemon Garlic Tilapia and Broccoli Sheet Pan Delight is the answer! This tasty
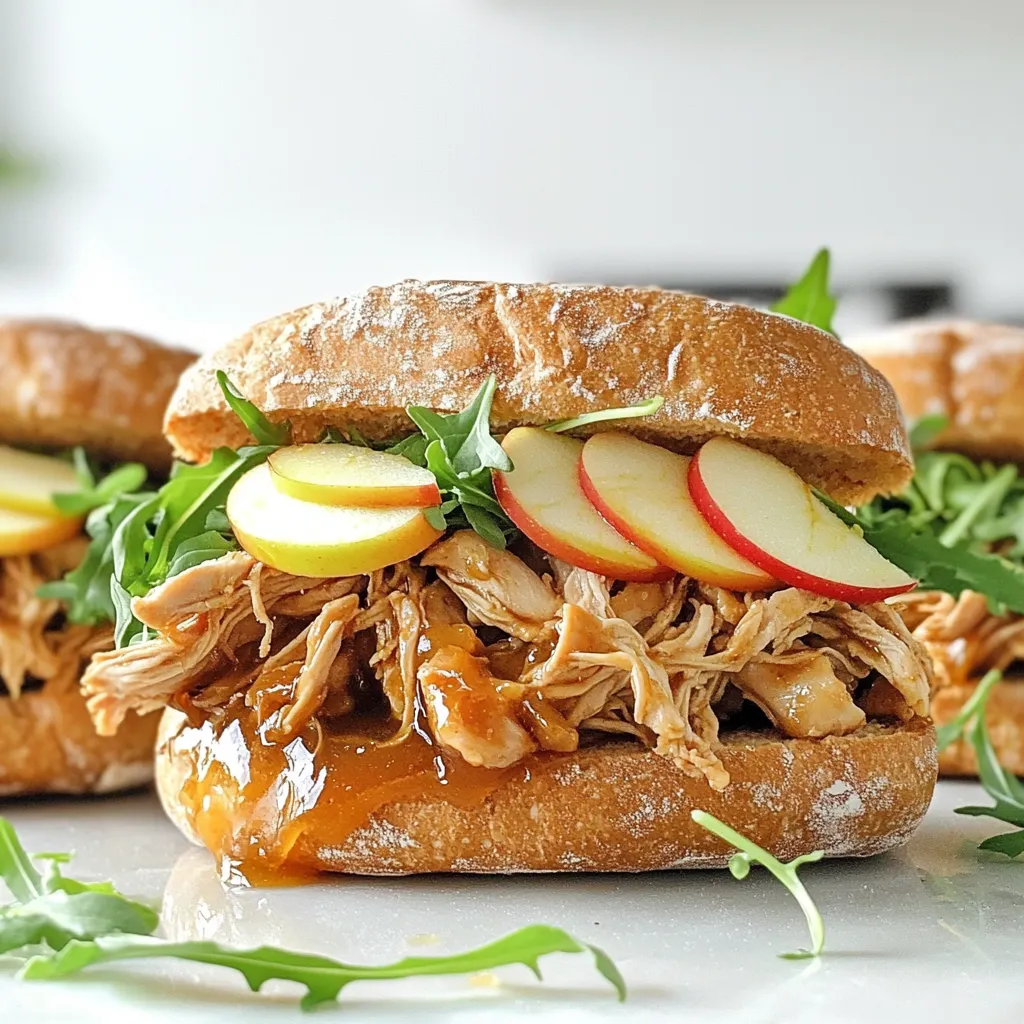
Get ready to satisfy your taste buds with my Apple Cider Pulled Chicken Sandwiches! This slow cooker delight blends tender
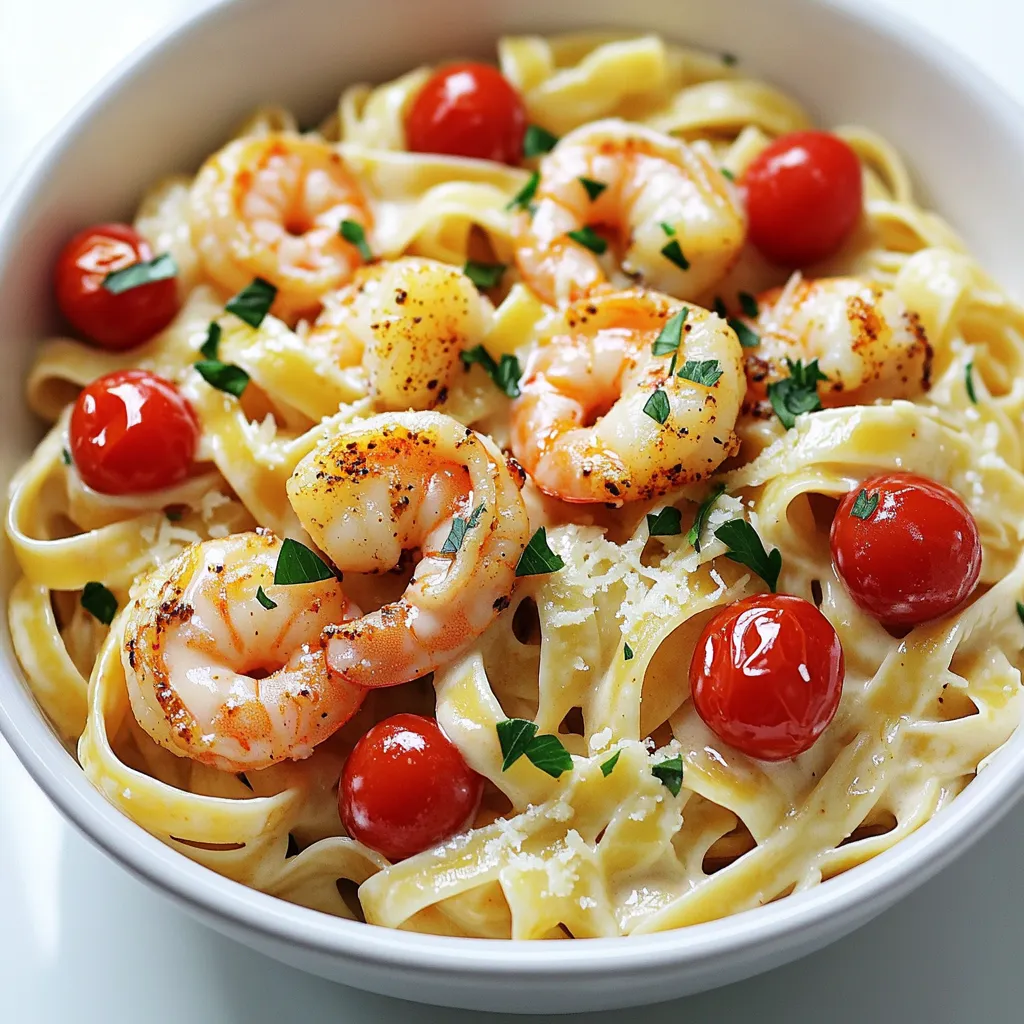
Are you ready to spice up your dinner routine? My Cajun Shrimp Alfredo Pasta is a delicious one-pot meal that’s
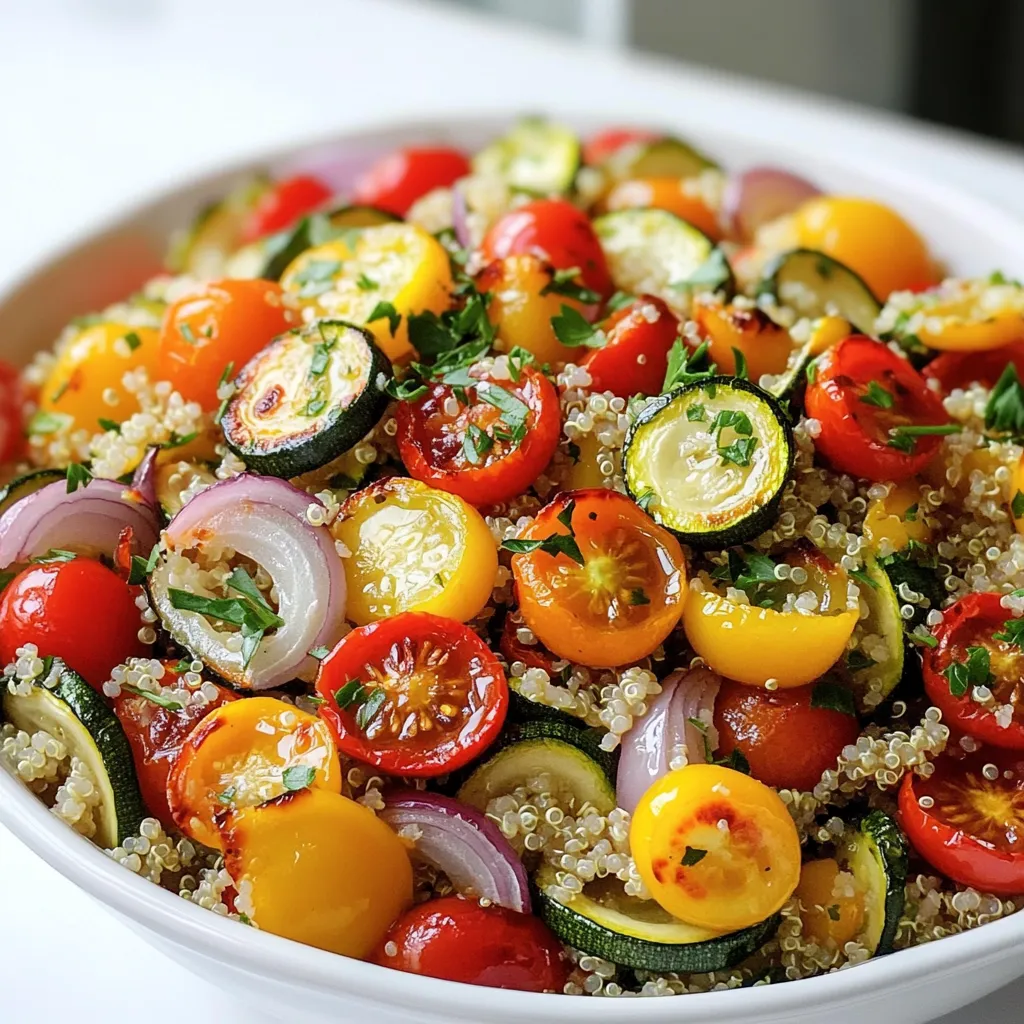
Looking for a nutritious, easy-to-make dish? Try this Roasted Vegetable Quinoa Pilaf! Packed with colorful veggies and full of flavor,

Fall is here, and it’s time for a tasty treat! I’m excited to share my Pumpkin Chocolate Chip Scones recipe
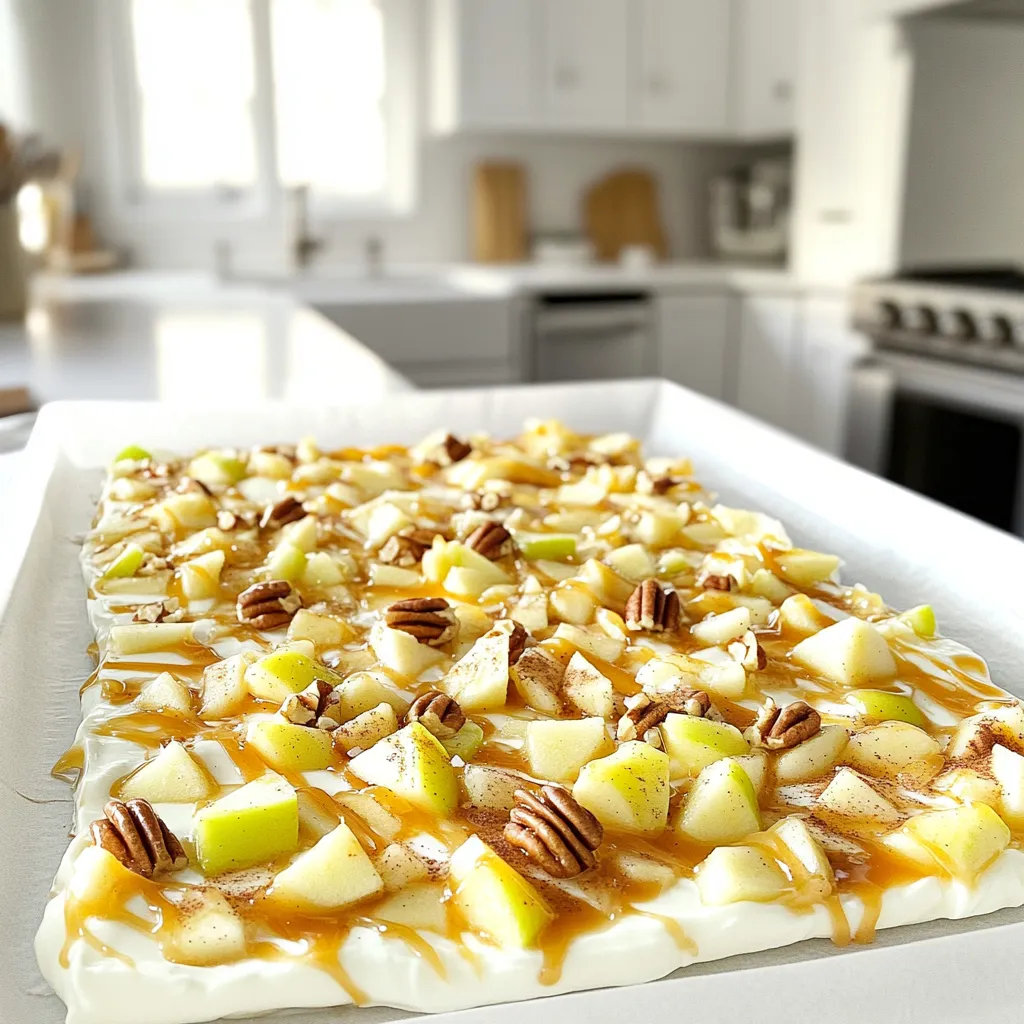
Looking for a sweet, simple treat that’s perfect for any occasion? Try my Caramel Apple Yogurt Bark! This easy recipe

Get ready for a delicious twist on a classic treat! In this post, I’ll share my easy recipe for Pumpkin
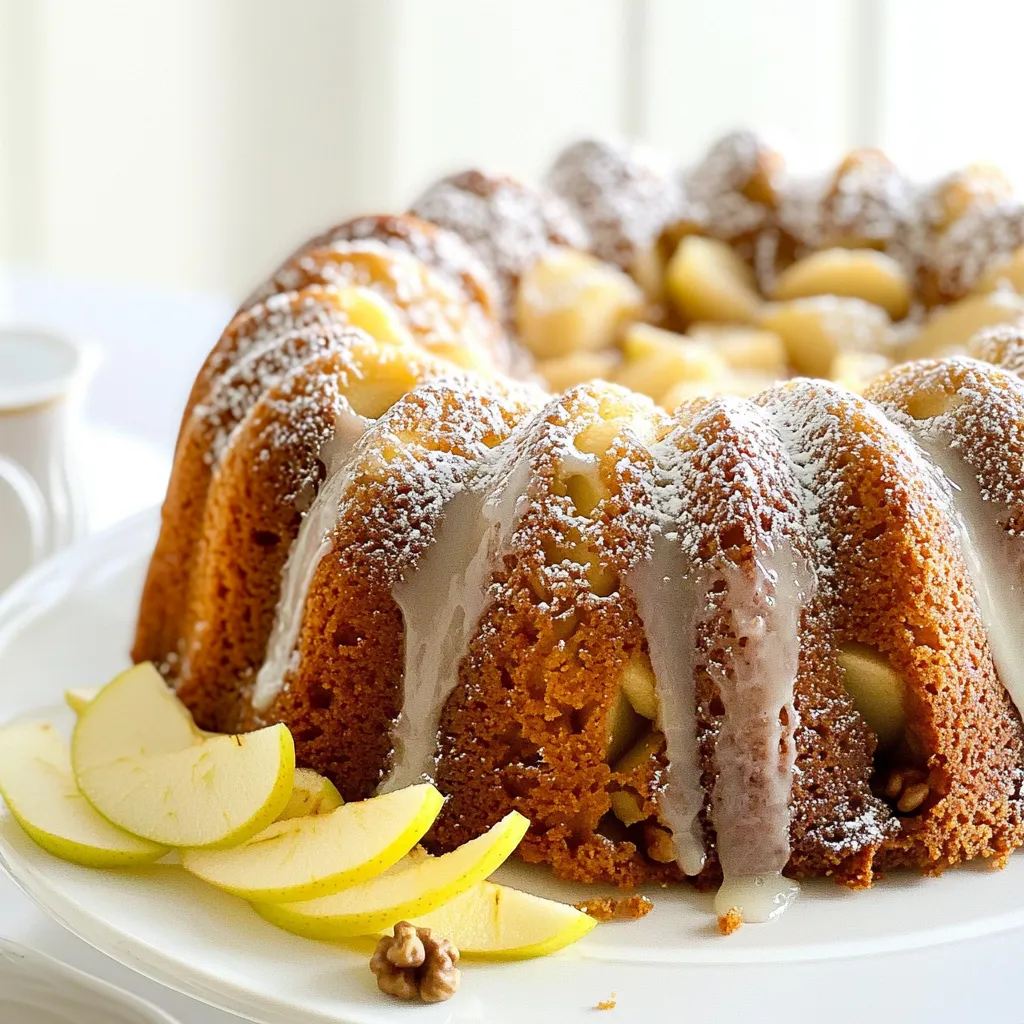
Are you ready to bake a cake that captures the essence of autumn? This Apple Cider Pound Cake is a
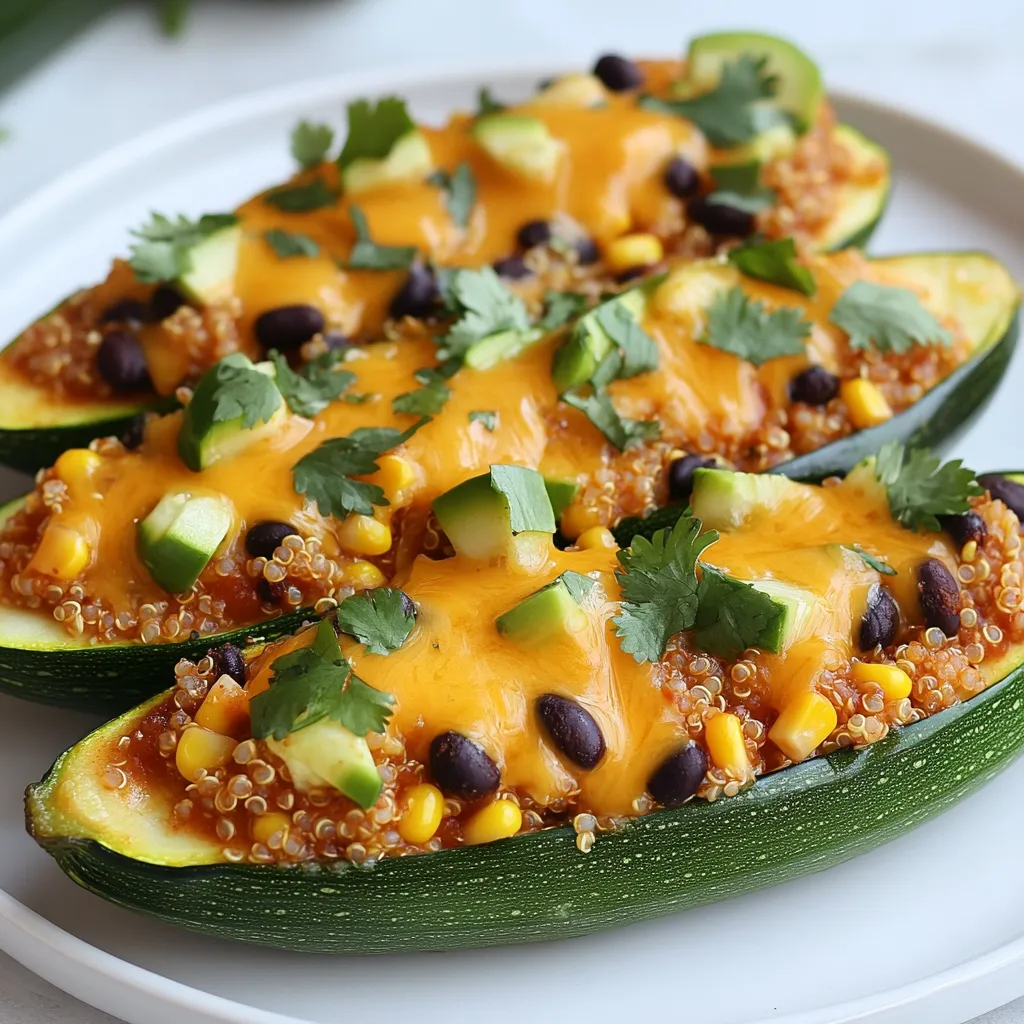
Are you looking for a fun and tasty meal idea? Try my Cheesy Enchilada Stuffed Zucchini! This dish brings together
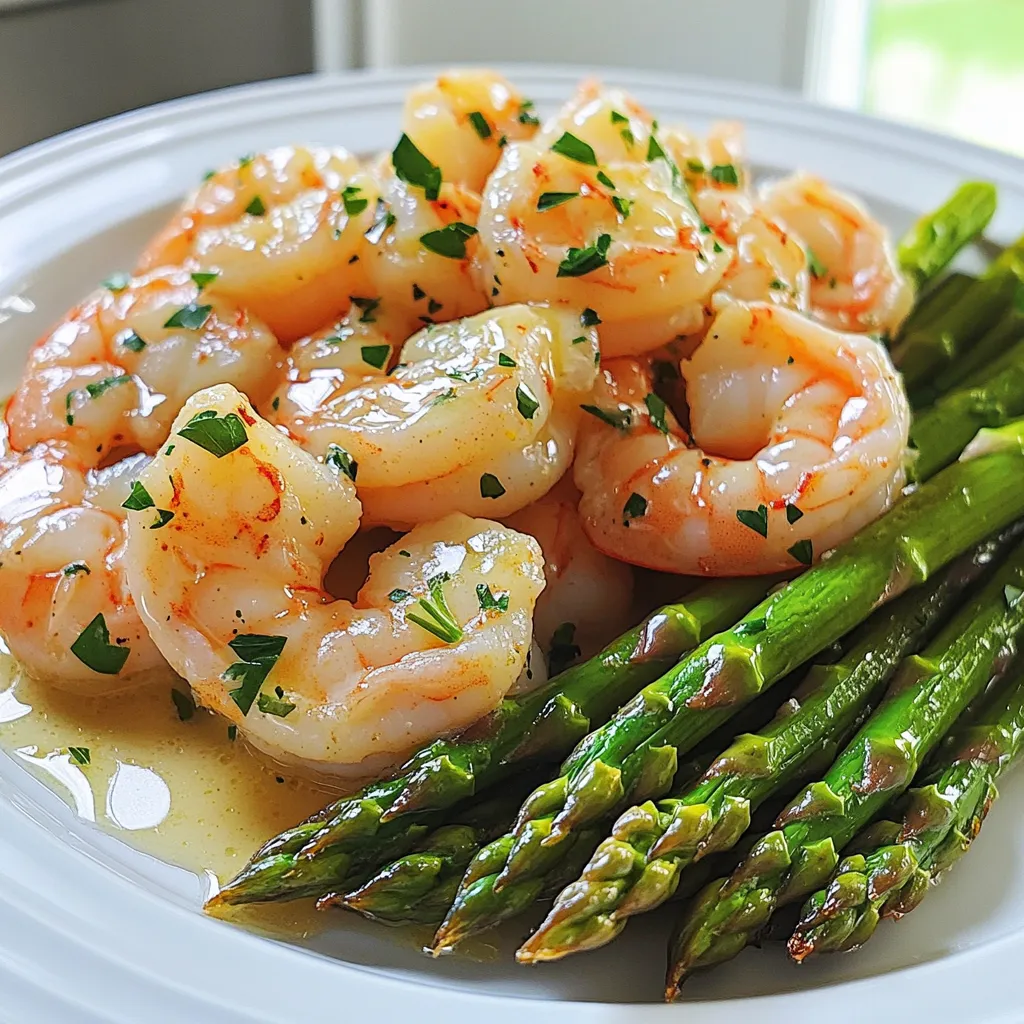
Get ready for a mouth-watering adventure with my Garlic Butter Shrimp & Asparagus Sheet-Pan Delight! This easy recipe brings fresh
