
Apple Cider Glazed Donuts Easy and Tasty Recipe
Fall is here, and your kitchen deserves a sweet treat that captures the season! I’m excited to share my easy
Fall is here, and your kitchen deserves a sweet treat that captures the season! I’m excited to share my easy
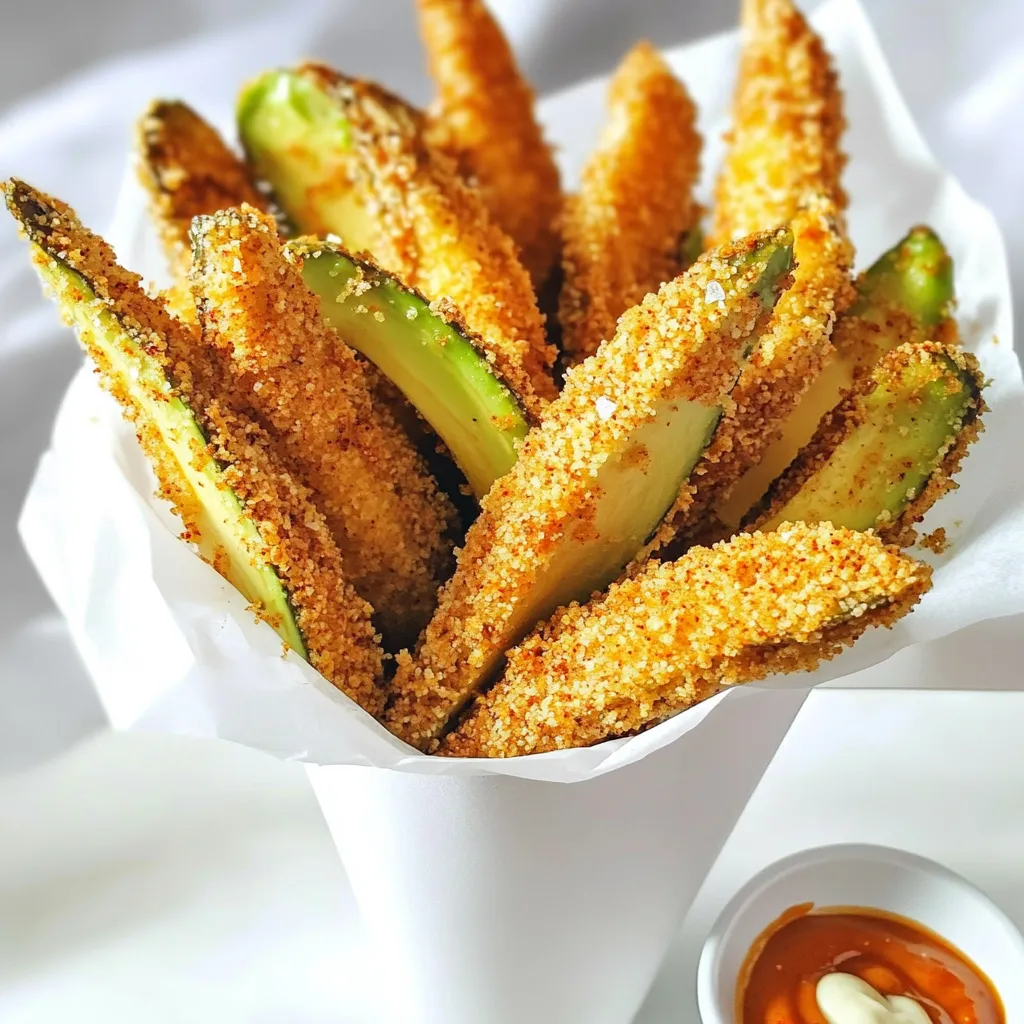
Looking for a tasty snack that’s easy and healthy? Try these savory air fryer avocado fries! With ripe avocados, crispy

If you’re craving a delightful treat, look no further! My Pumpkin Cream Cheese Danish is simple to make and bursting
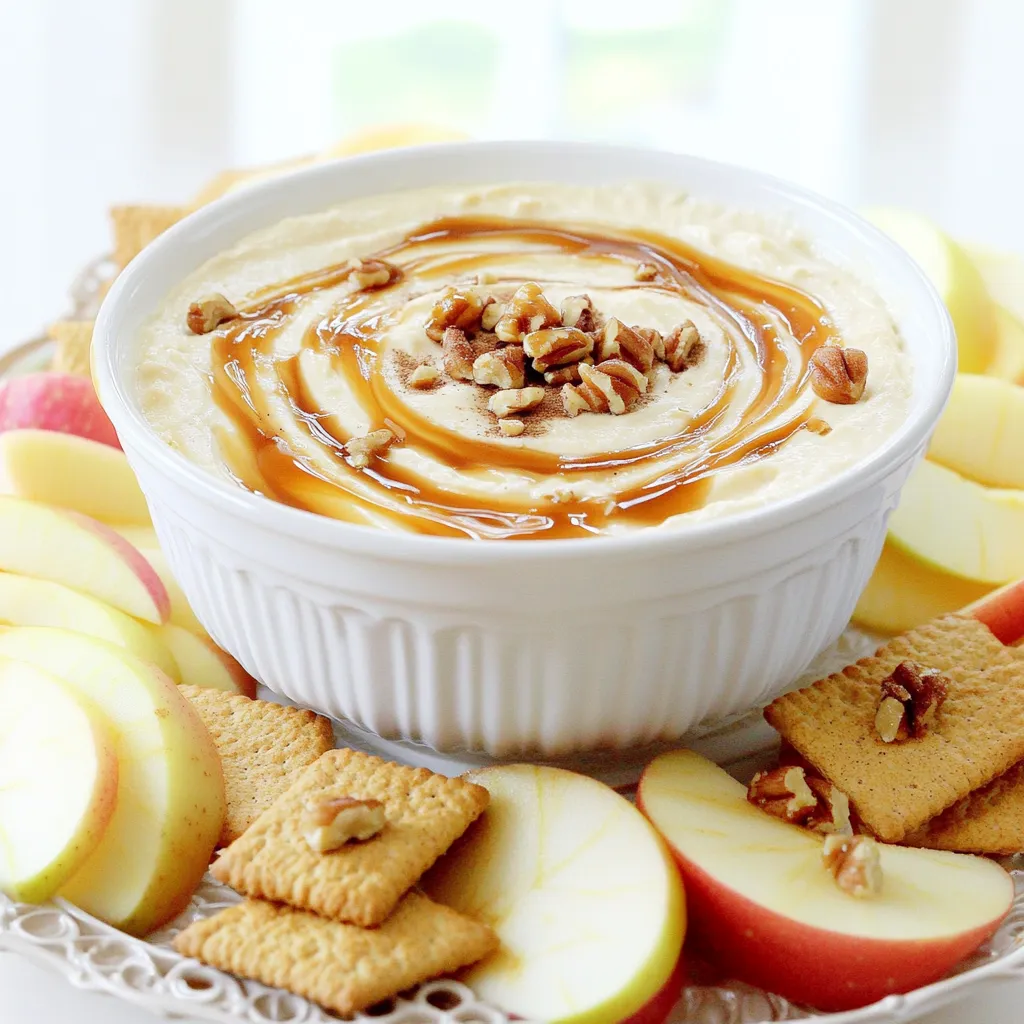
Are you ready to indulge in a creamy, sweet treat that combines the best of both worlds? My Caramel Apple
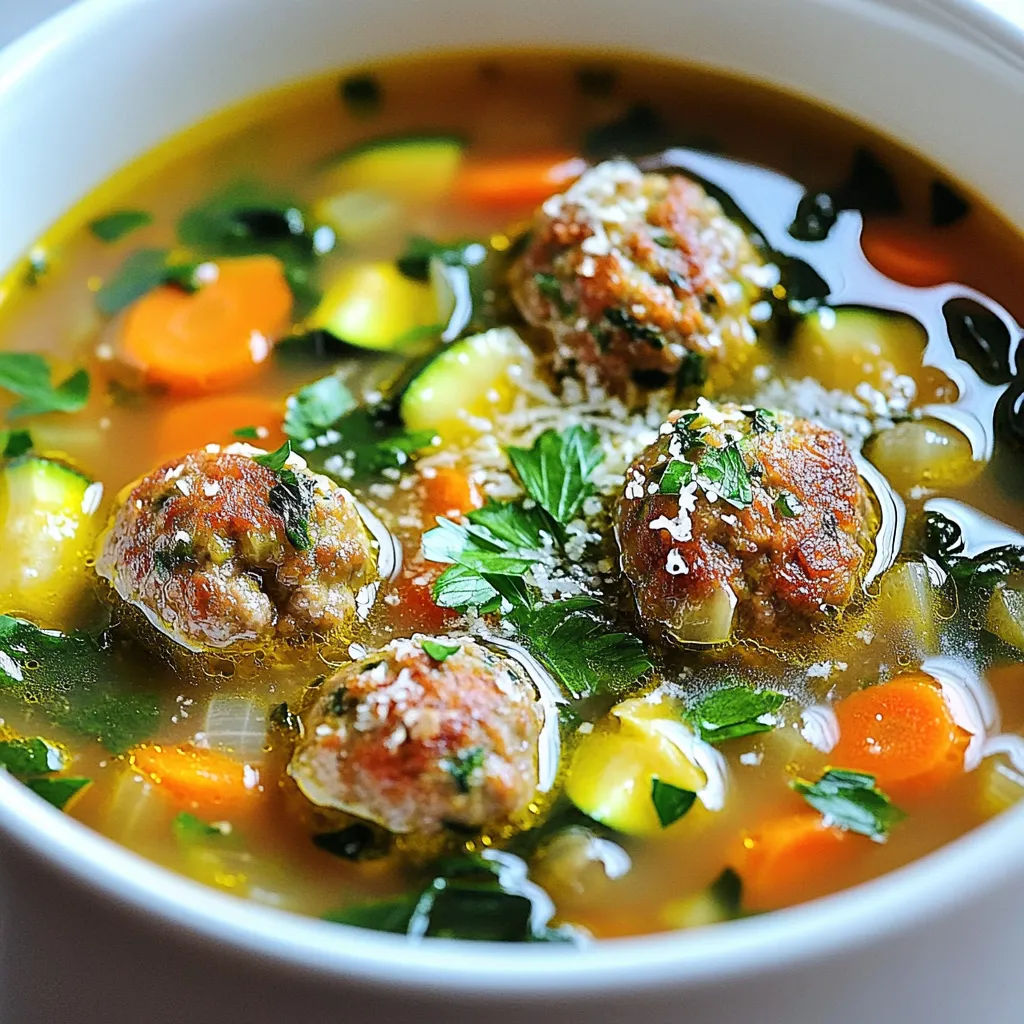
Are you ready to warm your soul with a big bowl of comfort? Slow cooker Italian meatball soup is a
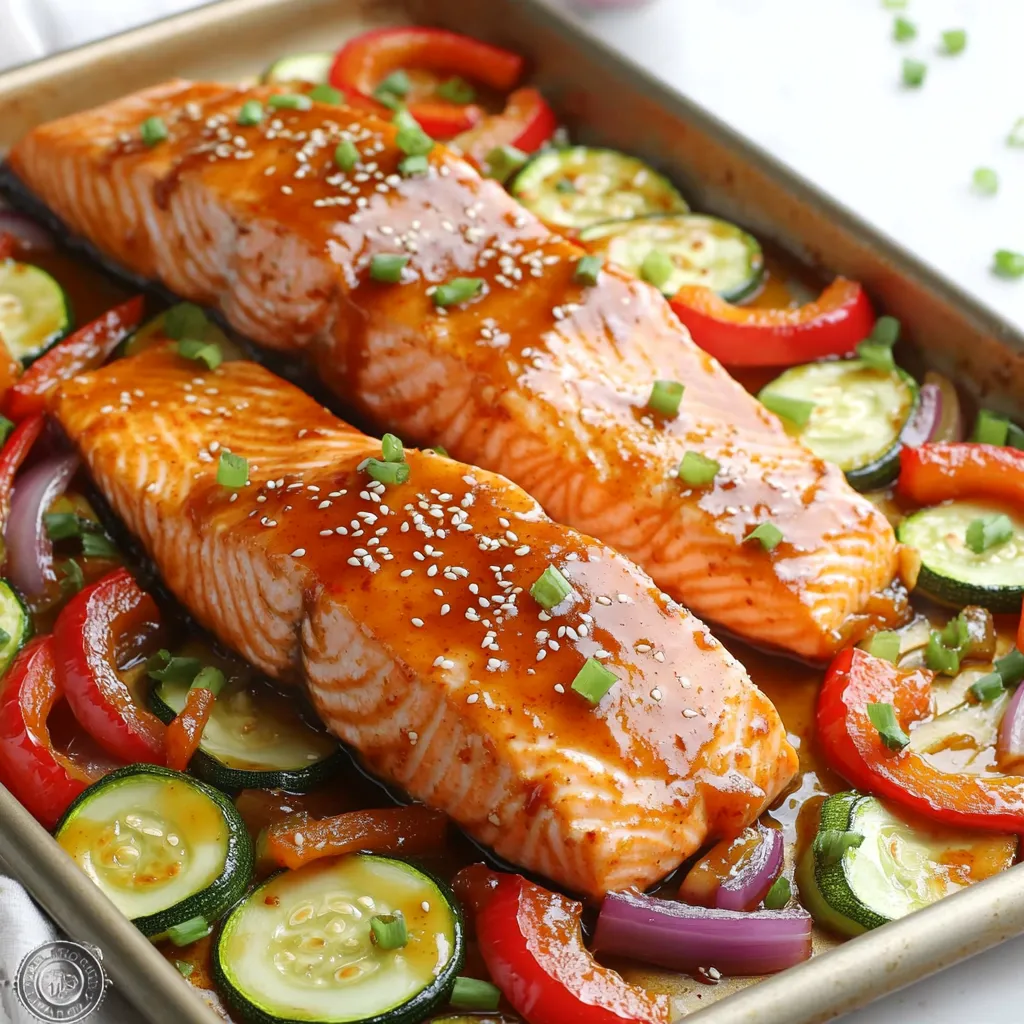
If you’re after a quick, tasty meal that impresses, look no further! My Sheet Pan Sweet Chili Glazed Salmon brings

Looking for a quick and tasty meal? Garlic Butter Ramen Bowls are your answer! This easy recipe combines silky noodles
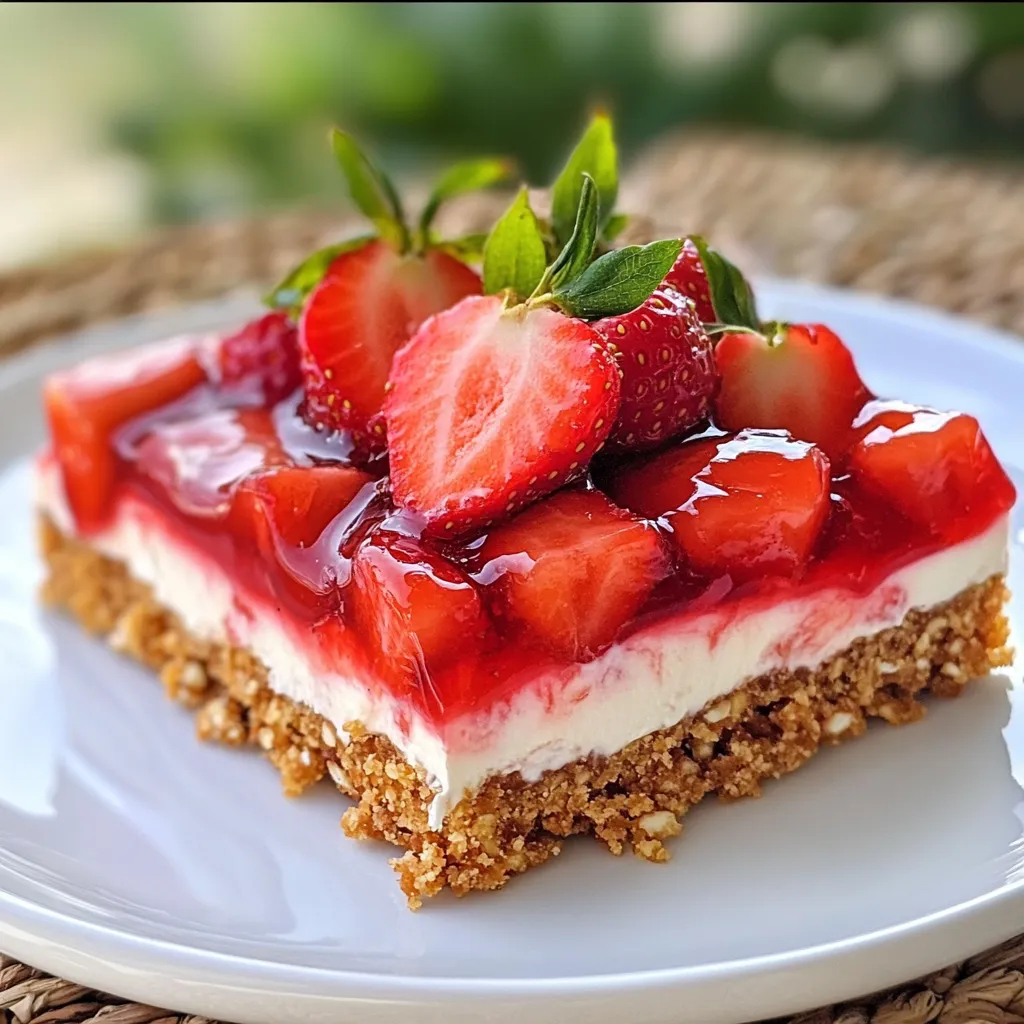
Summer is here, and what better way to enjoy it than with Strawberry Pretzel Salad Bars? These sweet and salty
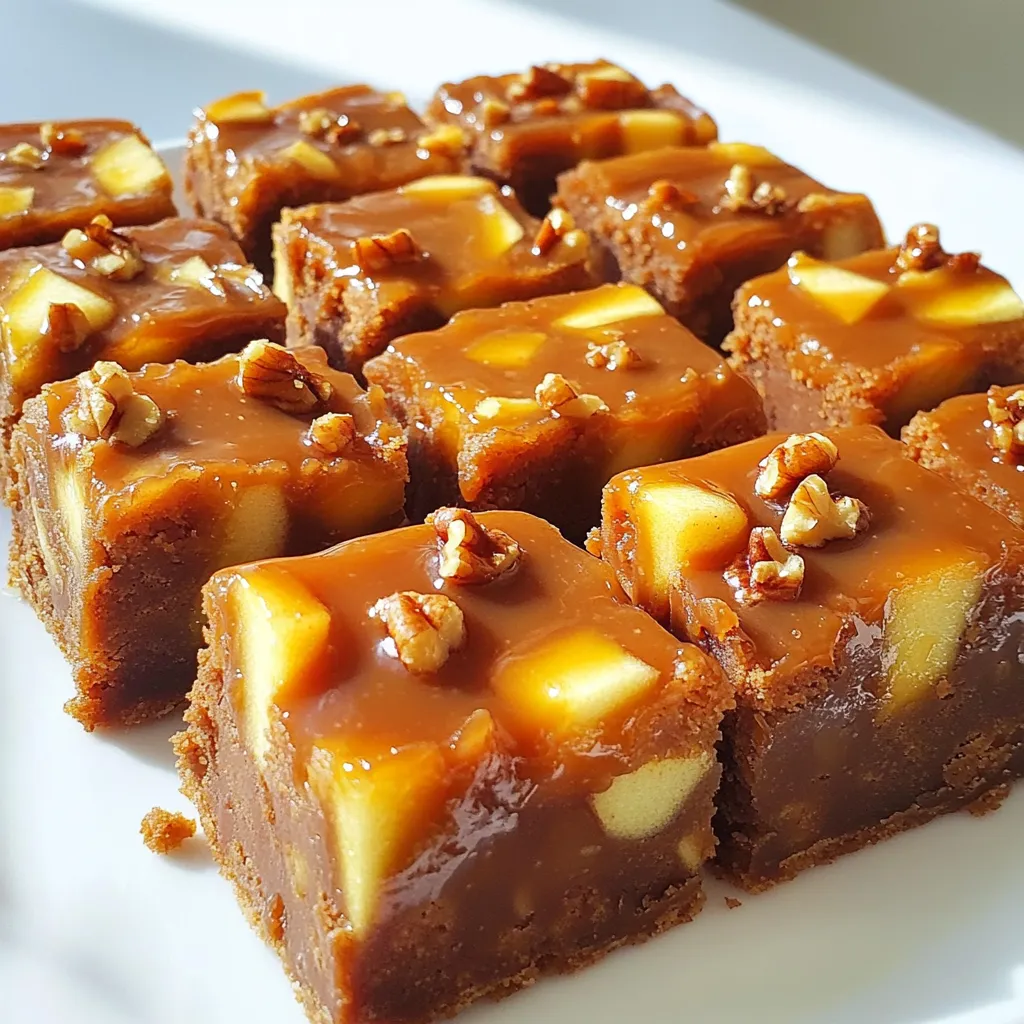
Are you ready to indulge in a sweet treat that combines the flavors of autumn? Caramel Apple Fudge is the

Get ready to enjoy a cozy fall treat with my Pumpkin Spice Cinnamon Rolls made in the air fryer! This
