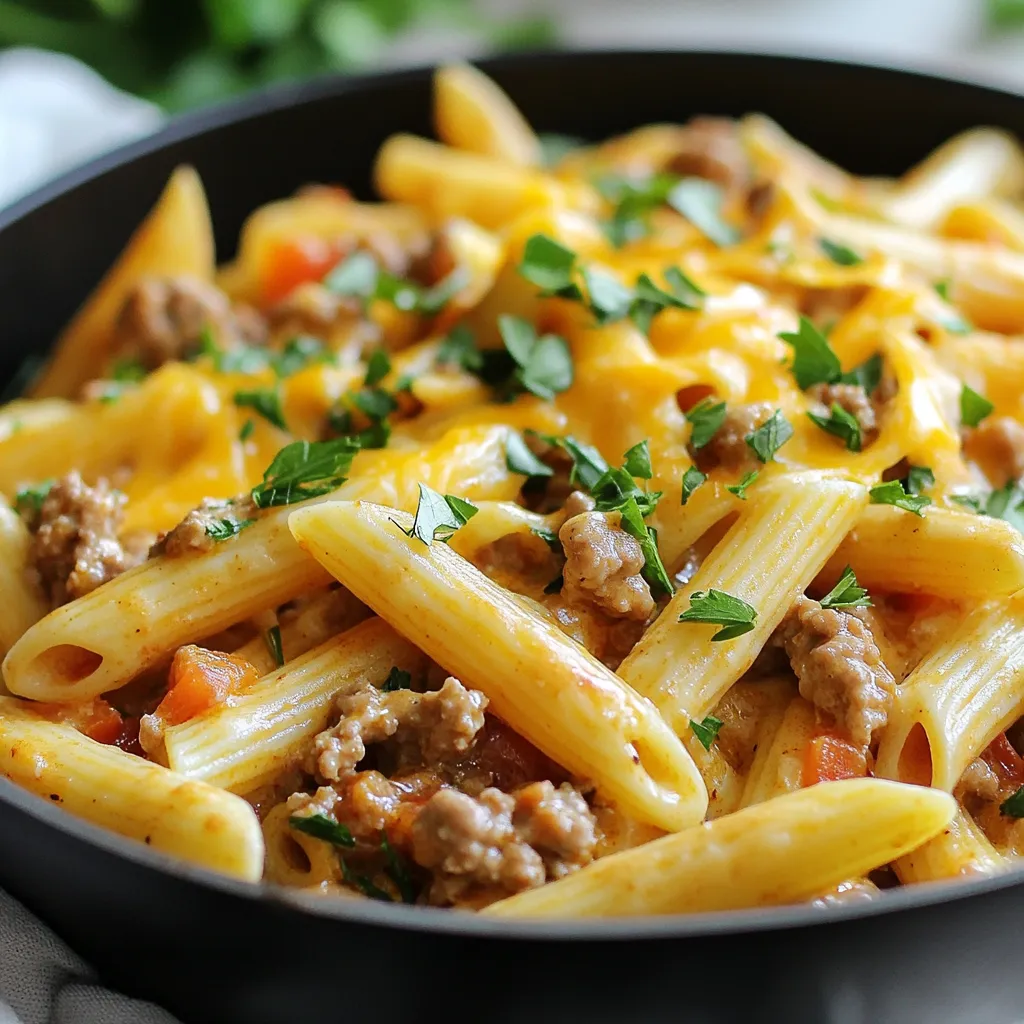
Cajun Turkey Pasta Skillet Quick and Tasty Dinner Meal
Looking for a quick and tasty dinner? The Cajun Turkey Pasta Skillet is your answer! This one-pan meal mixes savory
Looking for a quick and tasty dinner? The Cajun Turkey Pasta Skillet is your answer! This one-pan meal mixes savory
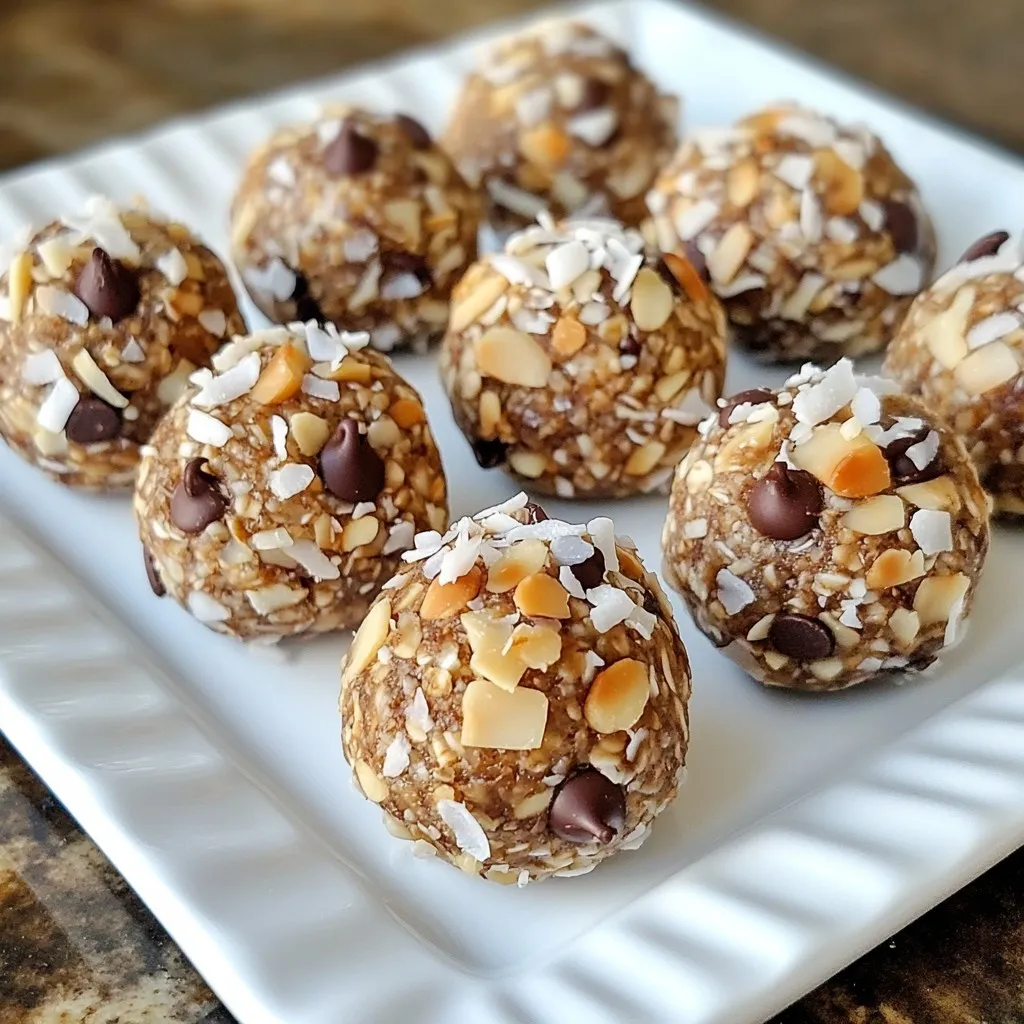
Looking for a quick and tasty snack? Almond Joy Energy Balls are your answer! Packed with flavor and energy, these
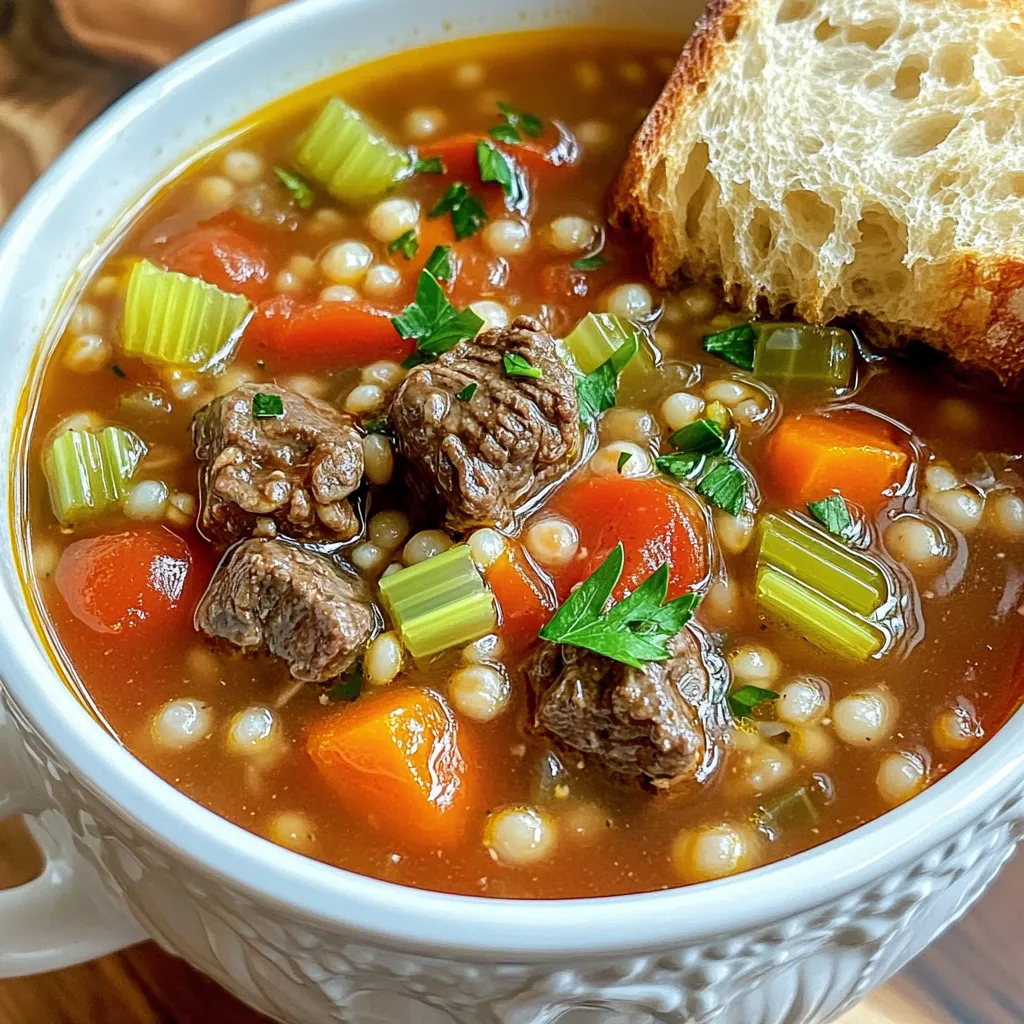
Looking for a simple and hearty dish that warms your soul? Try this Beef & Barley Soup made in a

Welcome to your next favorite fall treat: Pumpkin Cream Cheese Streusel Muffins! Imagine biting into a warm muffin that’s moist,

Craving a meal that’s spicy, yummy, and super easy? These Spicy Buffalo Cauliflower Wraps are the answer! With just a
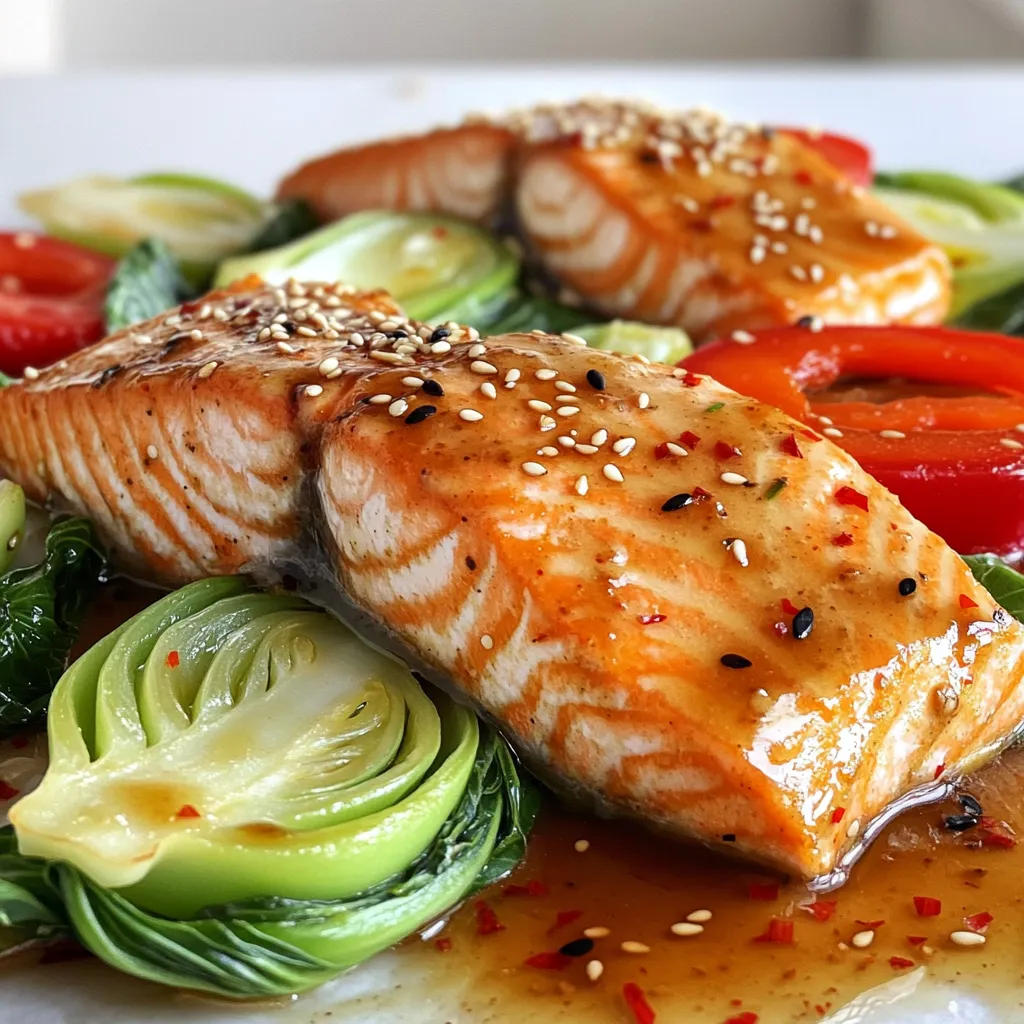
Are you ready to impress your taste buds? My Teriyaki Salmon & Bok Choy Sheet Pan Delight is a quick,
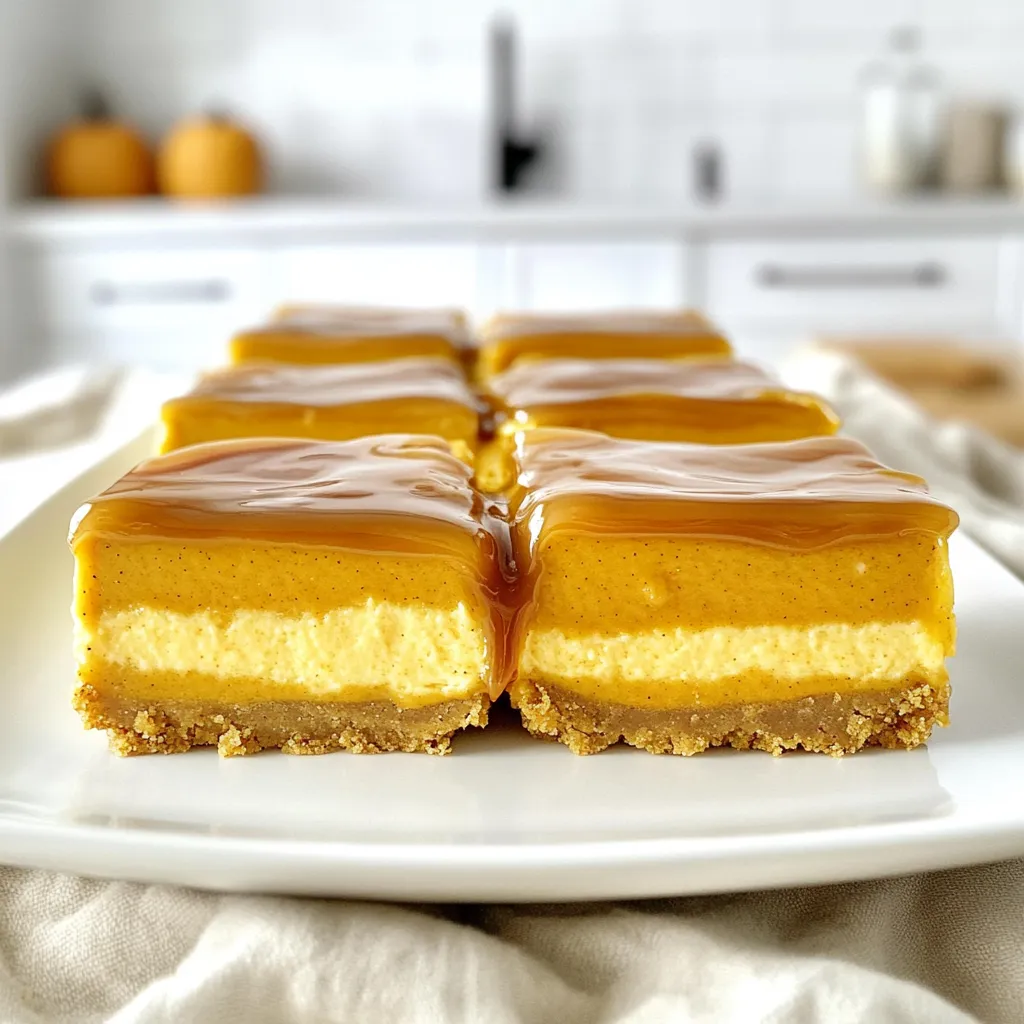
Indulge your senses with these Salted Caramel Pumpkin Cheesecake Bars. This easy recipe blends creamy pumpkin cheesecake with a rich
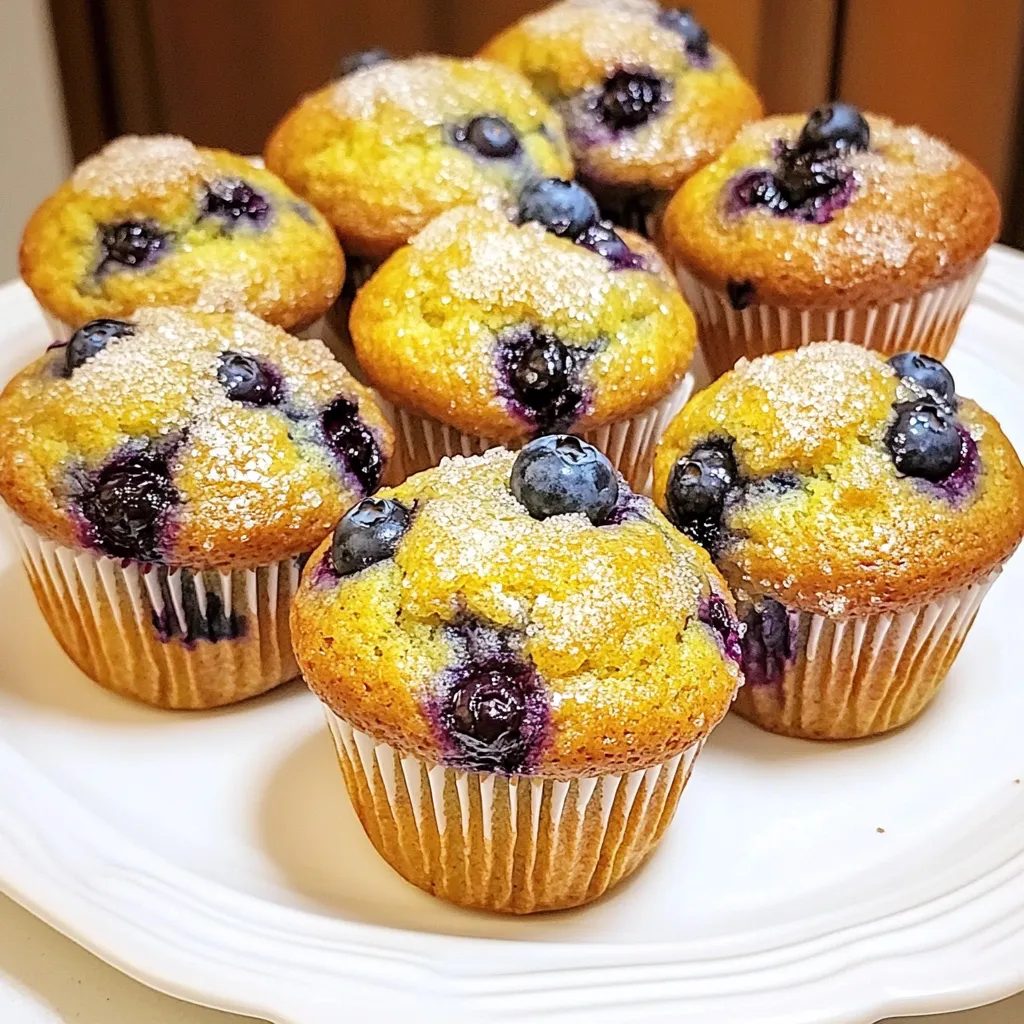
Bite into a warm Lemon Blueberry Muffin, and you’ll be instantly hooked. These bakery-style treats are bursting with fresh flavors
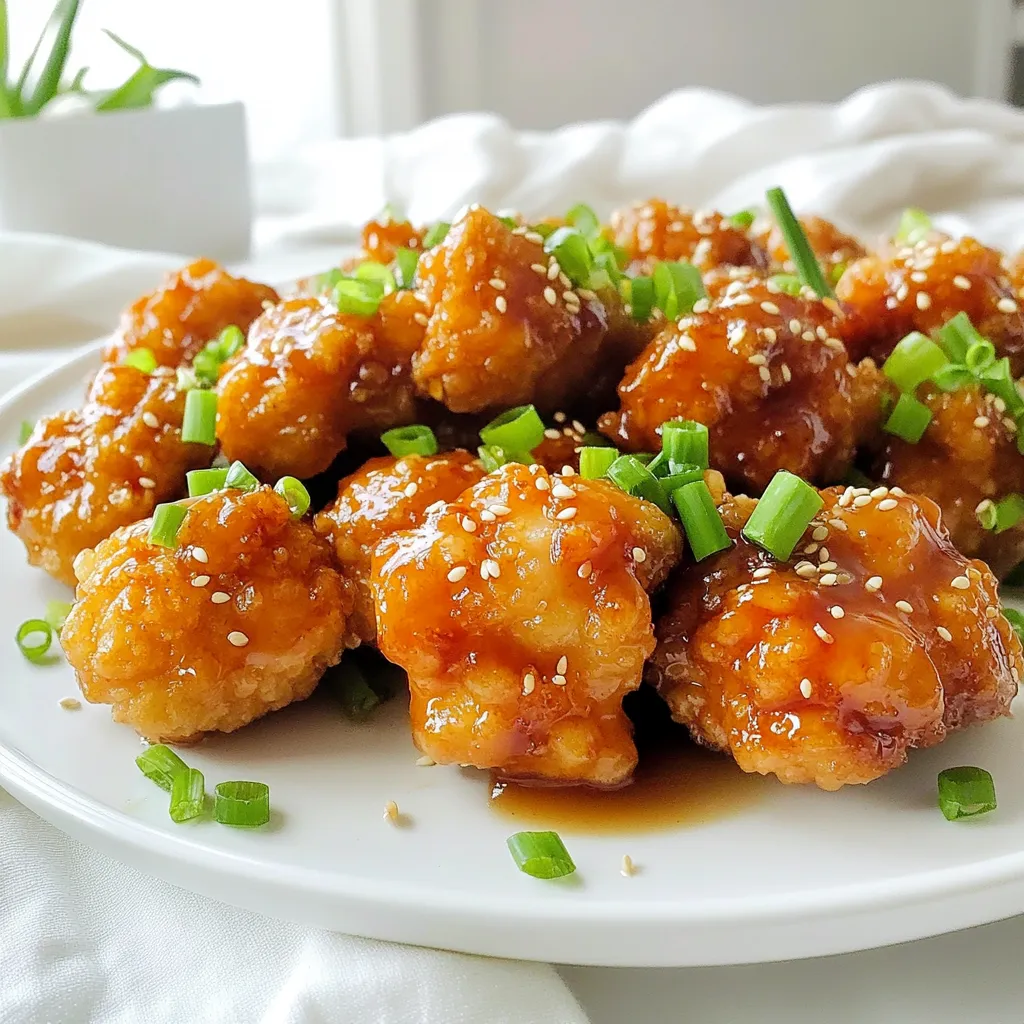
Are you ready to savor a crispy delight? My Honey Garlic Chicken Bites recipe made in the air fryer will
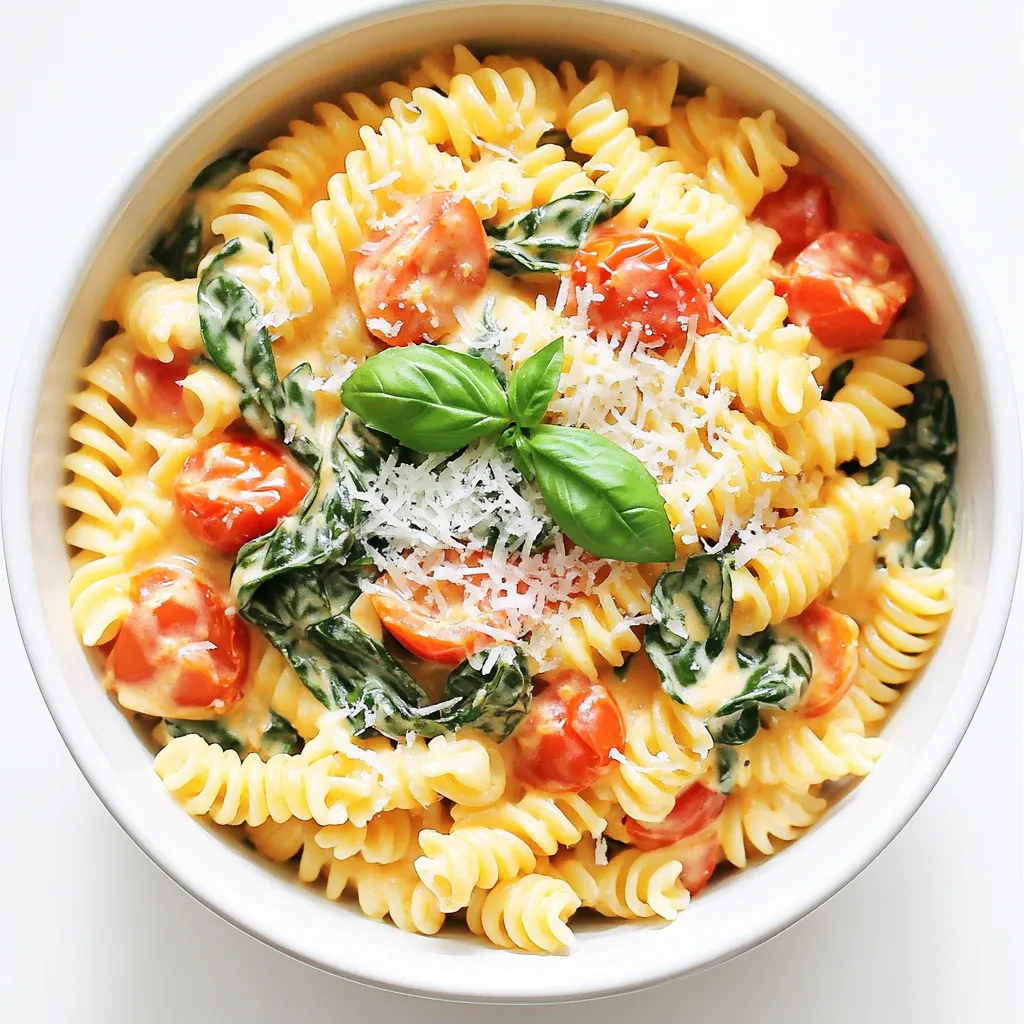
Looking for a quick and tasty dinner? This Creamy Tomato Spinach Pasta is your answer! With just a few simple
