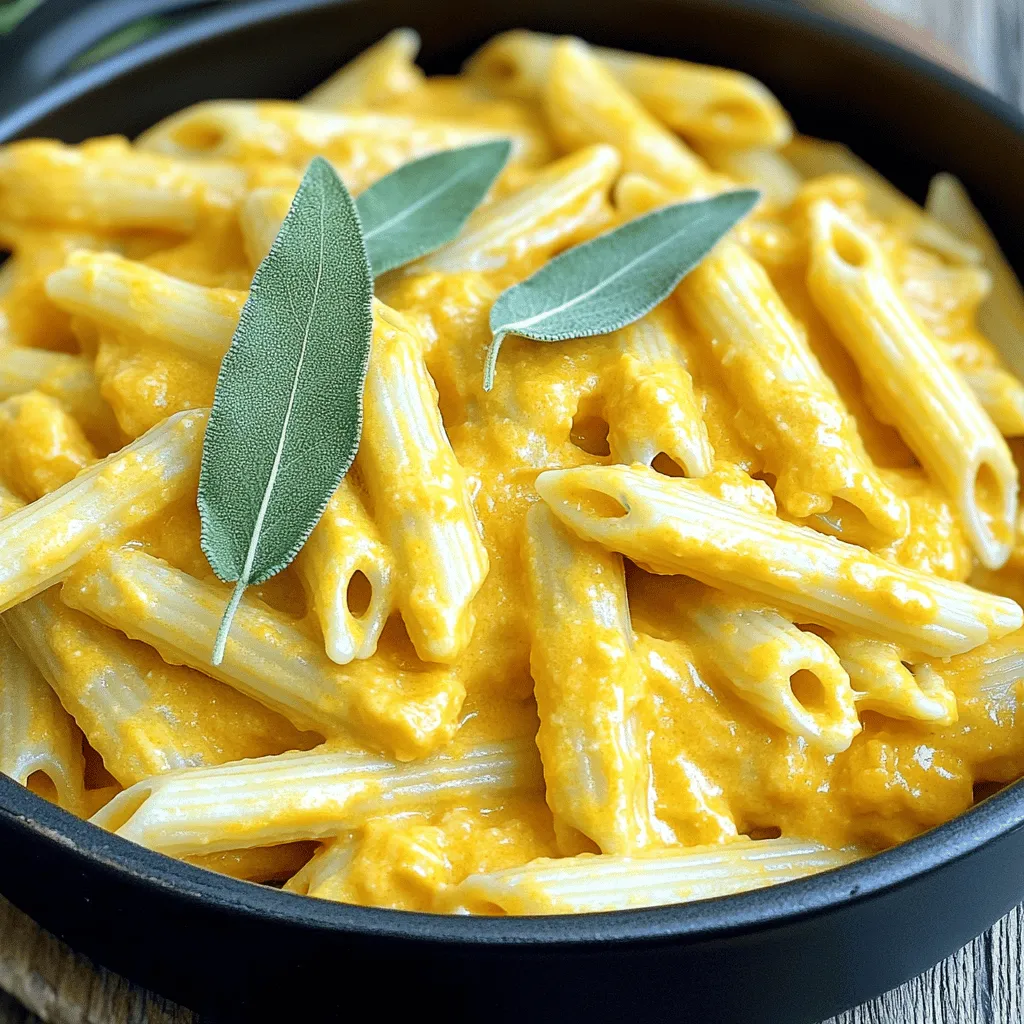
One-Pot Creamy Pumpkin Pasta Delightful and Simple
Craving a cozy, delicious meal that’s quick to prepare? Look no further than my One-Pot Creamy Pumpkin Pasta! This easy
Craving a cozy, delicious meal that’s quick to prepare? Look no further than my One-Pot Creamy Pumpkin Pasta! This easy
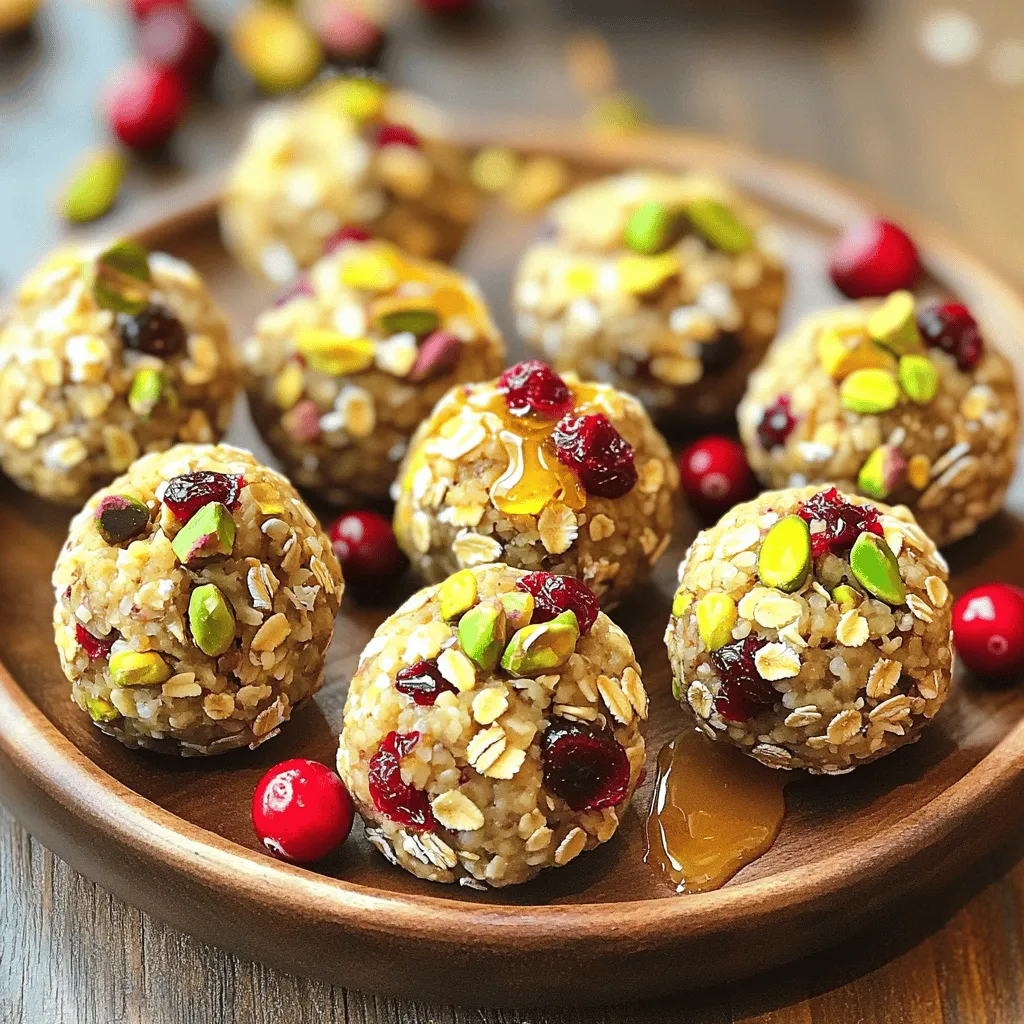
Looking for a quick and tasty snack? These Pistachio Cranberry Energy Bites are easy to make and packed with nutrition.
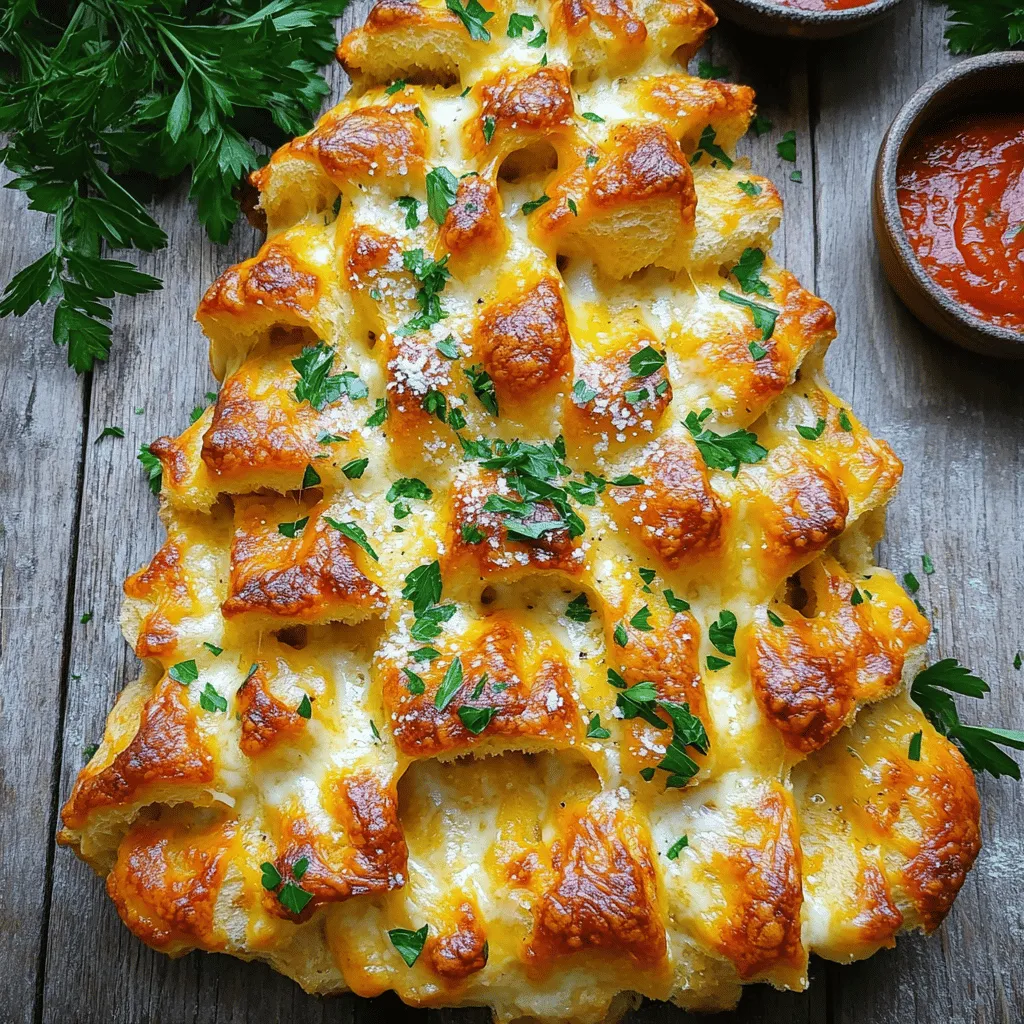
Get ready to impress your guests with my Cheesy Pull-Apart Christmas Tree Bread! This festive delight is not just a
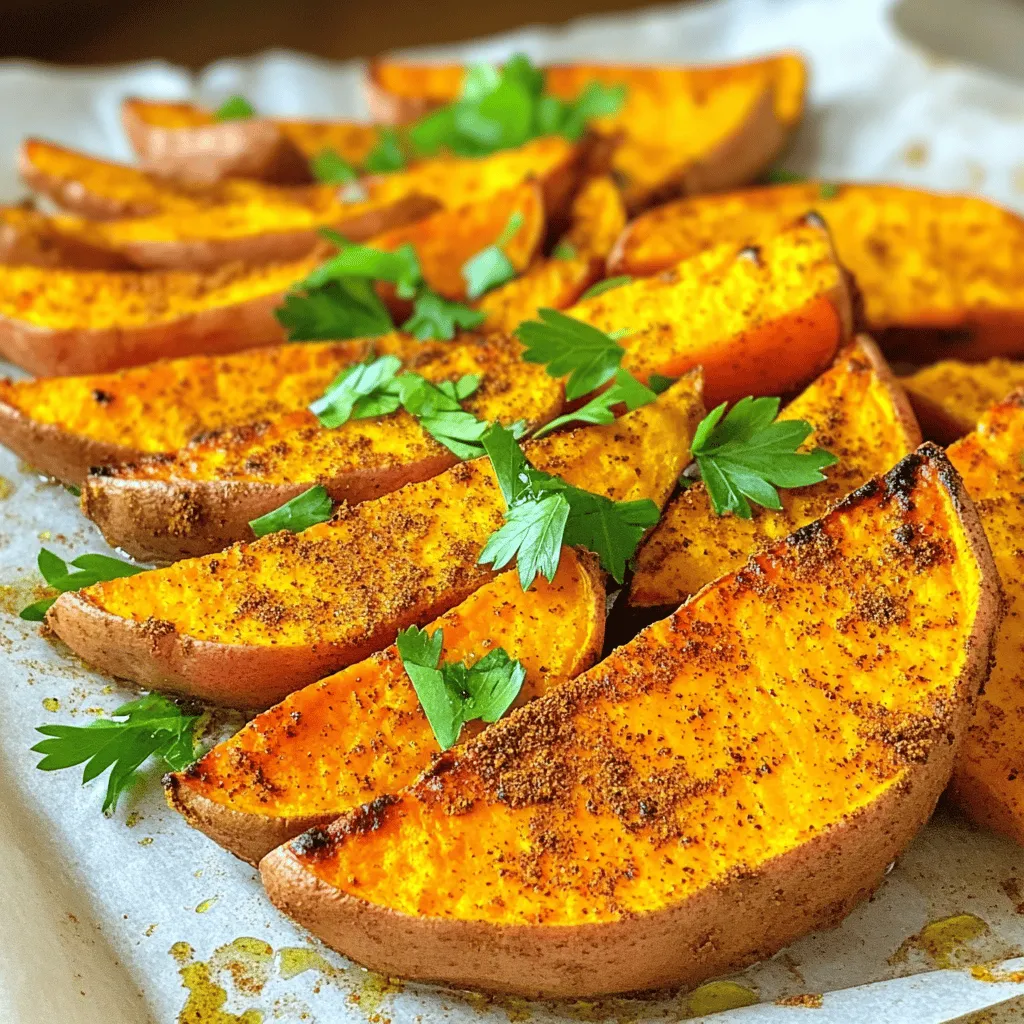
Looking for a snack that’s both tasty and good for you? Roasted sweet potato wedges are your perfect solution! These
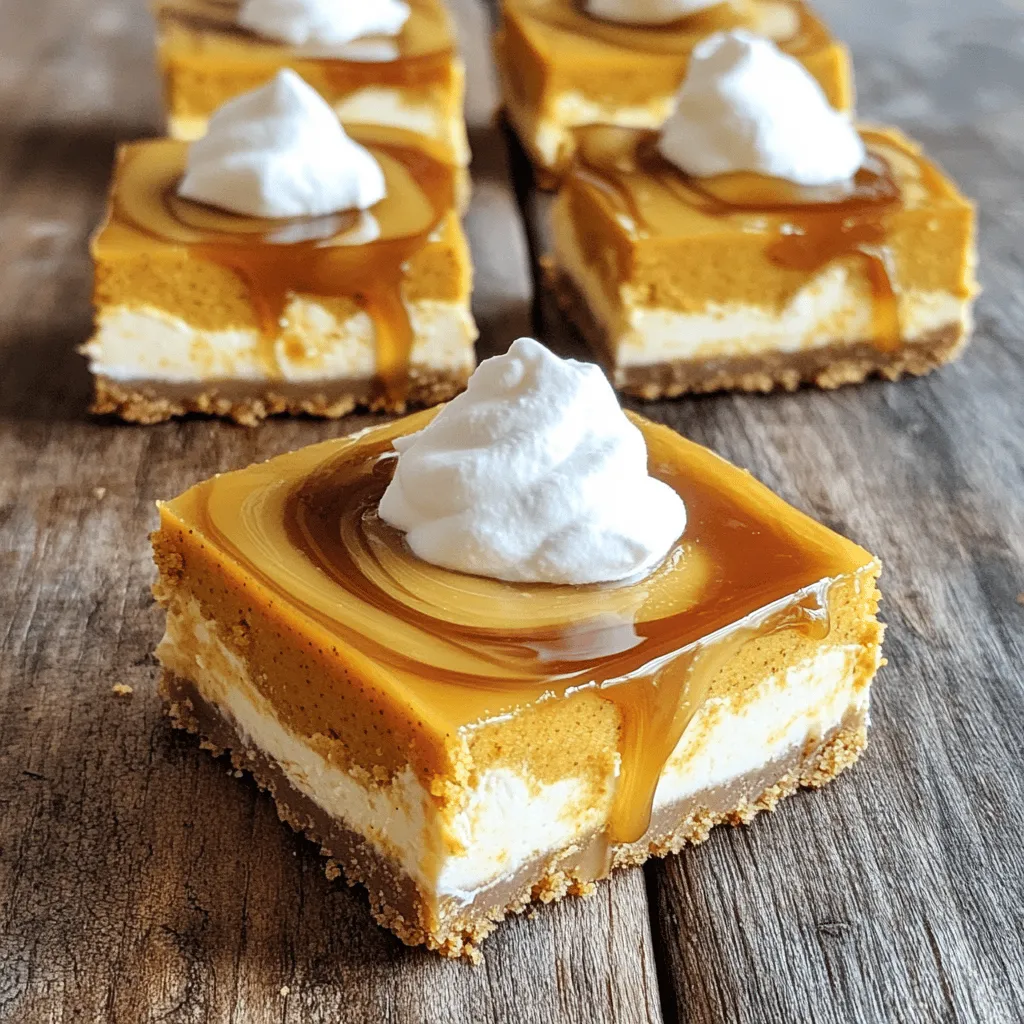
Fall has arrived, and it’s time to indulge in flavors that warm our hearts! If you’re looking for a sweet
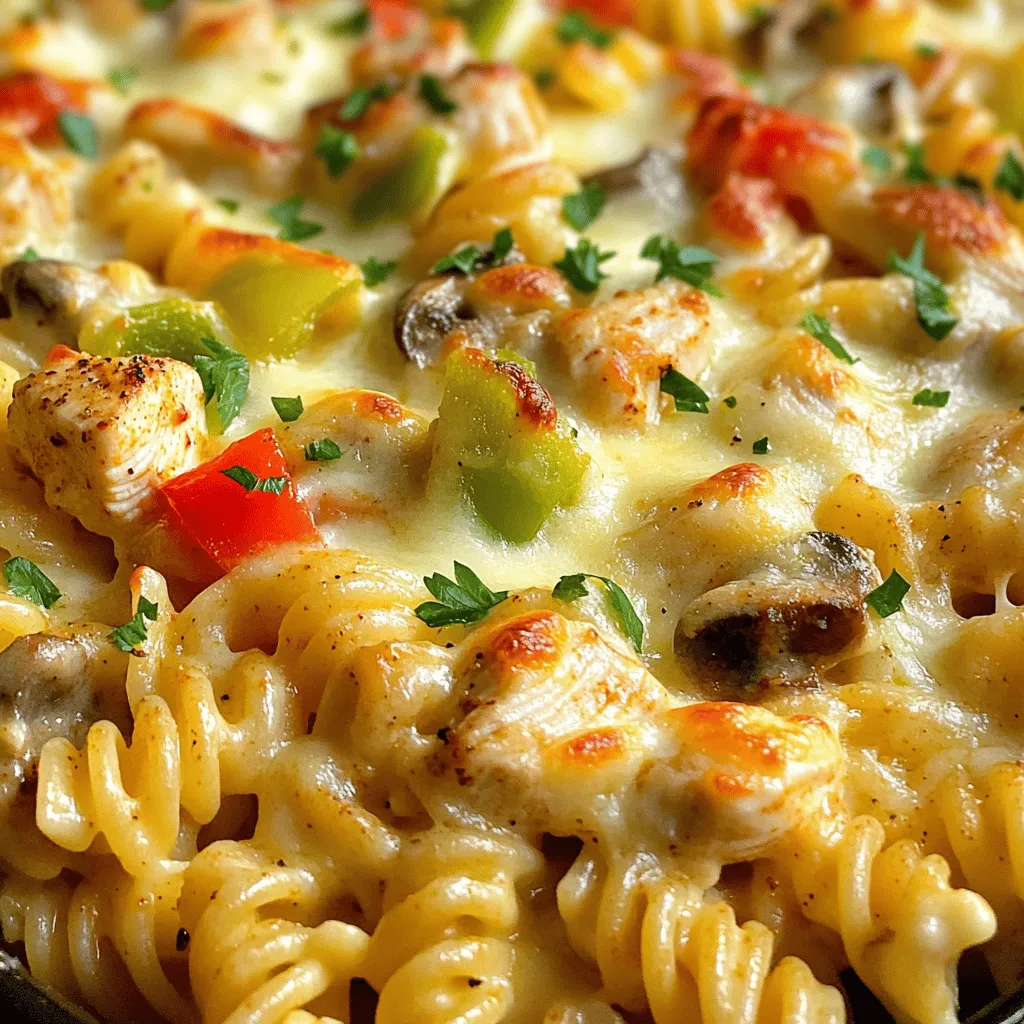
Get ready to spice up your dinner routine with my Spicy Cajun Chicken Alfredo Bake! This dish combines creamy Alfredo
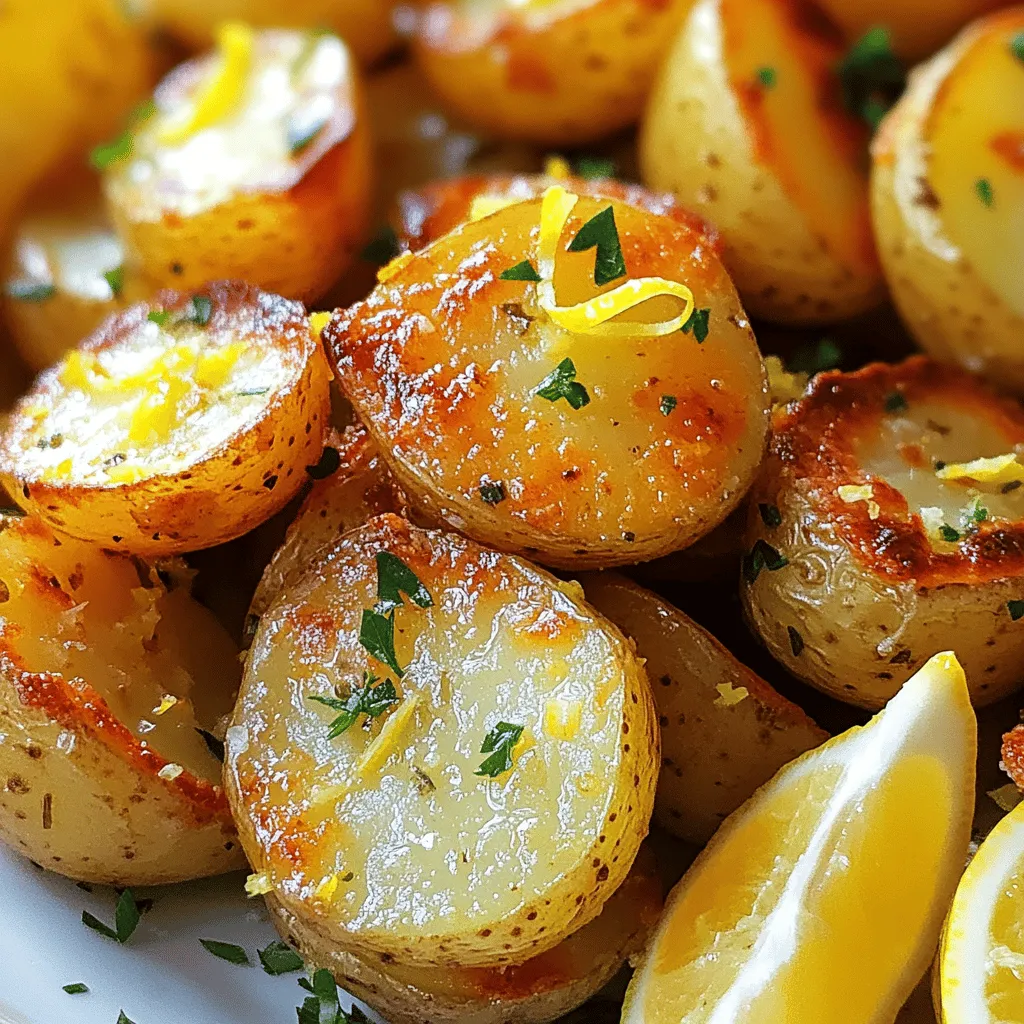
Looking for a delicious side dish that’s simple to make? Try Greek Lemon Potatoes! These baby potatoes burst with flavor
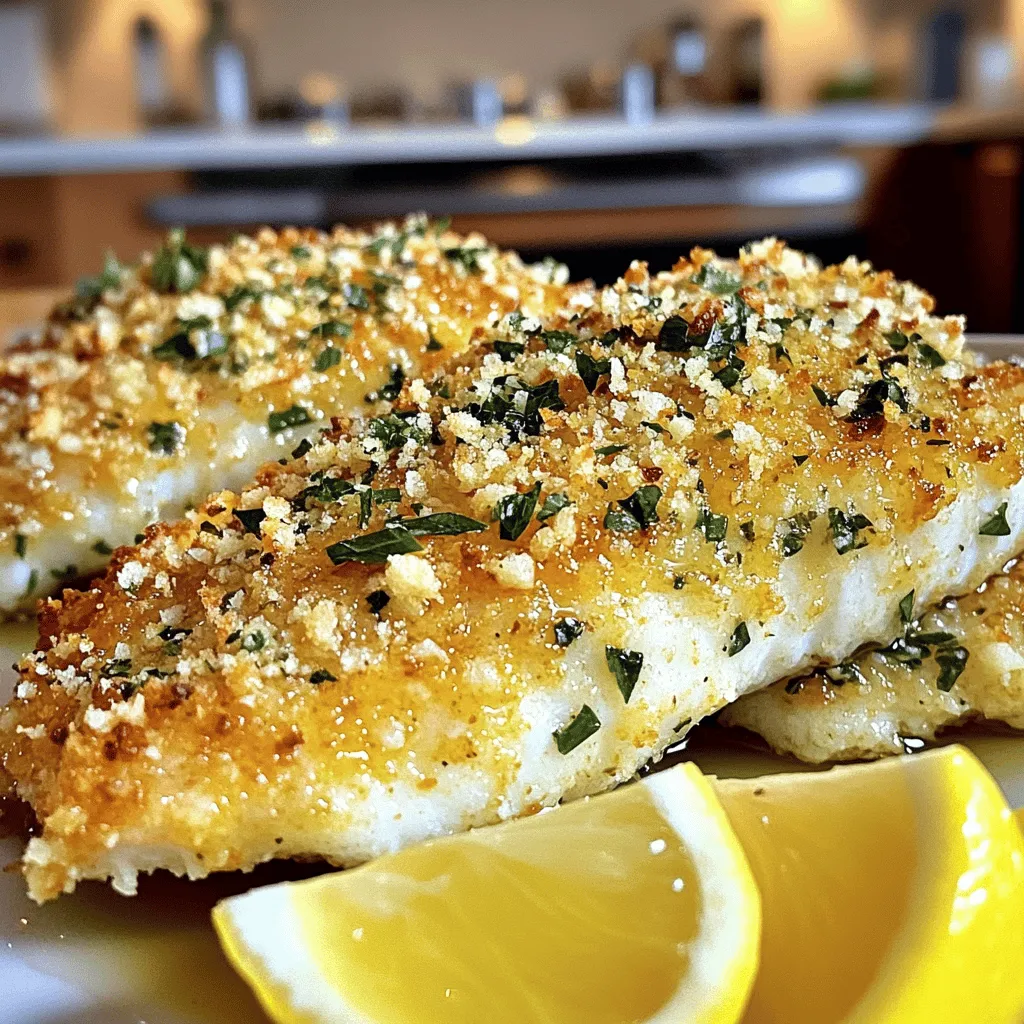
Looking for a quick and tasty dinner? You’ve found it! My Parmesan Herb Crusted Tilapia is not only simple to
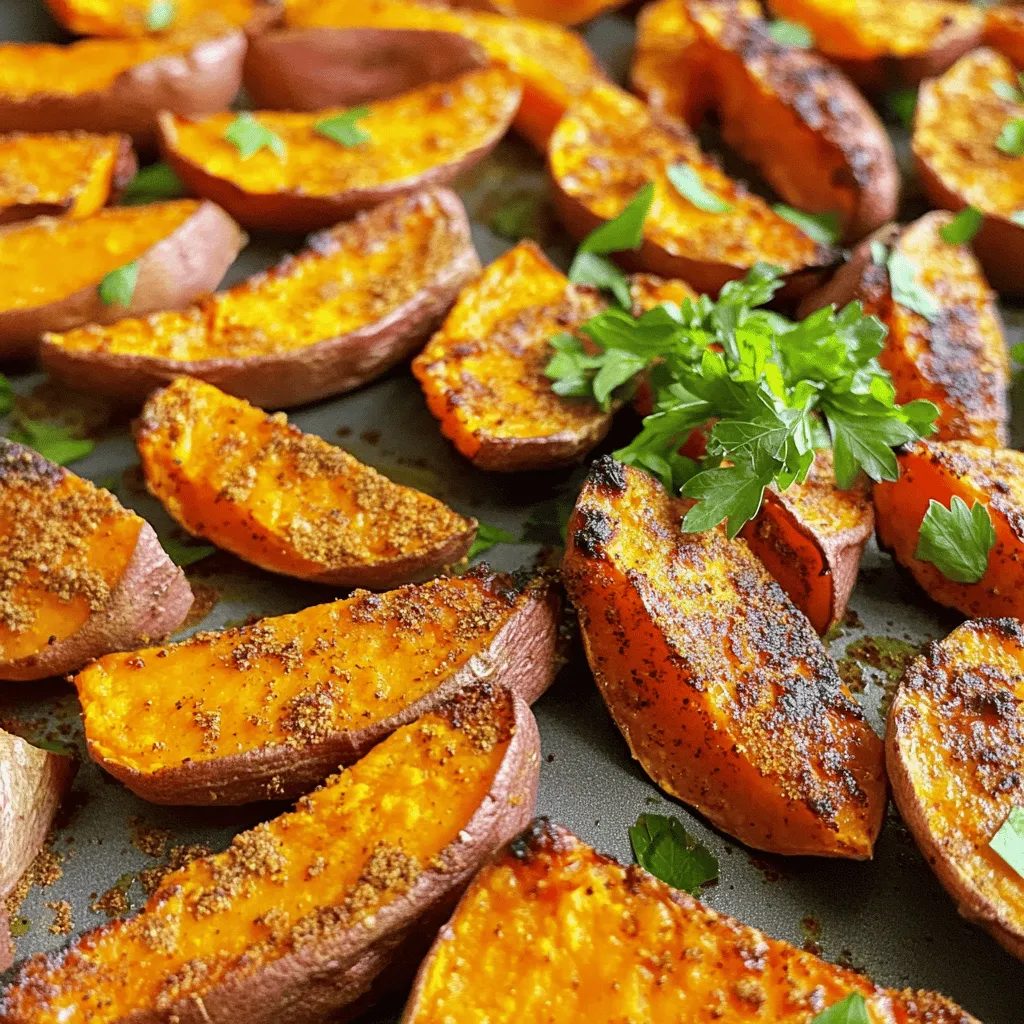
Looking for a delicious snack or side dish? Roasted sweet potato wedges are crispy, flavorful, and easy to make. With

Get ready to fall in love with dessert all over again! My Caramel Pumpkin Cheesecake Bars combine creamy pumpkin filling
