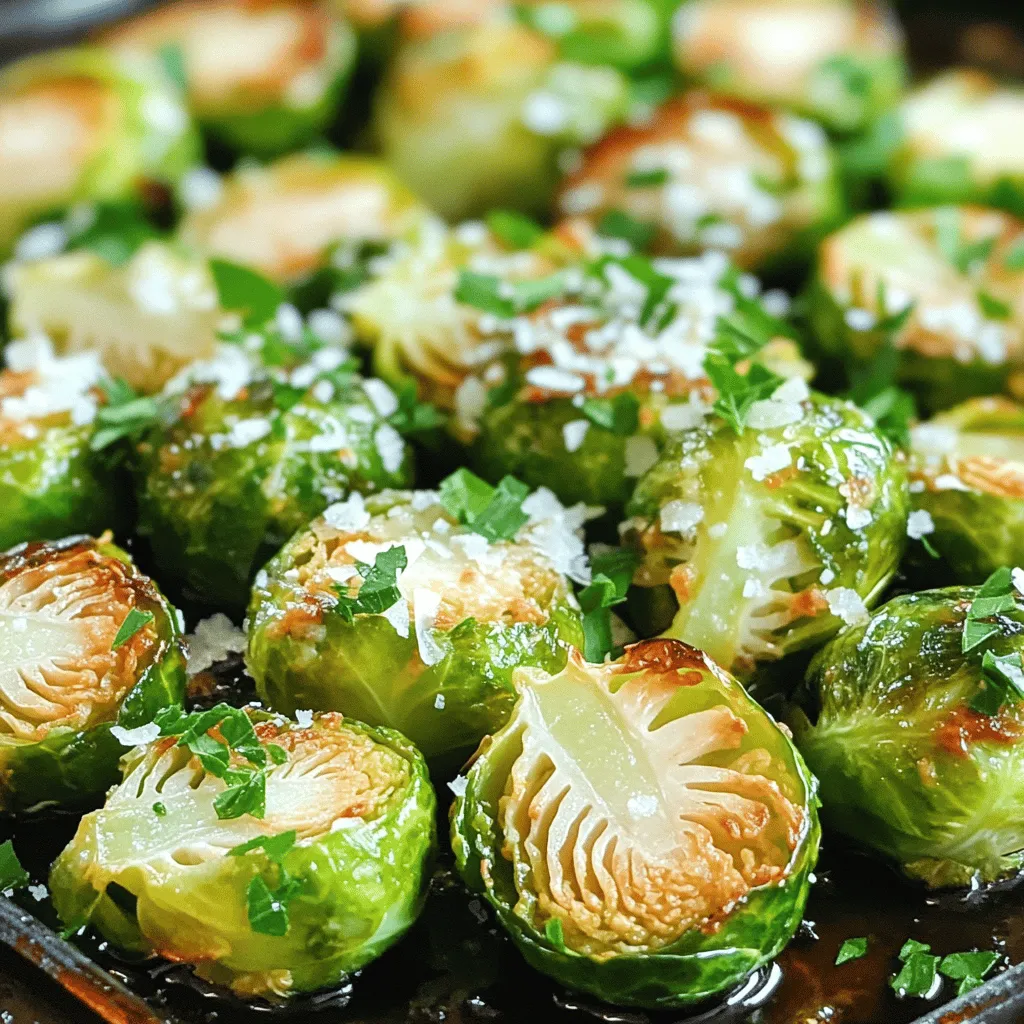
Garlic Parmesan Brussels Sprouts Savory Side Dish
Are you ready to elevate your side dish game? Garlic Parmesan Brussels Sprouts combine the earthy flavor of Brussels sprouts
Are you ready to elevate your side dish game? Garlic Parmesan Brussels Sprouts combine the earthy flavor of Brussels sprouts
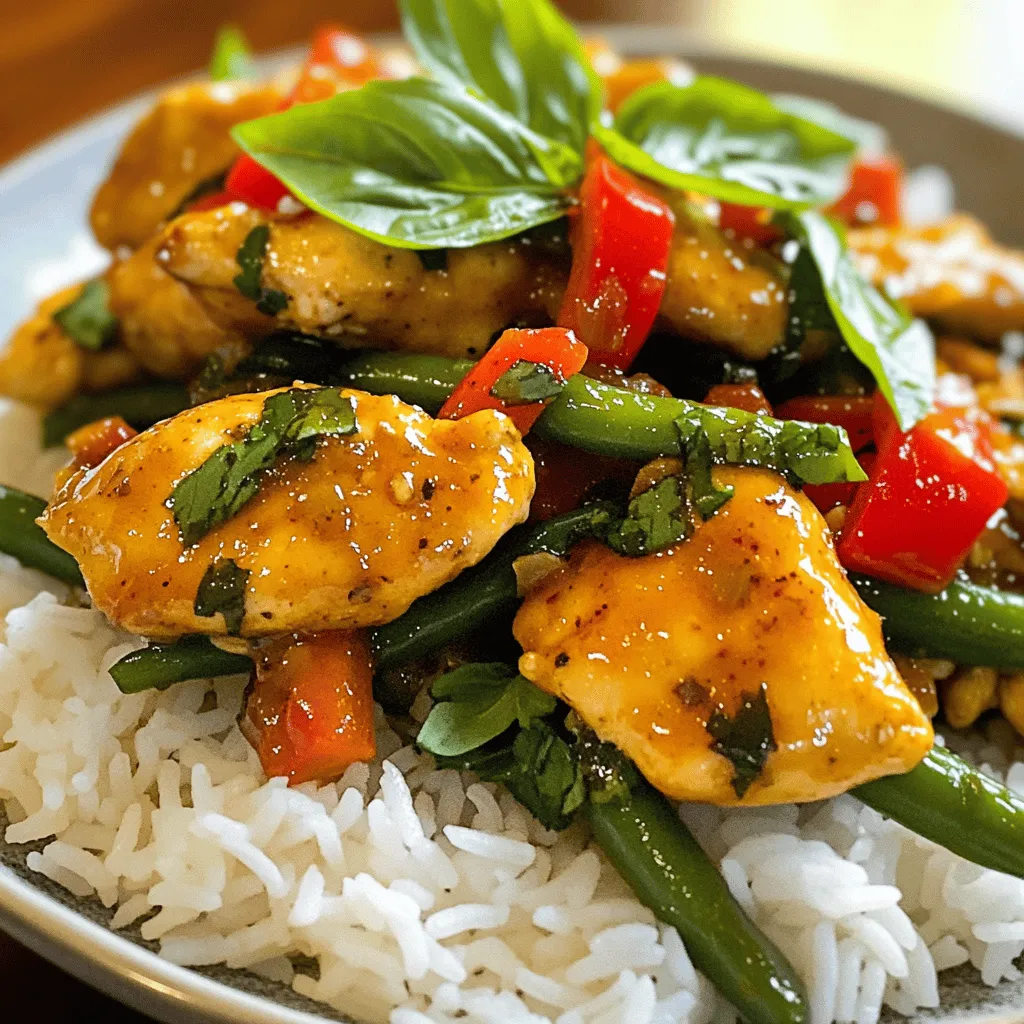
Are you ready to spice up your dinner routine? Spicy Thai Basil Chicken is a quick and tasty dish that
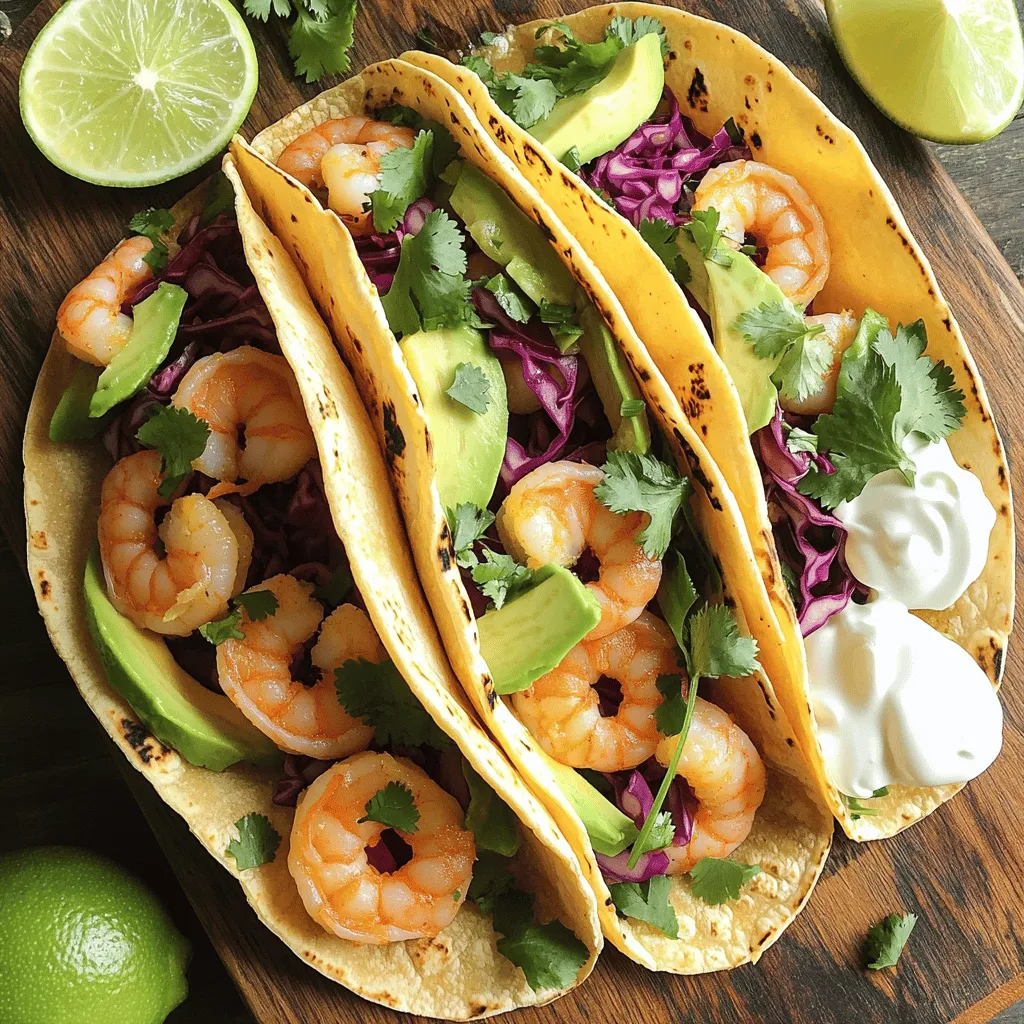
Cilantro lime shrimp tacos are quick, easy, and packed with flavor! If you want a meal that impresses without all
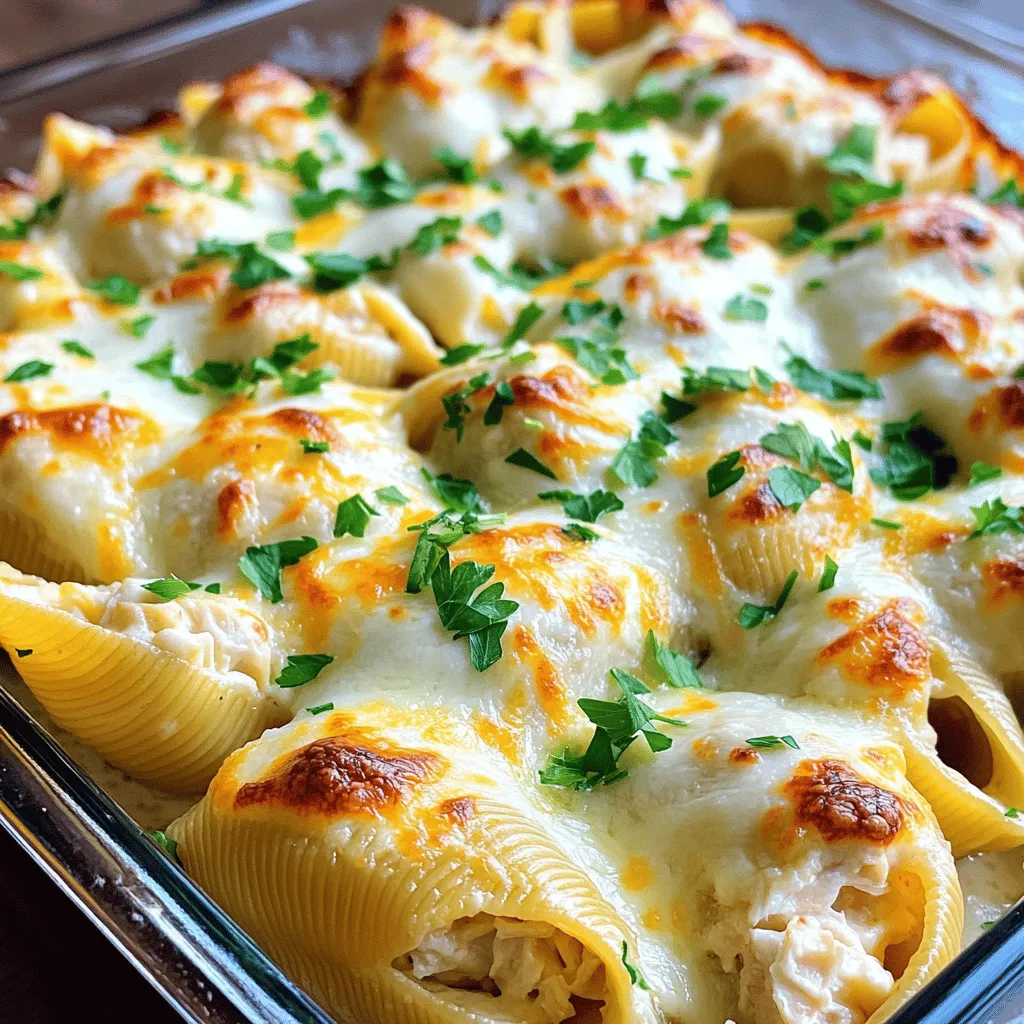
Get ready to treat your taste buds with Chicken Alfredo Stuffed Shells! This easy comfort meal combines creamy Alfredo sauce
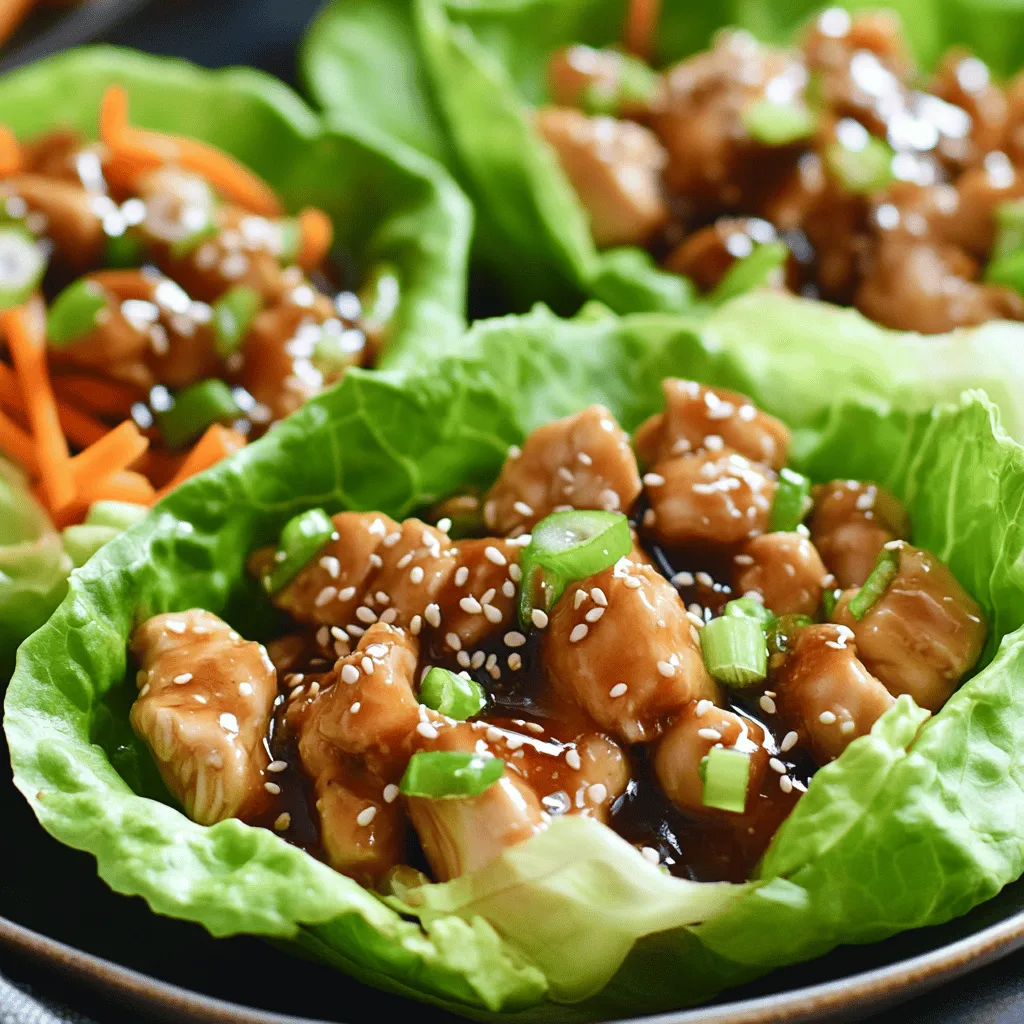
Looking for a meal that’s both tasty and easy to make? Teriyaki Chicken Lettuce Cups are the answer! Packed with
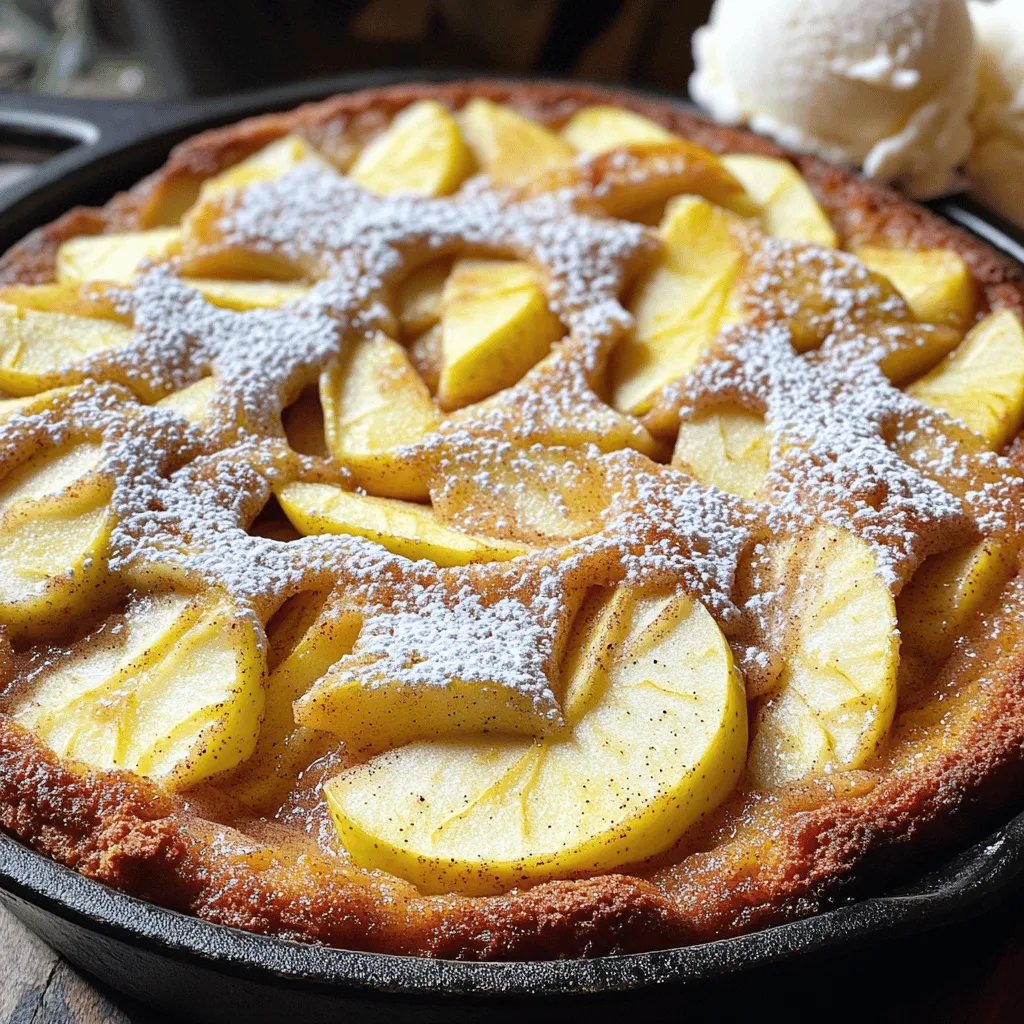
Welcome to your new favorite dessert: Cinnamon Sugar Apple Skillet Cake! This easy recipe combines warm, sweet apples with a
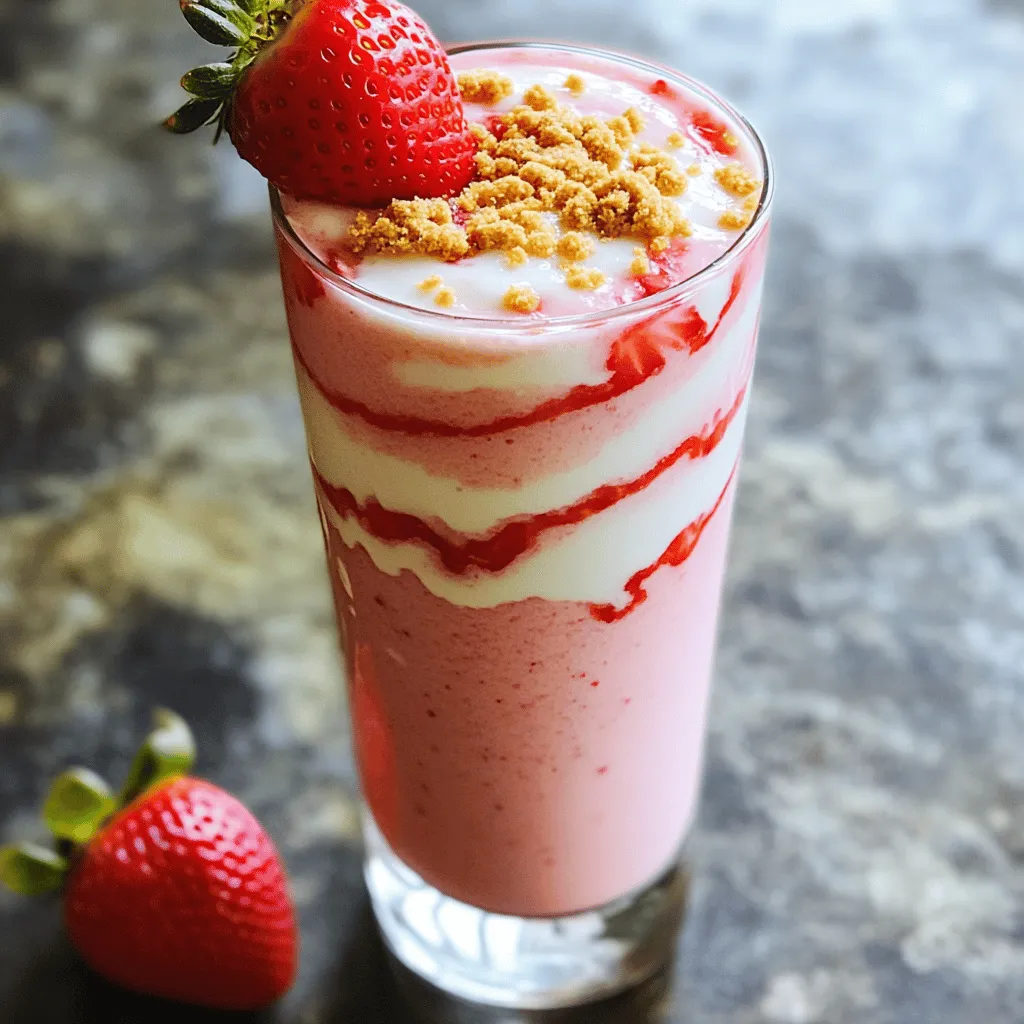
Craving something sweet and creamy? You’re in for a treat with my Strawberry Cheesecake Smoothie! This delightful blend pairs the
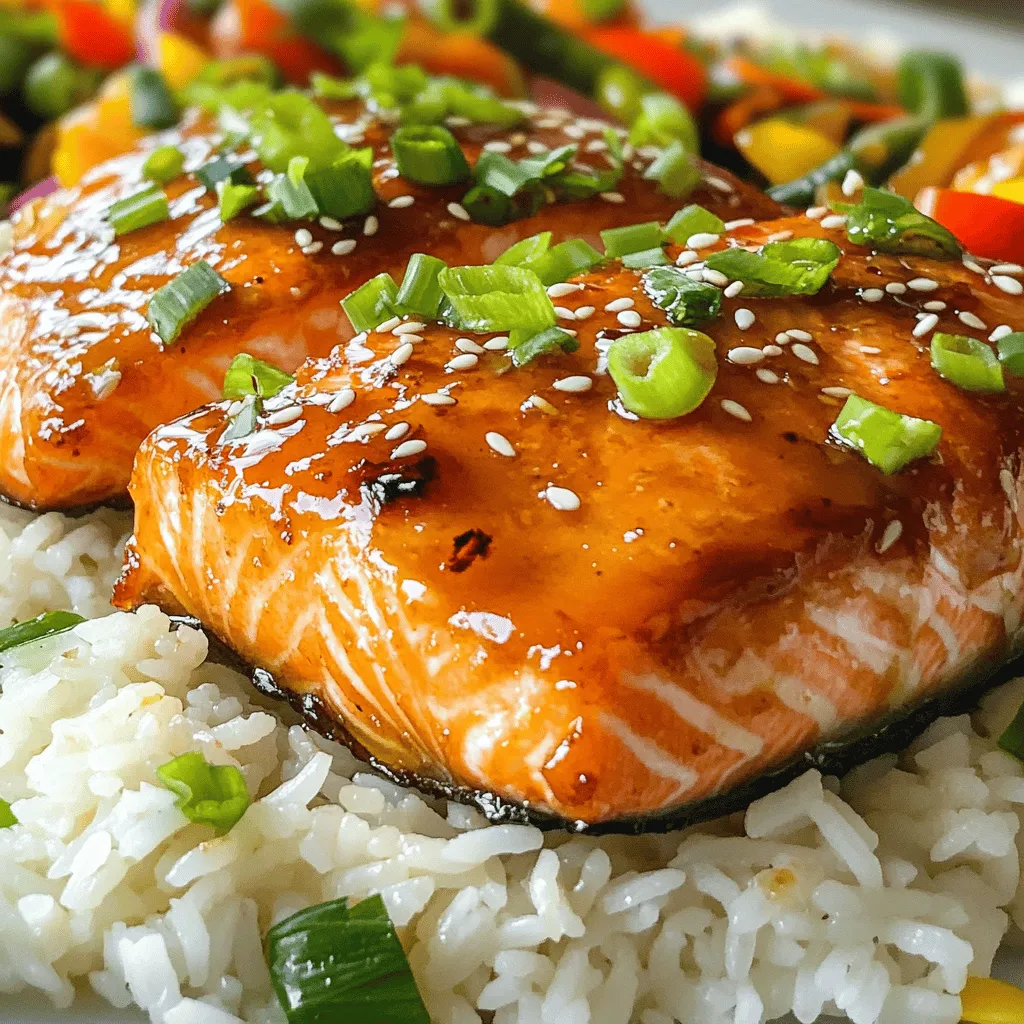
If you love bold flavors, you’ll adore my Honey Sriracha Glazed Salmon recipe. This dish is both tasty and simple,
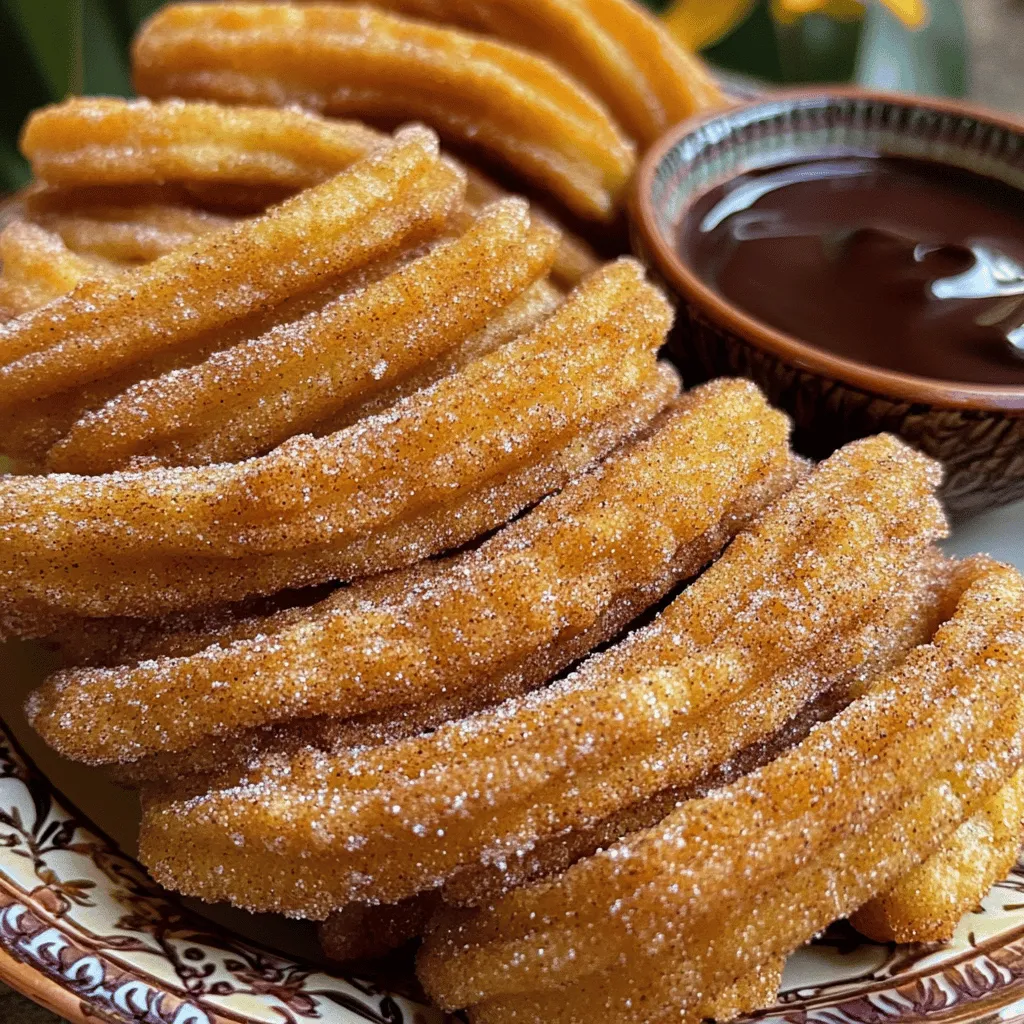
Get ready to indulge in a sweet treat that’s fun to make and even more fun to eat! These Cinnamon
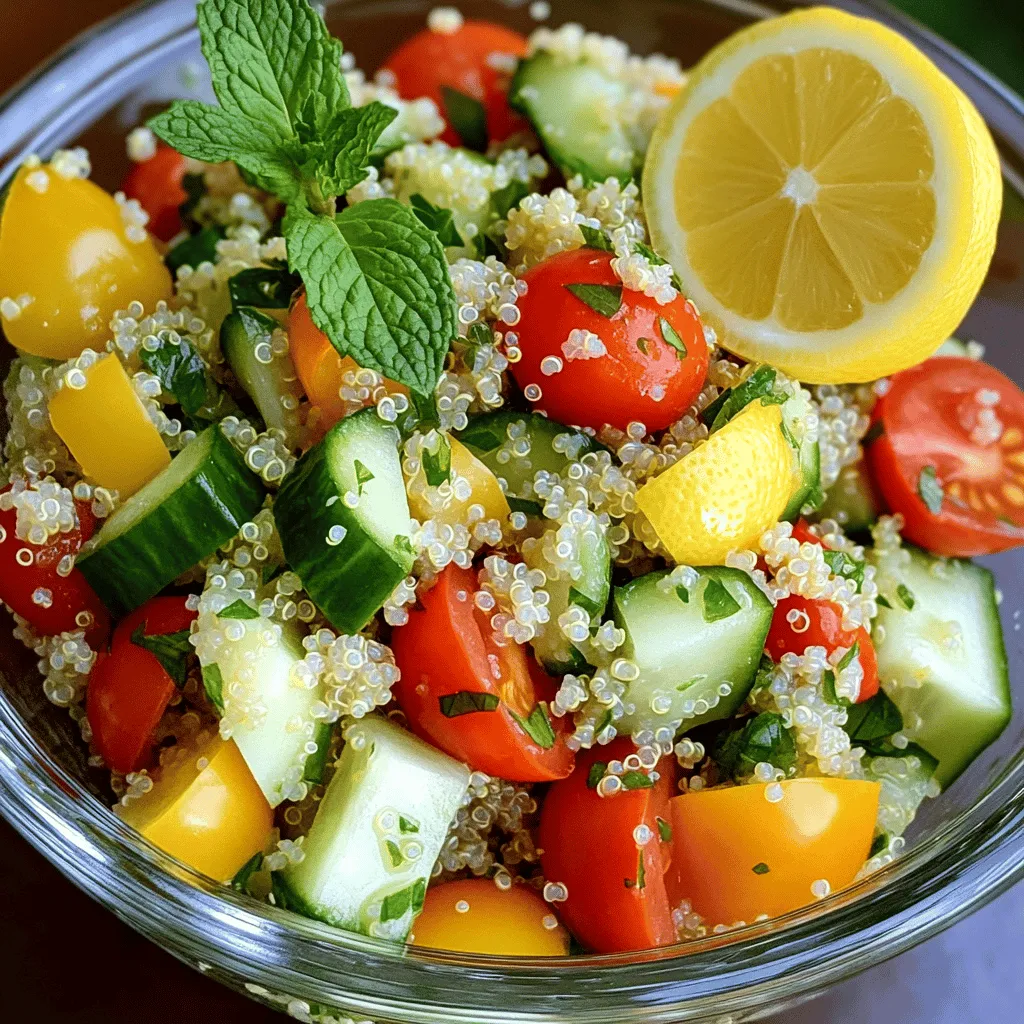
Looking for a dish that’s fresh, tasty, and packed with nutrients? Look no further! My Lemon Herb Quinoa Salad is
