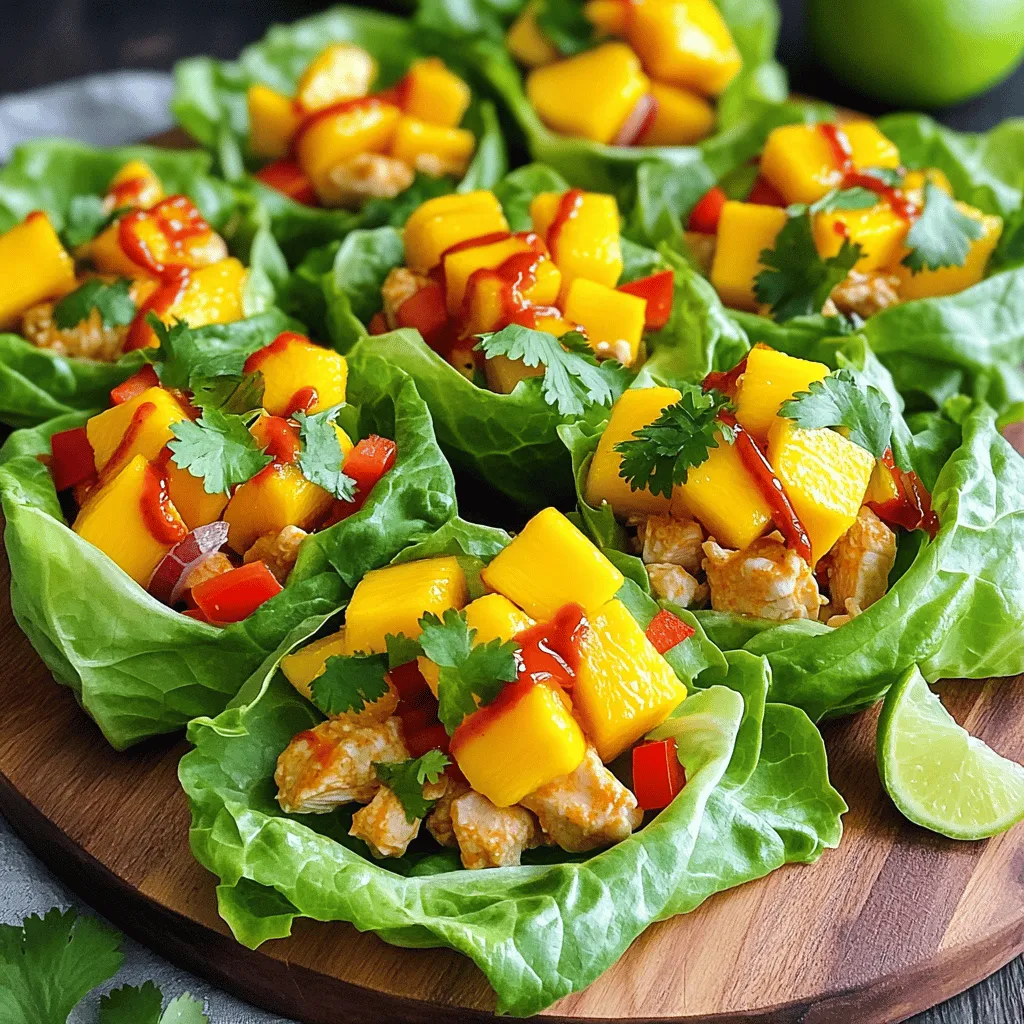
Spicy Mango Chicken Lettuce Cups Flavorful Delight
Looking for a tasty, healthy dish that’s easy to make? Spicy Mango Chicken Lettuce Cups are the perfect solution! These
Looking for a tasty, healthy dish that’s easy to make? Spicy Mango Chicken Lettuce Cups are the perfect solution! These
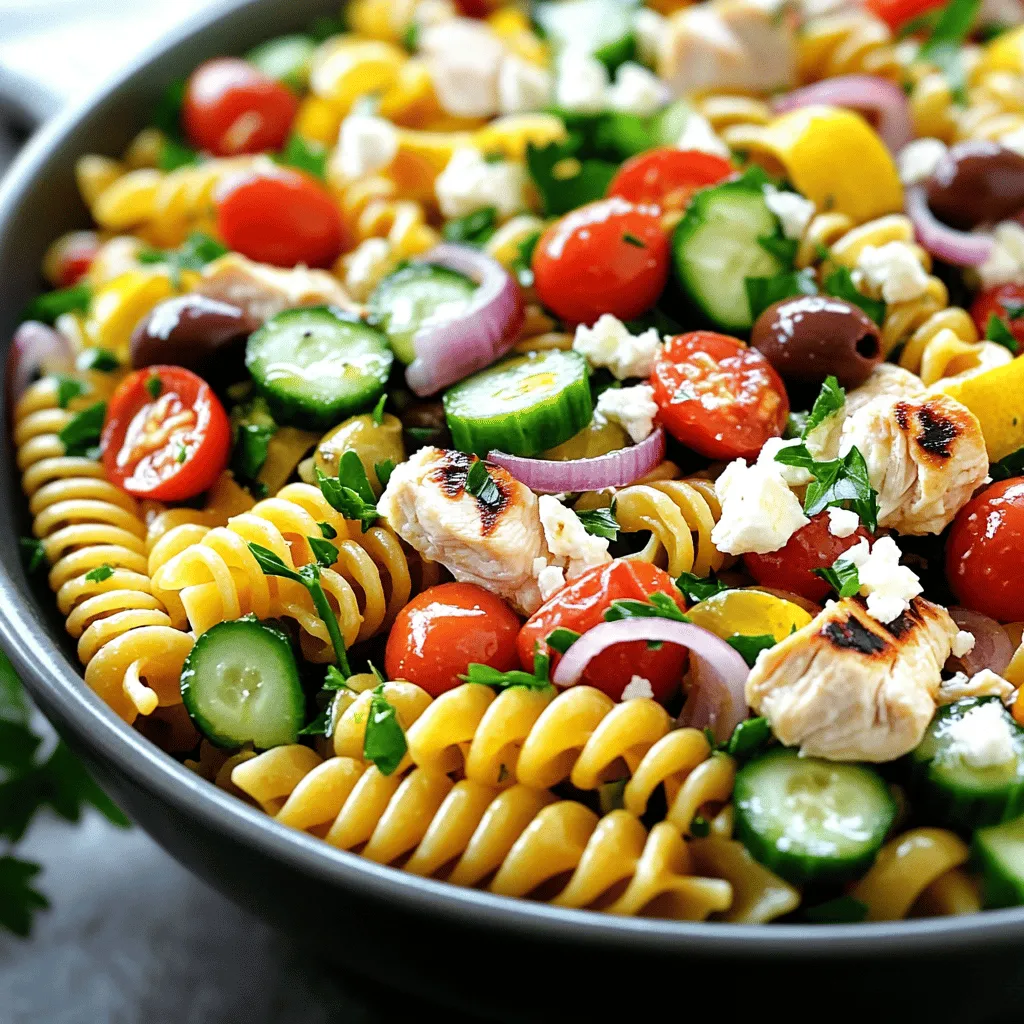
Looking for a tasty and easy meal? My Greek Chicken Pasta Salad is just what you need! This dish combines
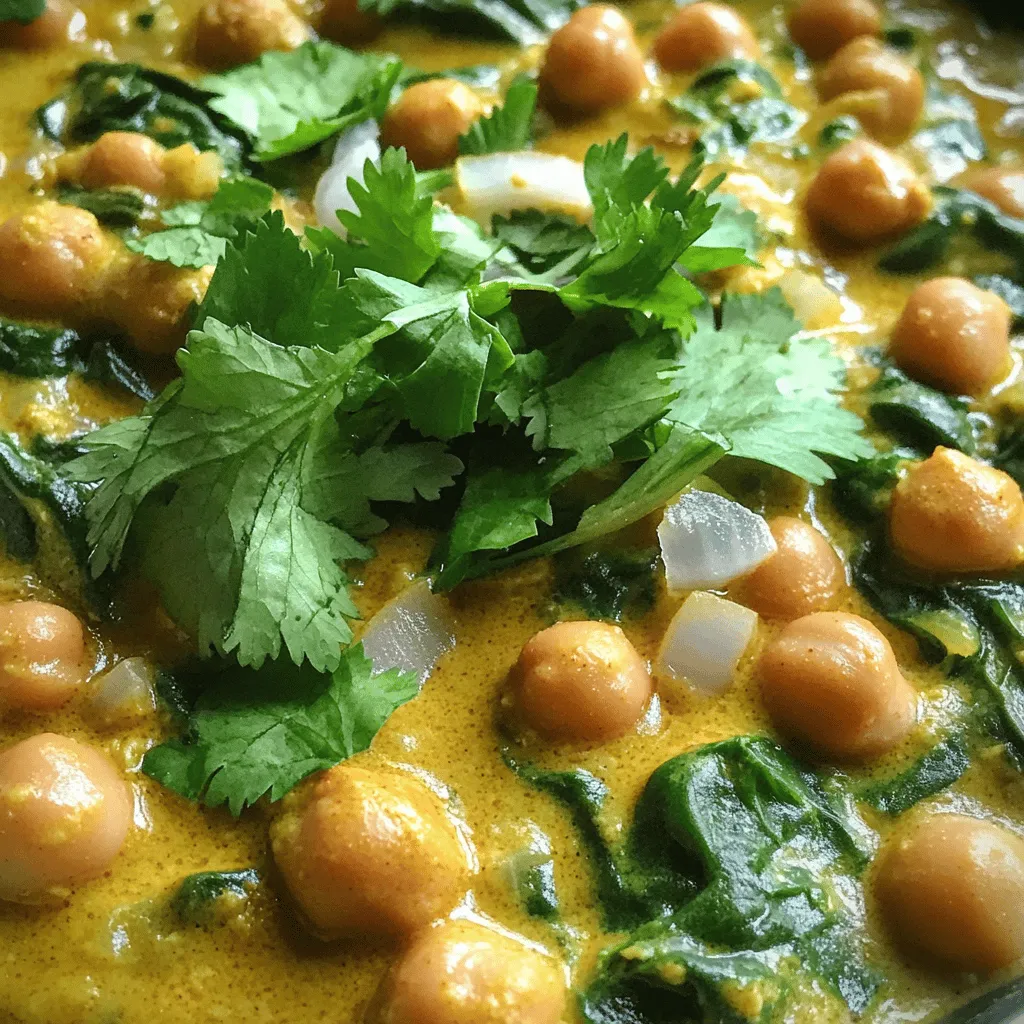
Looking for a quick and tasty meal? Chickpea Spinach Curry is your answer! This dish brings together simple ingredients for
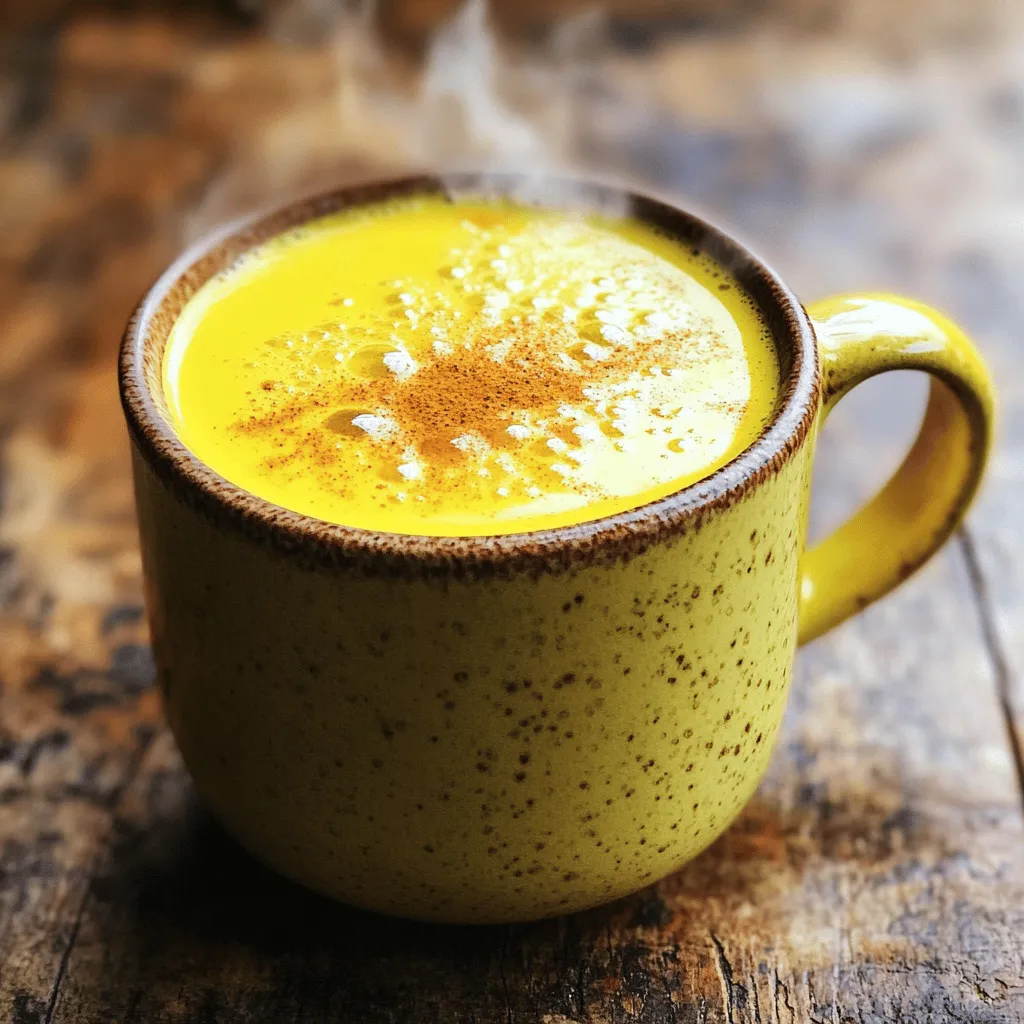
Looking for a drink that is both tasty and healthy? Let me introduce you to the Turmeric Golden Milk Latte.
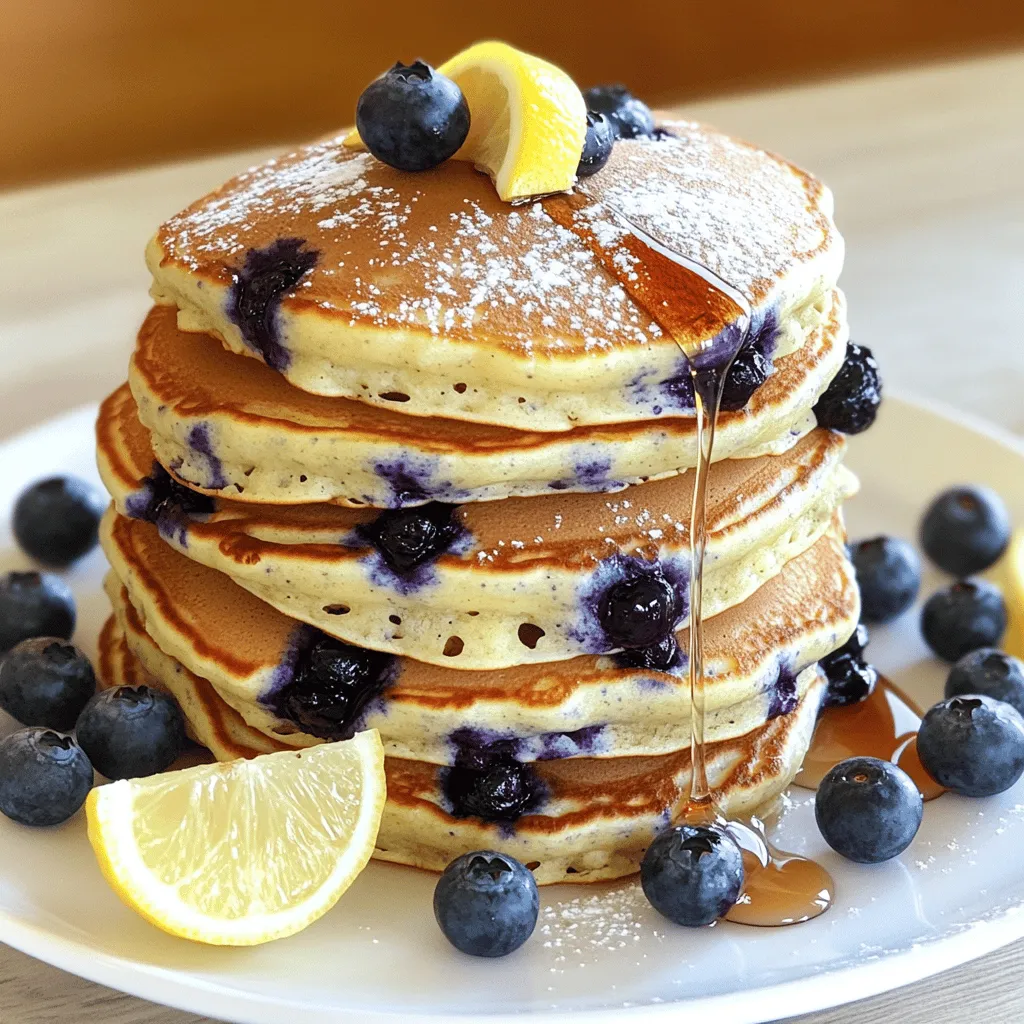
Start your day with a burst of flavor! These Blueberry Lemon Ricotta Pancakes blend sweet blueberries and tangy lemon for
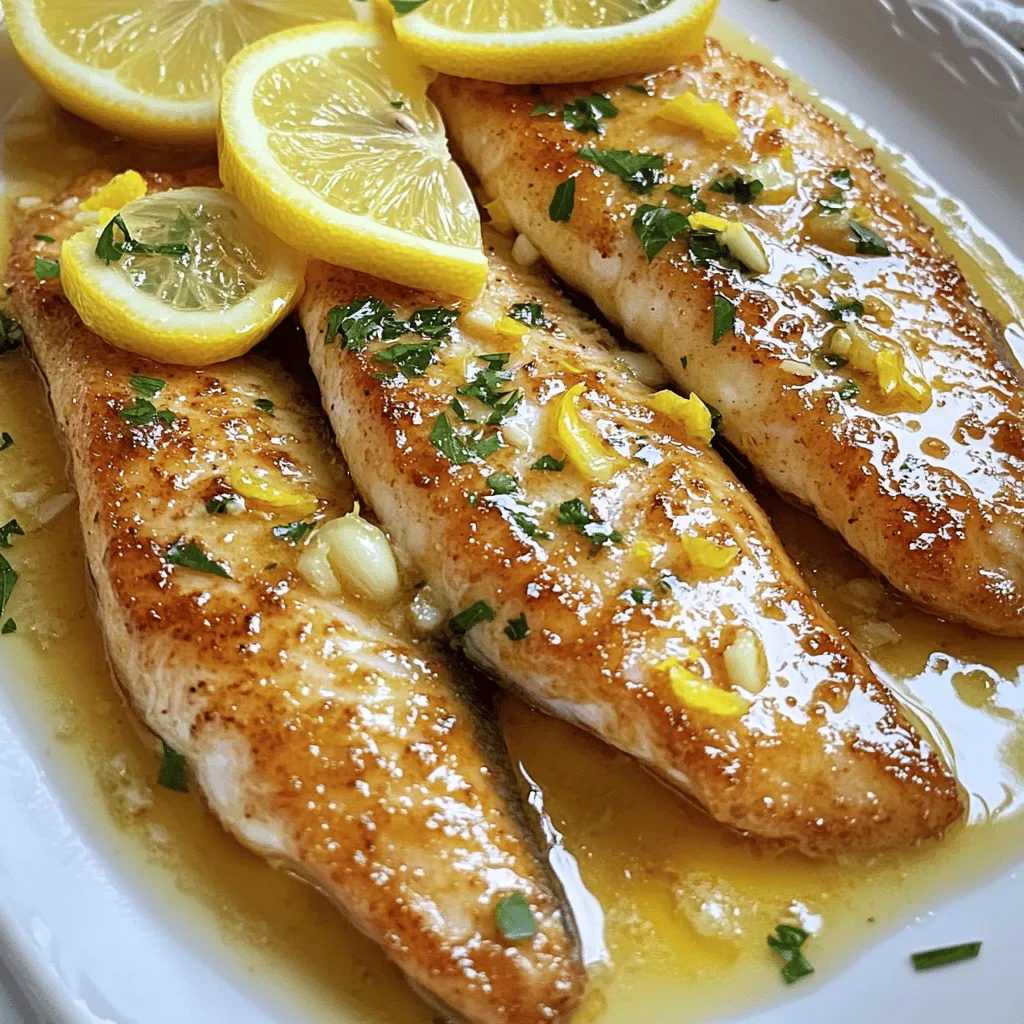
If you want a fast and tasty meal, you’re in the right place! This Garlic Lemon Butter Tilapia recipe is
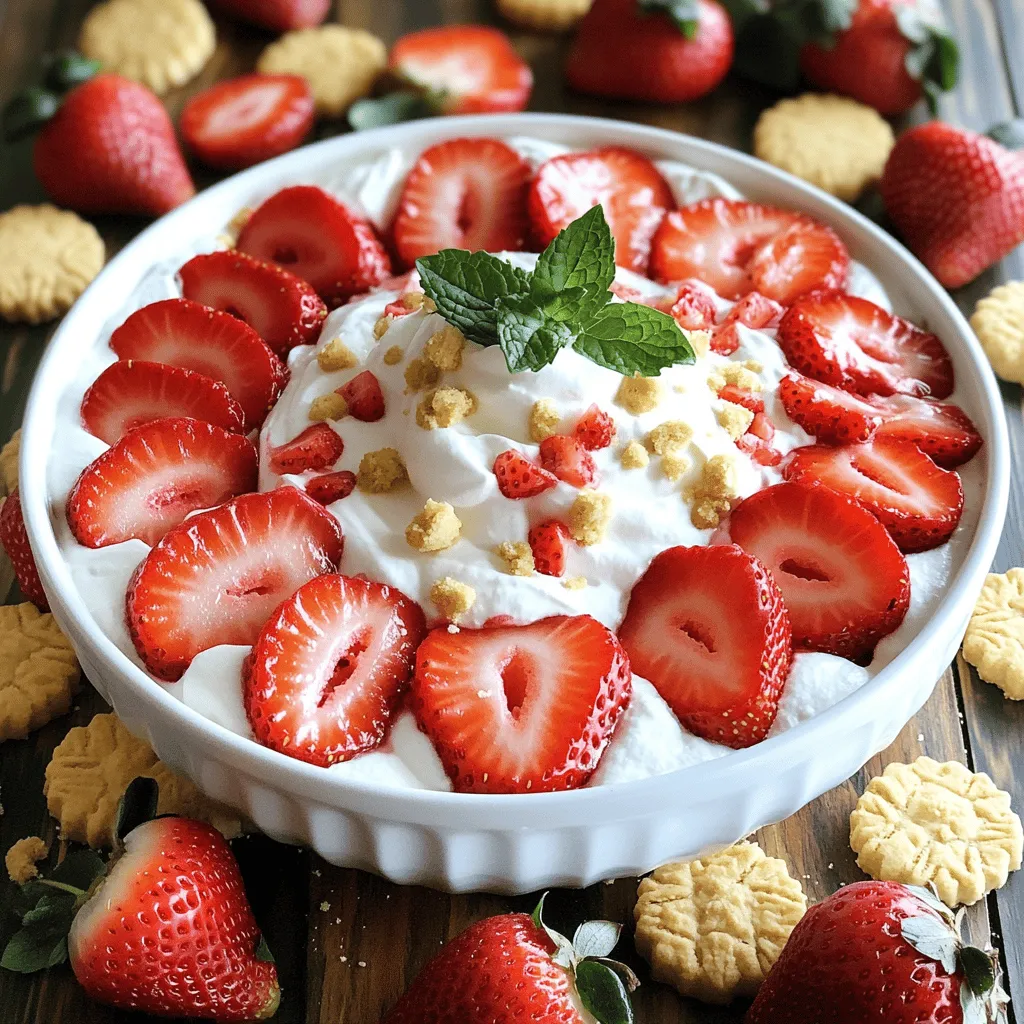
Are you craving a sweet and easy dessert? This Strawberry Shortcake Dip is the answer! With fresh strawberries, creamy ingredients,
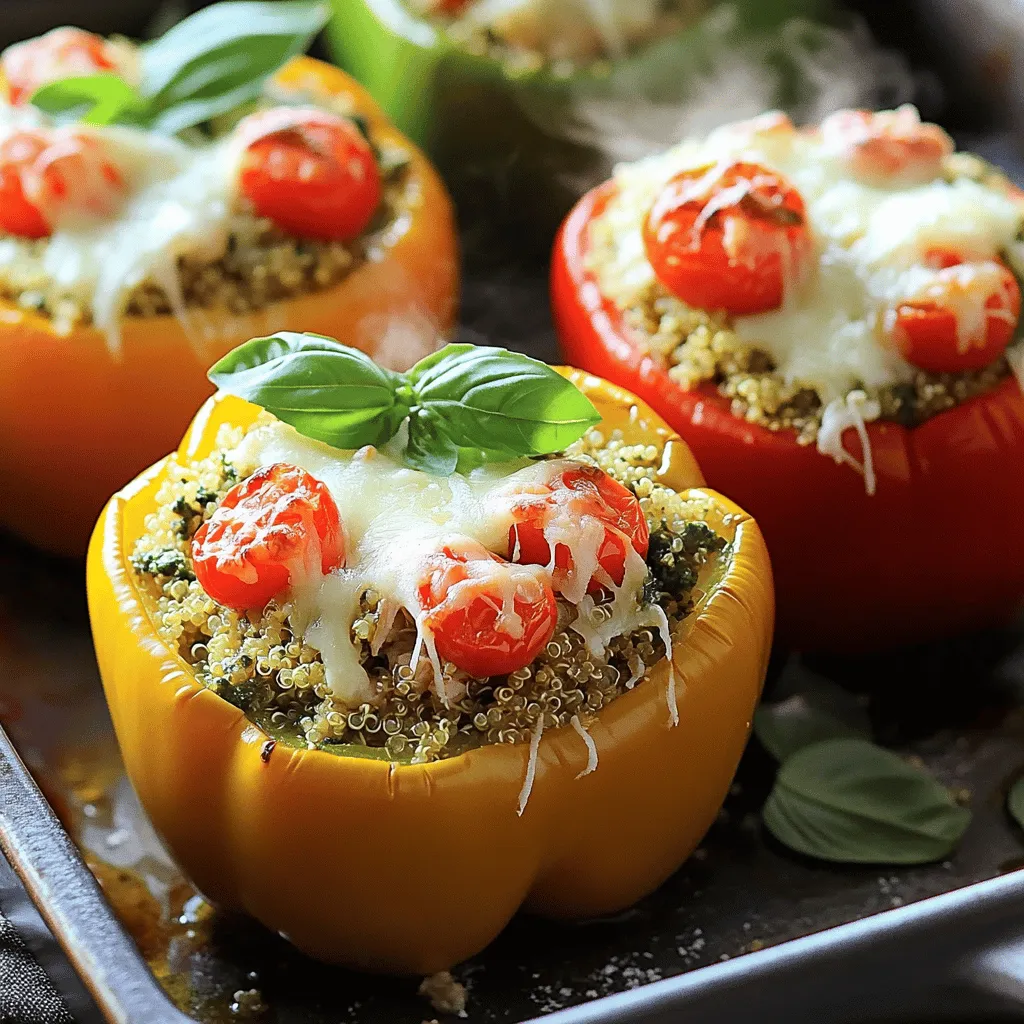
Looking for a quick, tasty meal? Try my Pesto Chicken Stuffed Peppers! Packed with shredded chicken, vibrant bell peppers, and
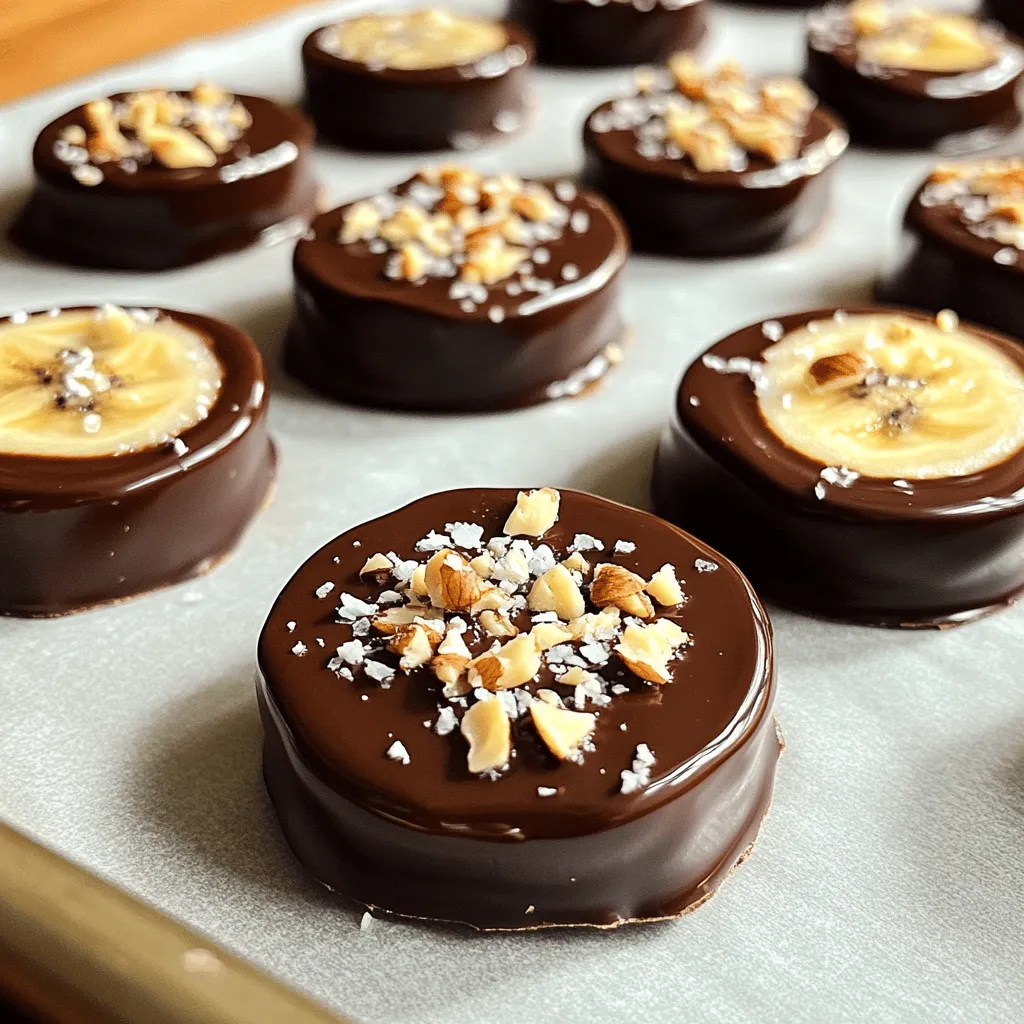
Looking for a sweet and easy treat? Chocolate Covered Banana Bites are perfect for you! These bites combine smooth chocolate
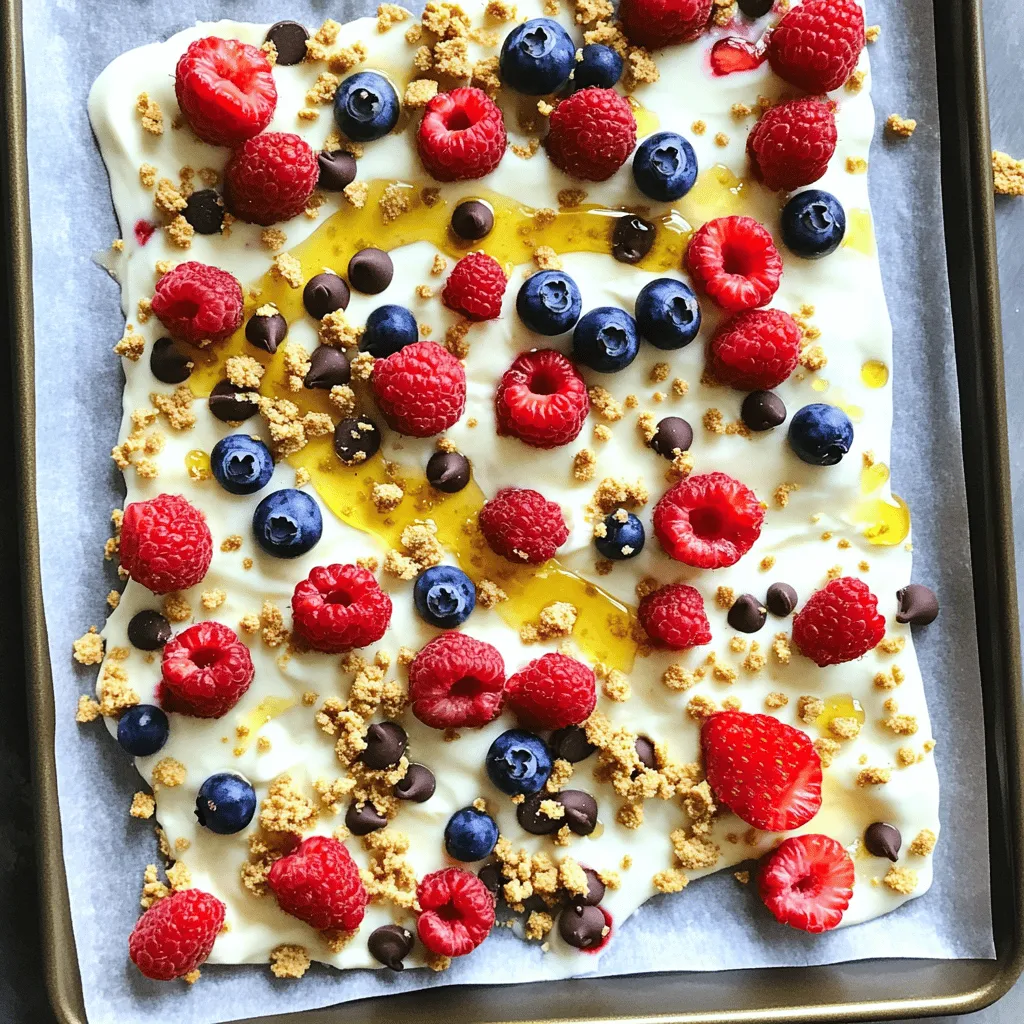
Are you ready to chill out with a sweet treat that packs a punch? My Berry Cheesecake Yogurt Bark is
