Sesame Ginger Noodle Stir Fry Easy and Flavorful Meal
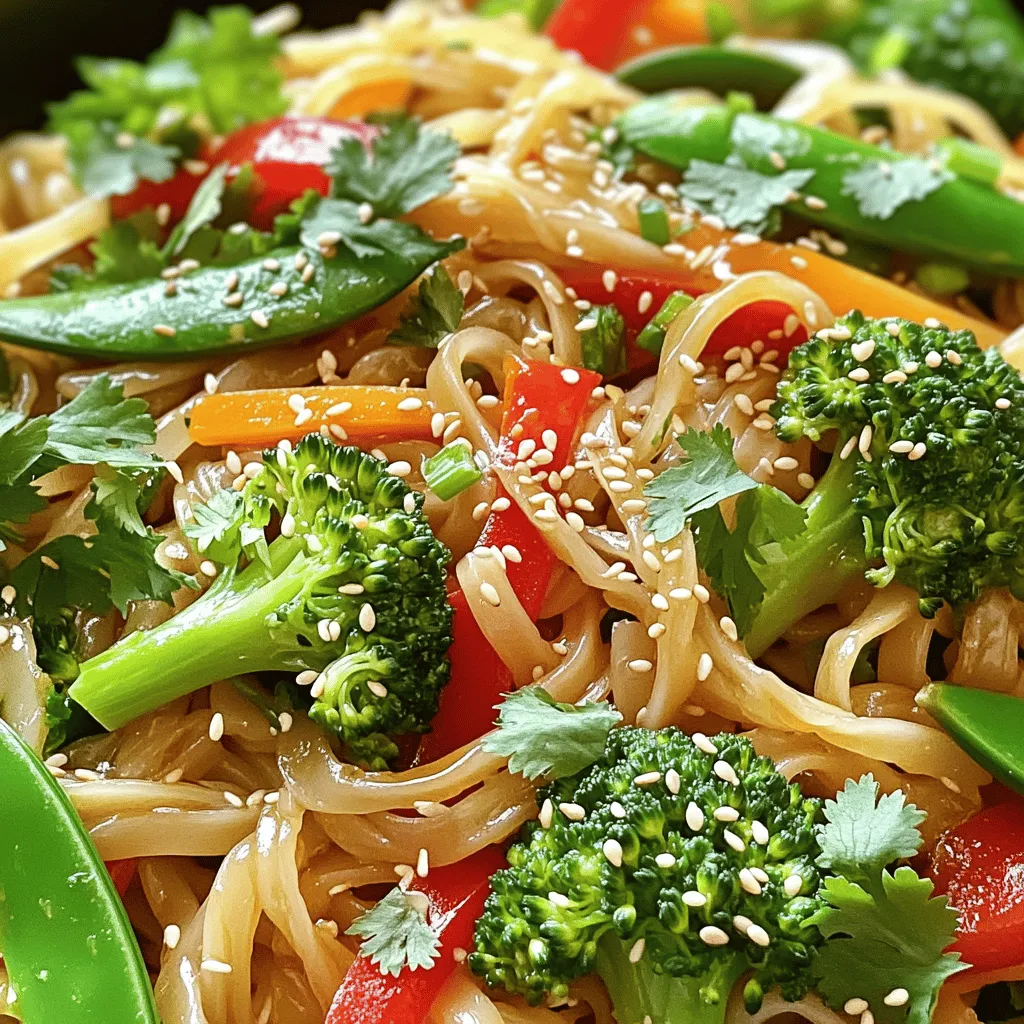
Do you crave a quick, tasty meal that’s packed with flavor? Look no further than my Sesame Ginger Noodle Stir
Do you crave a quick, tasty meal that’s packed with flavor? Look no further than my Sesame Ginger Noodle Stir

Are you ready to indulge in a sweet treat? Chocolate Chip Cookie Dough Fudge is simple and delicious! This easy
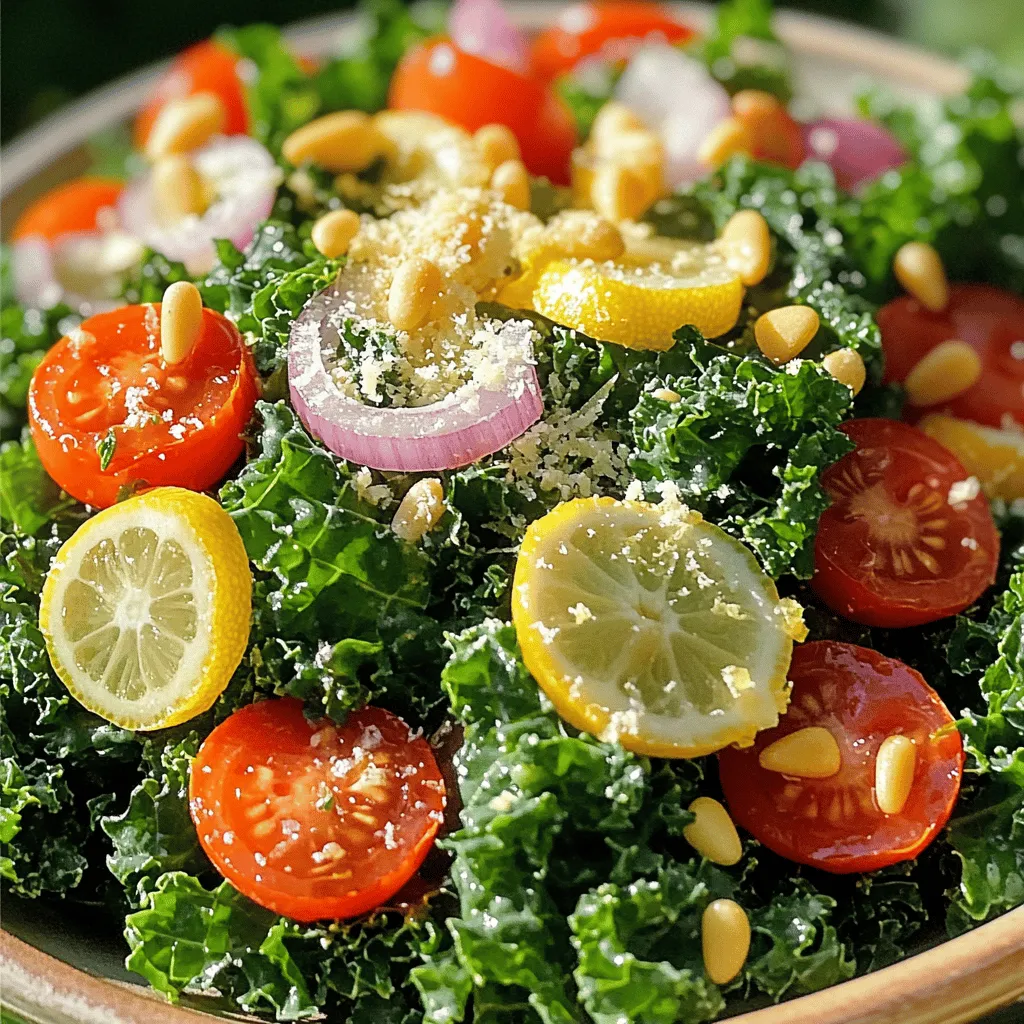
Looking for a tasty, healthy dish? This Lemon Parmesan Kale Salad is packed with fresh ingredients and bold flavors. You’ll

Looking for a quick and tasty dinner idea? This Cajun Sausage Potato Skillet is your answer! With just one pan,

Are you ready to dive into a dessert that’s both simple and incredibly delicious? This No-Bake Peanut Butter Oreo Pie
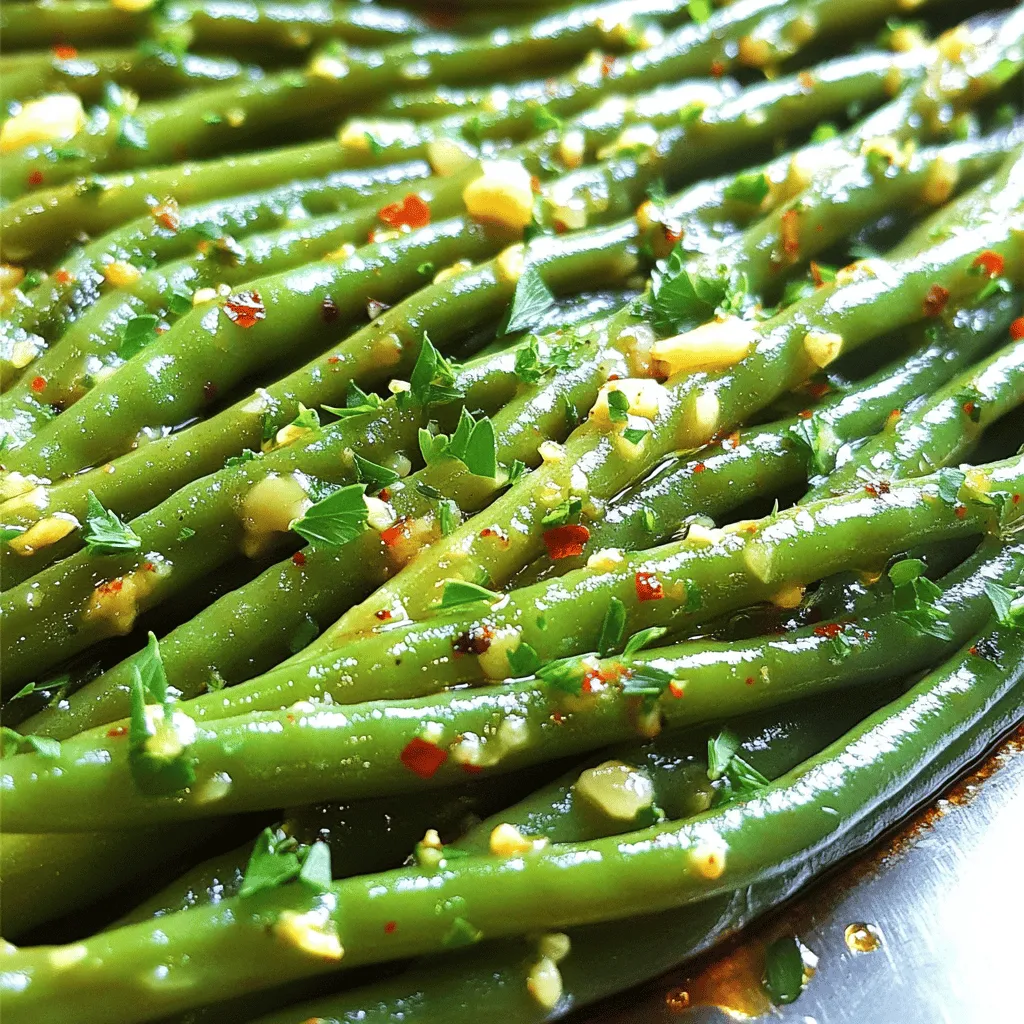
Are you ready to elevate your vegetable game? Garlic Butter Roasted Green Beans are simple, savory, and bursting with flavor.
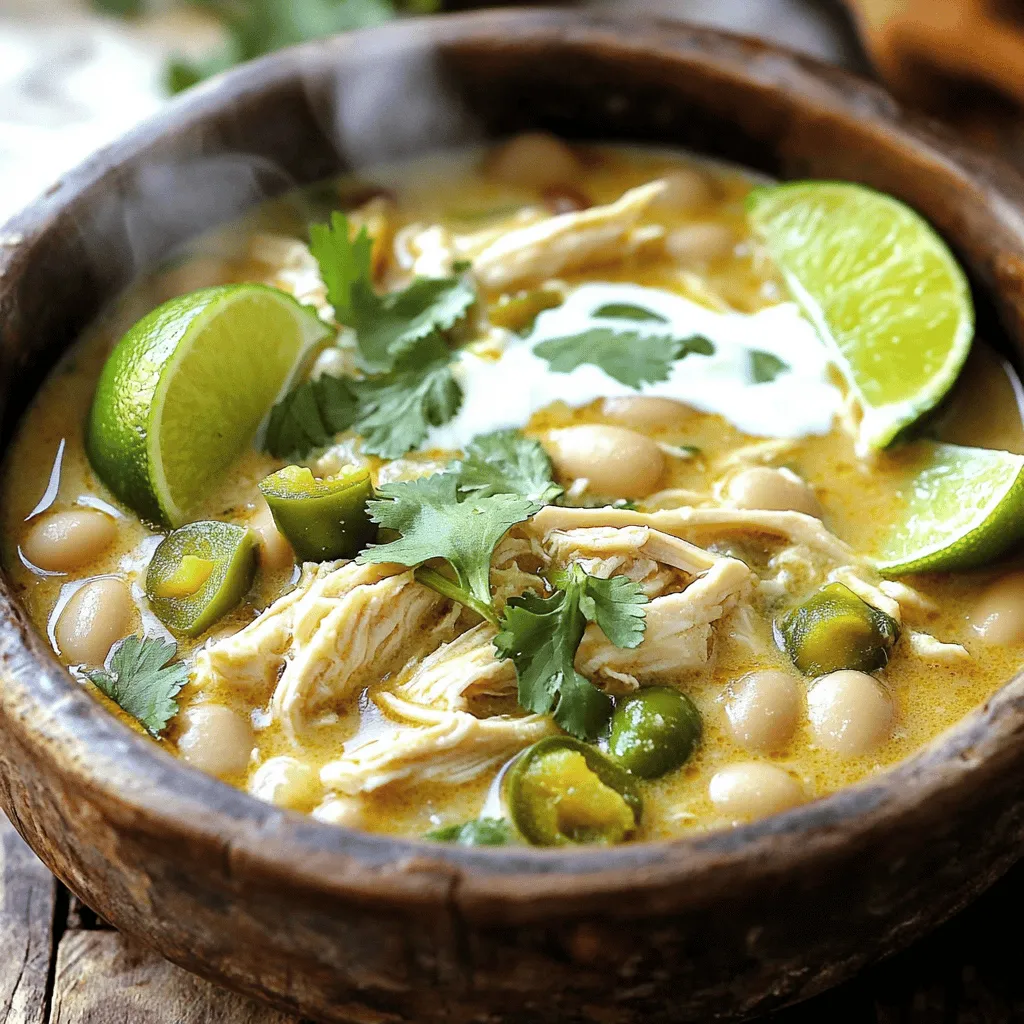
Craving a warm, hearty meal? My Savory Slow Cooker White Chicken Chili is here to satisfy! This easy recipe ticks

Looking for a delicious and easy recipe that will impress your family and friends? Cheddar Chive Drop Biscuits are just

Craving a fresh and flavorful treat? A Strawberry Banana Smoothie Bowl is just the answer! Packed with ripe strawberries, banana,
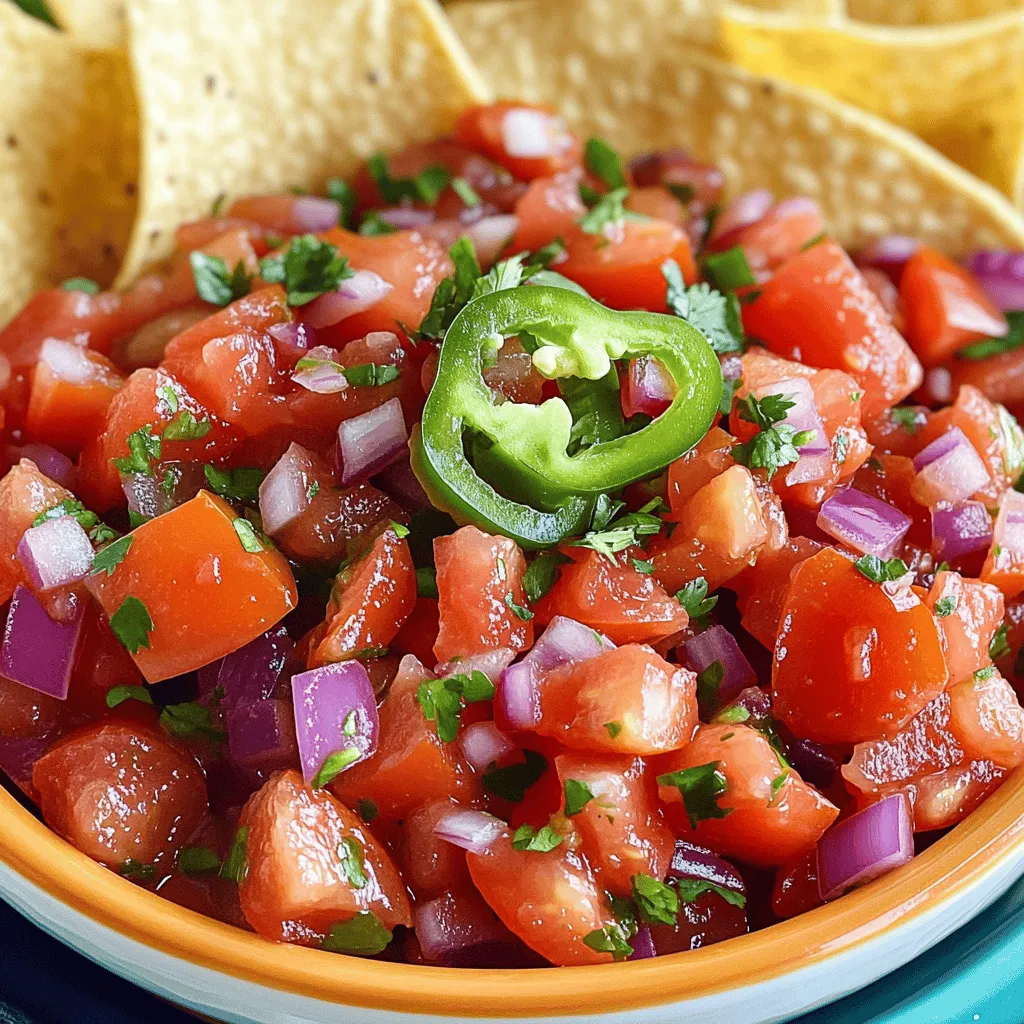
Are you ready to spice up your meals? Classic Pico de Gallo is the ultimate fresh salsa that brings vibrant
