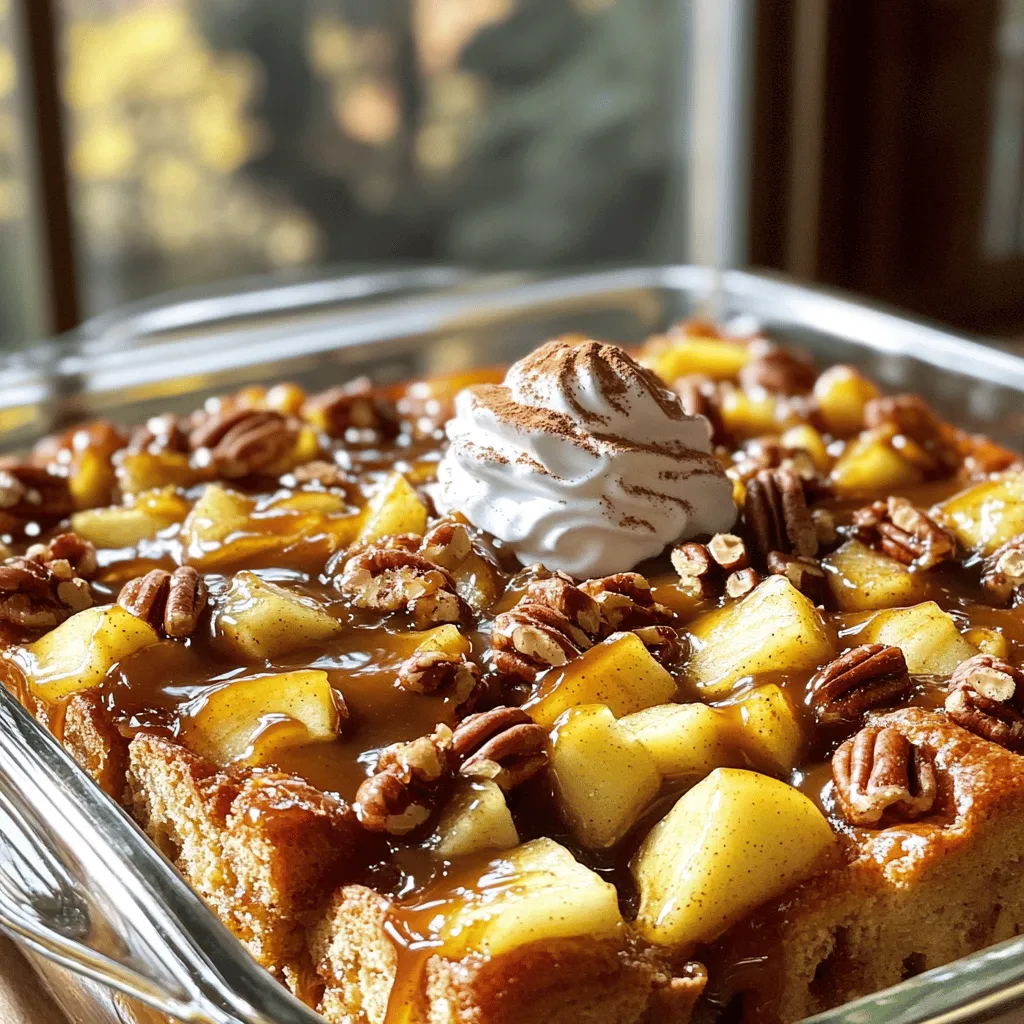
Caramel Apple Pecan Sticky Bread Pudding Delight
Get ready to treat your taste buds with my Caramel Apple Pecan Sticky Bread Pudding Delight! This dessert combines warm
Get ready to treat your taste buds with my Caramel Apple Pecan Sticky Bread Pudding Delight! This dessert combines warm
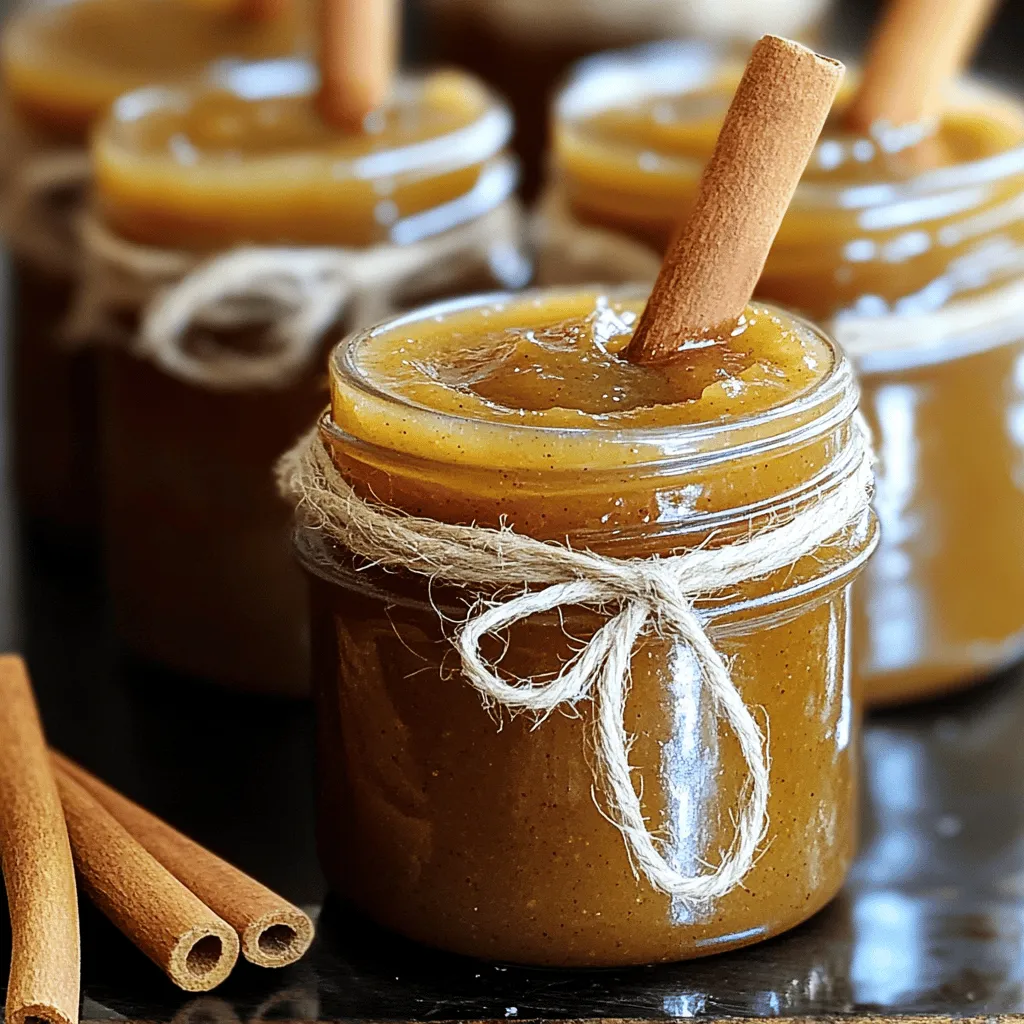
Fall flavors are just a slow cooker away! In this post, I’ll show you how to make Slow Cooker Maple
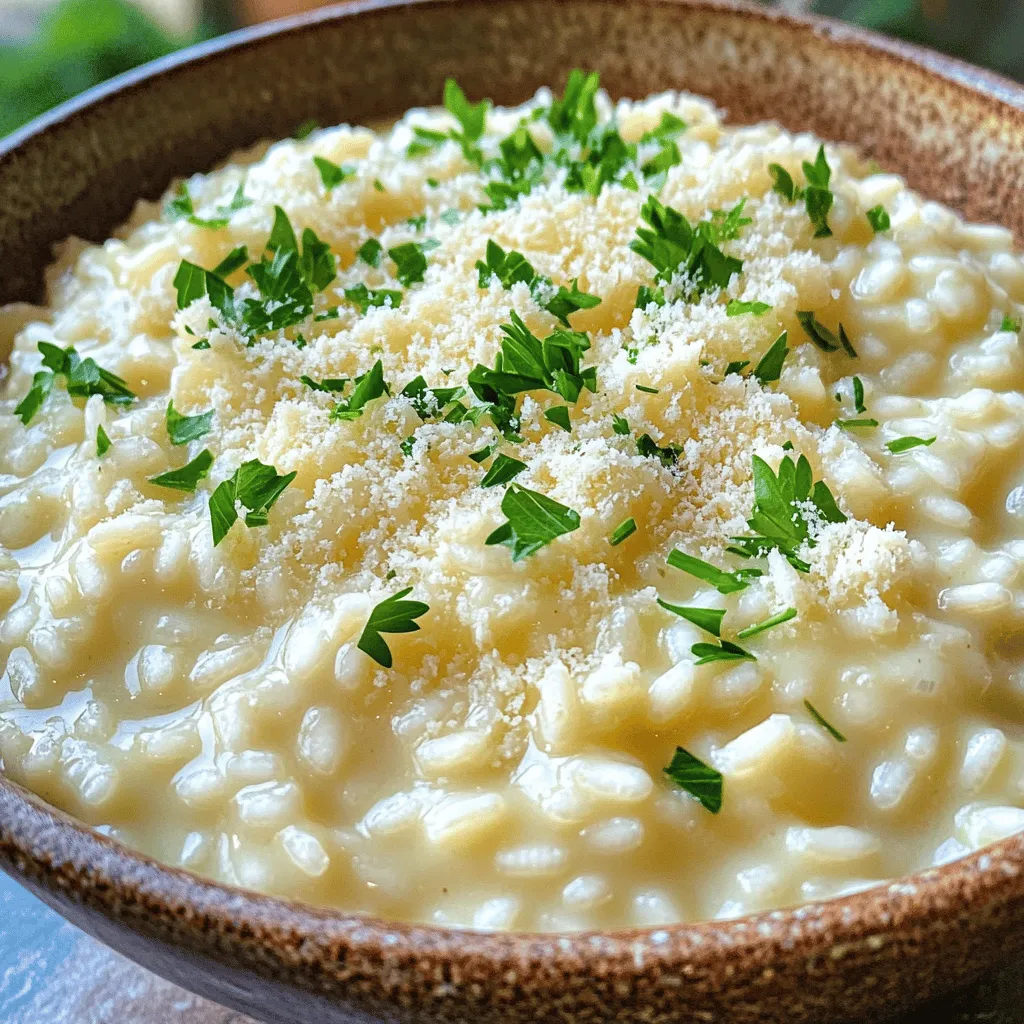
Welcome to the world of creamy garlic parmesan risotto! This dish is a real crowd-pleaser, bursting with rich flavors that
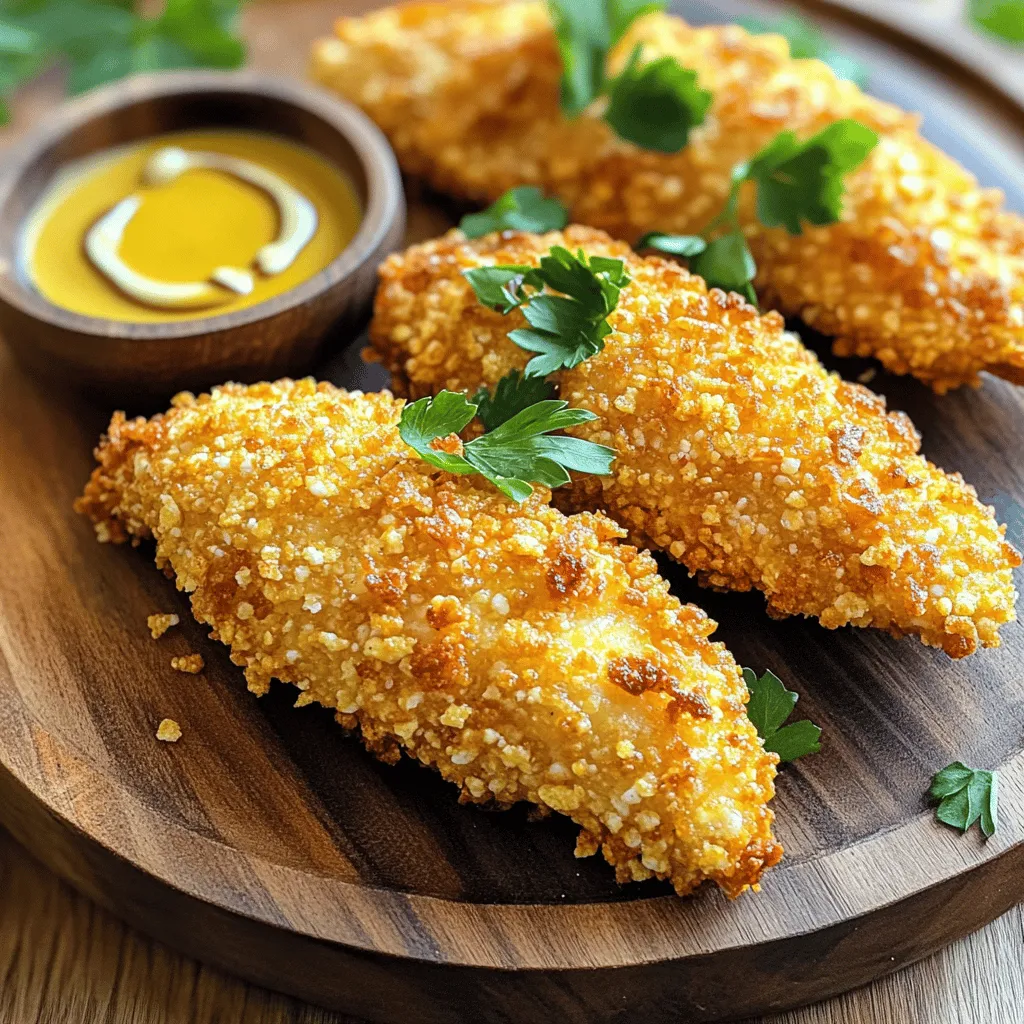
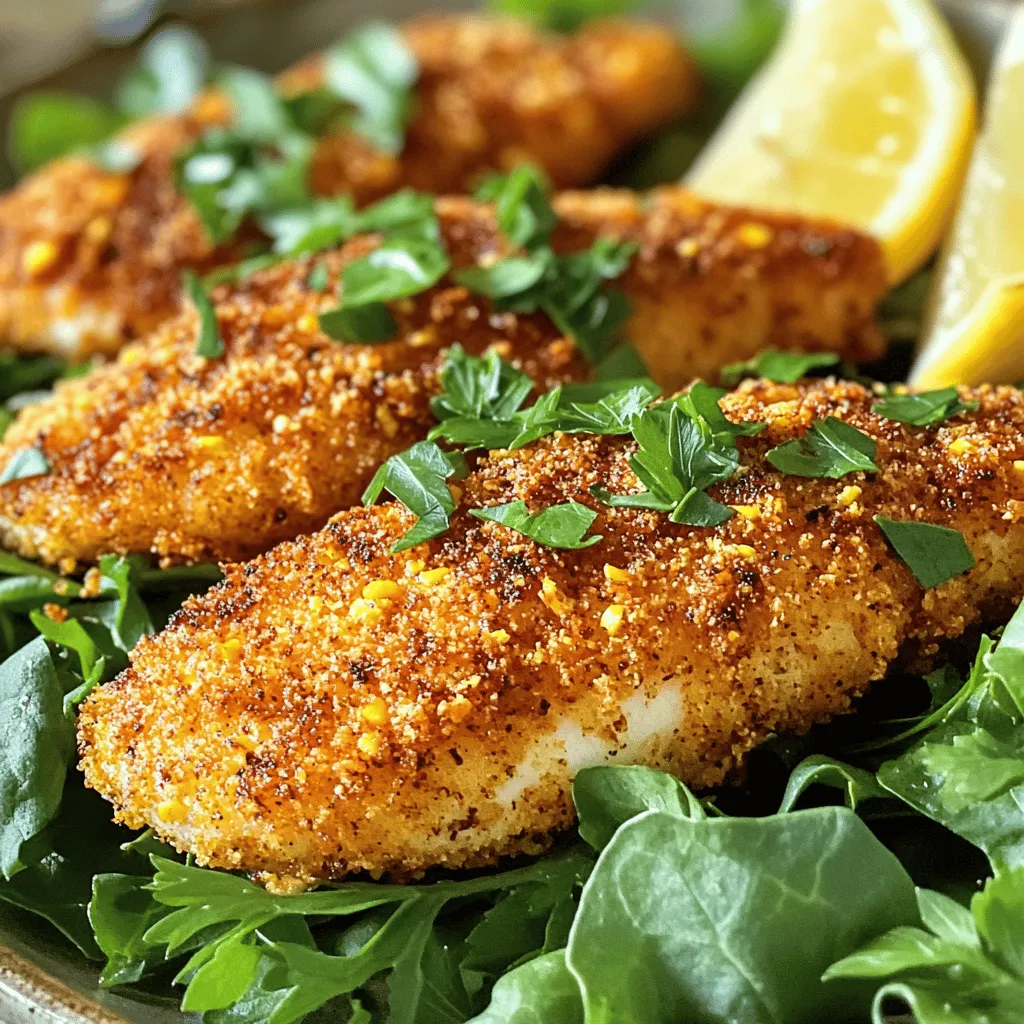
Craving a crunchy, golden bite? You’re in the right place! Air Fryer Cornflake Chicken Tenders deliver crispy goodness with less
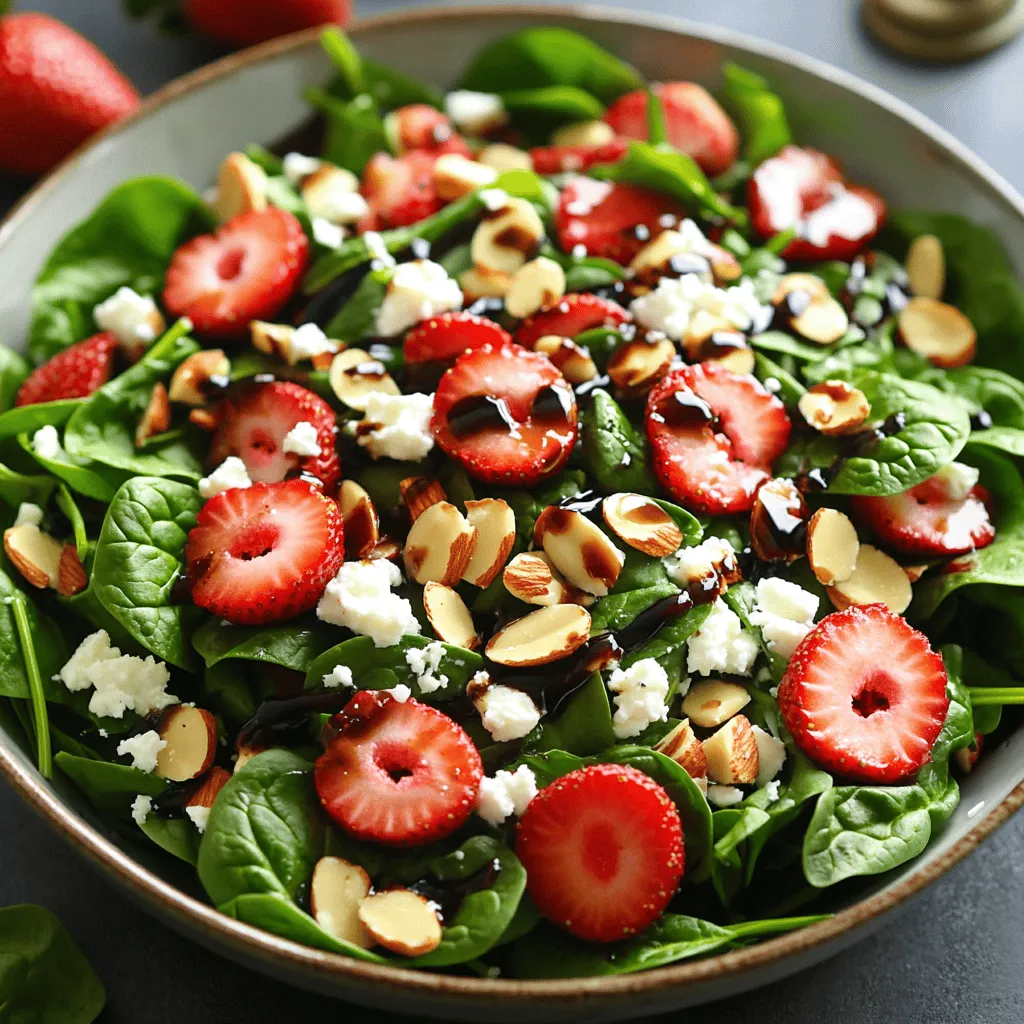
Looking to brighten up your meals? This Balsamic Strawberry Spinach Salad is fresh, tasty, and quick to make. It combines

Are you craving a quick and tasty meal? Let me introduce you to my One Pot Thai Coconut Curry Noodles.

Looking for a tasty and healthy snack? Try my Broccoli Cheddar Quinoa Bites! Packed with fresh broccoli, sharp cheddar, and
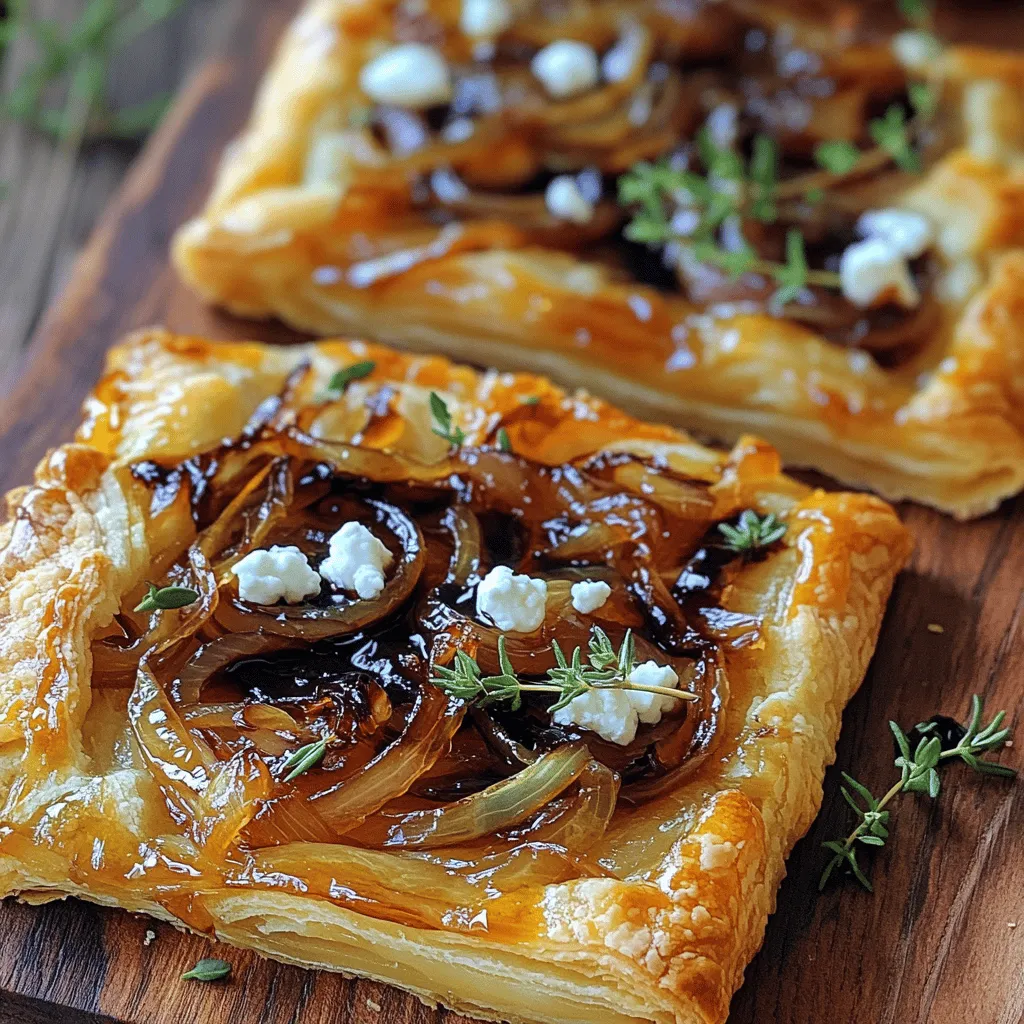
Are you ready to impress your taste buds? This Caramelized Onion & Goat Cheese Tart is a true culinary delight.
Craving a dish that’s both crispy and bursting with flavor? You’re in the right place! This Spicy Cajun Air Fryer
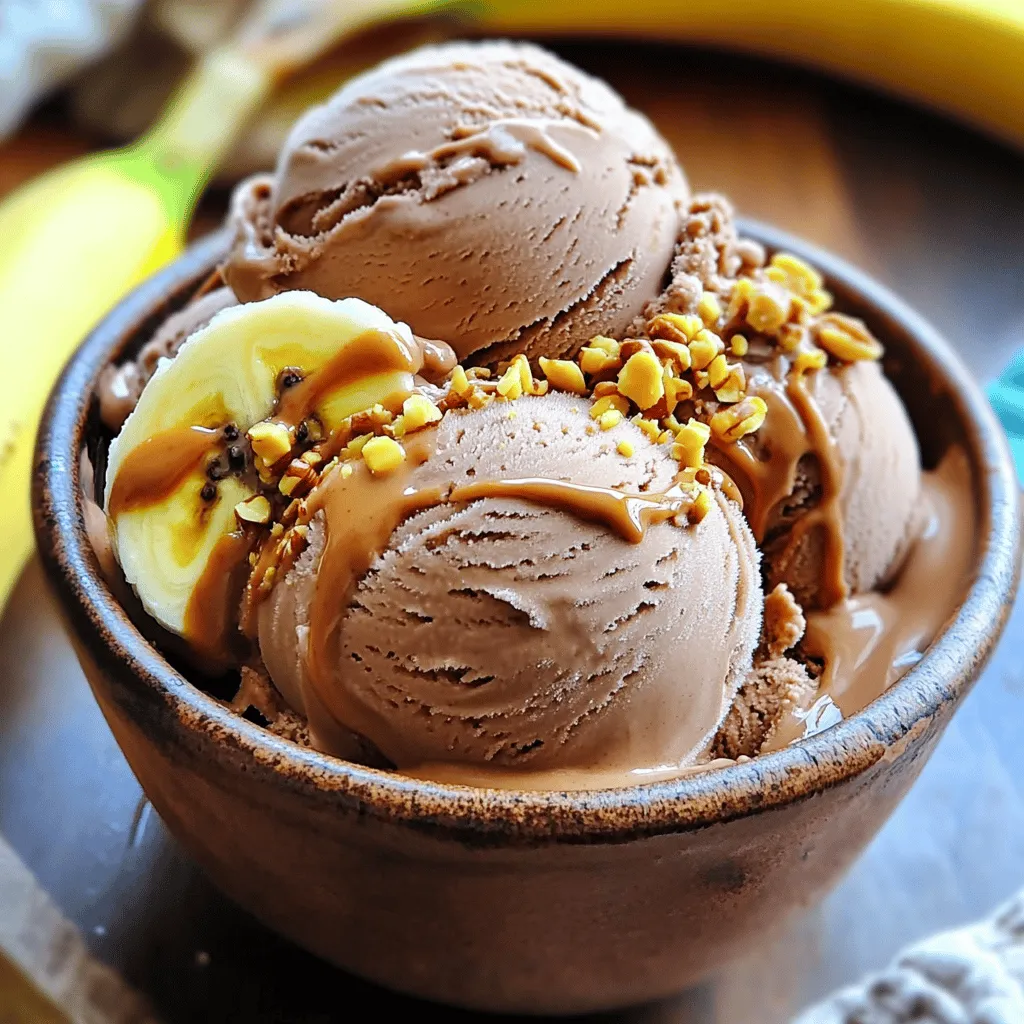
Craving a treat that’s both delicious and easy to make? You’re in the right place! This Chocolate Peanut Butter Banana
