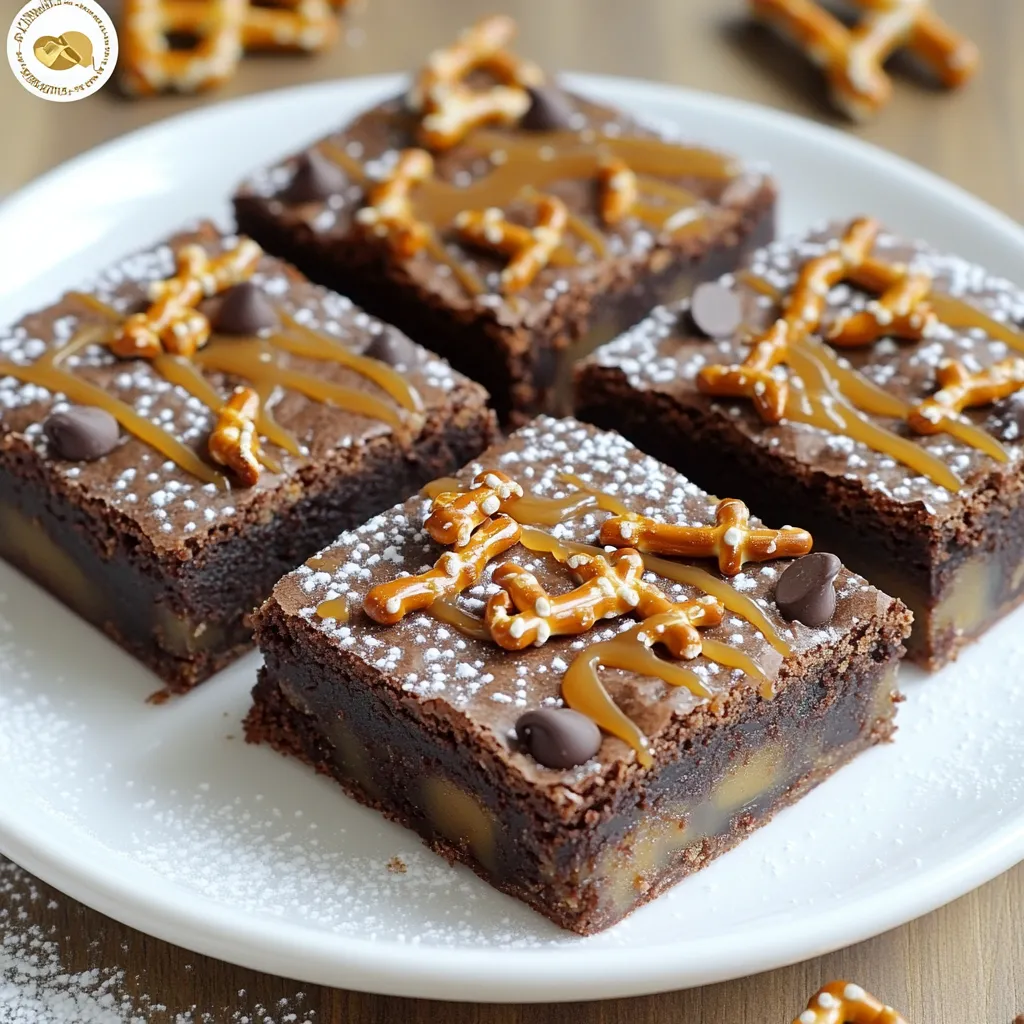
Salted Caramel Pretzel Brownies Simply Delicious Treat
Are you ready to indulge in a sweet and salty treat? These Salted Caramel Pretzel Brownies will blow your mind!
Are you ready to indulge in a sweet and salty treat? These Salted Caramel Pretzel Brownies will blow your mind!
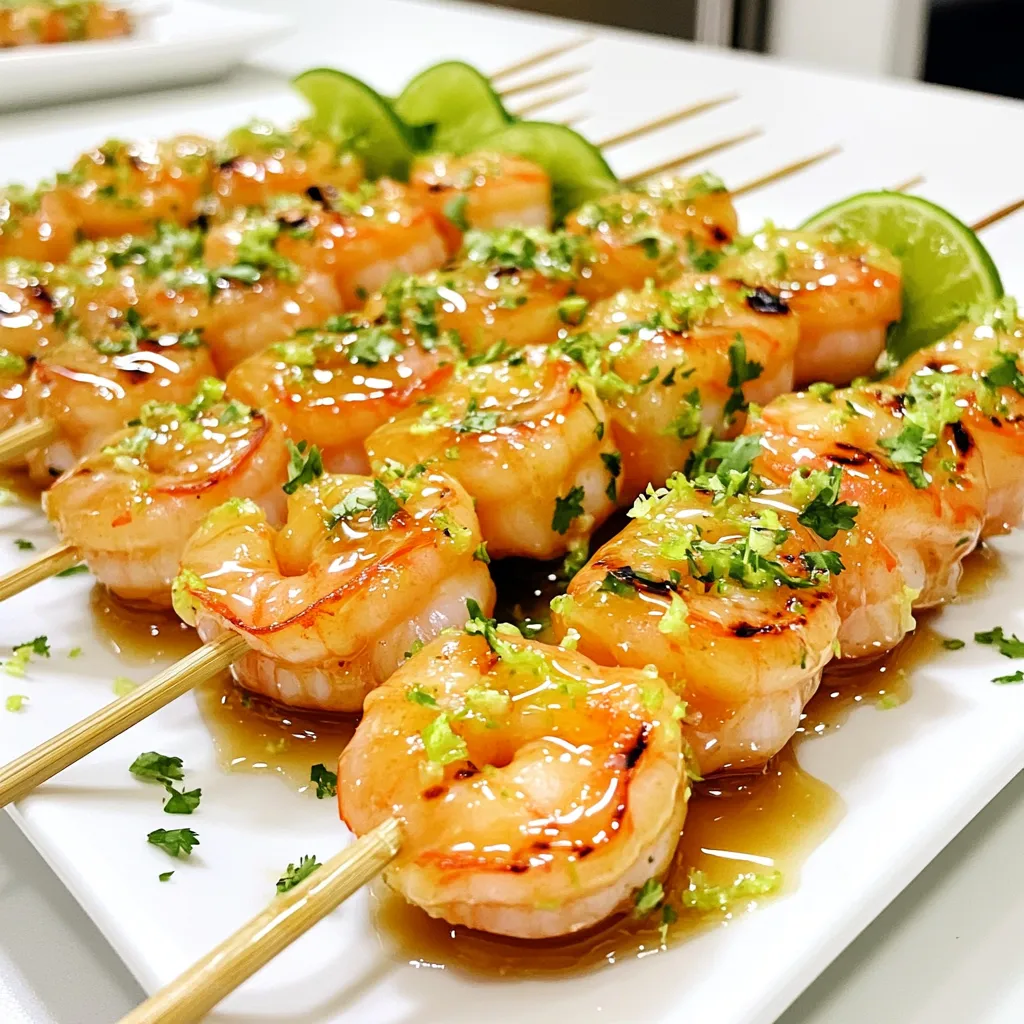
Looking to impress at your next cookout? These Honey Lime Shrimp Skewers are both flavorful and easy to make! With
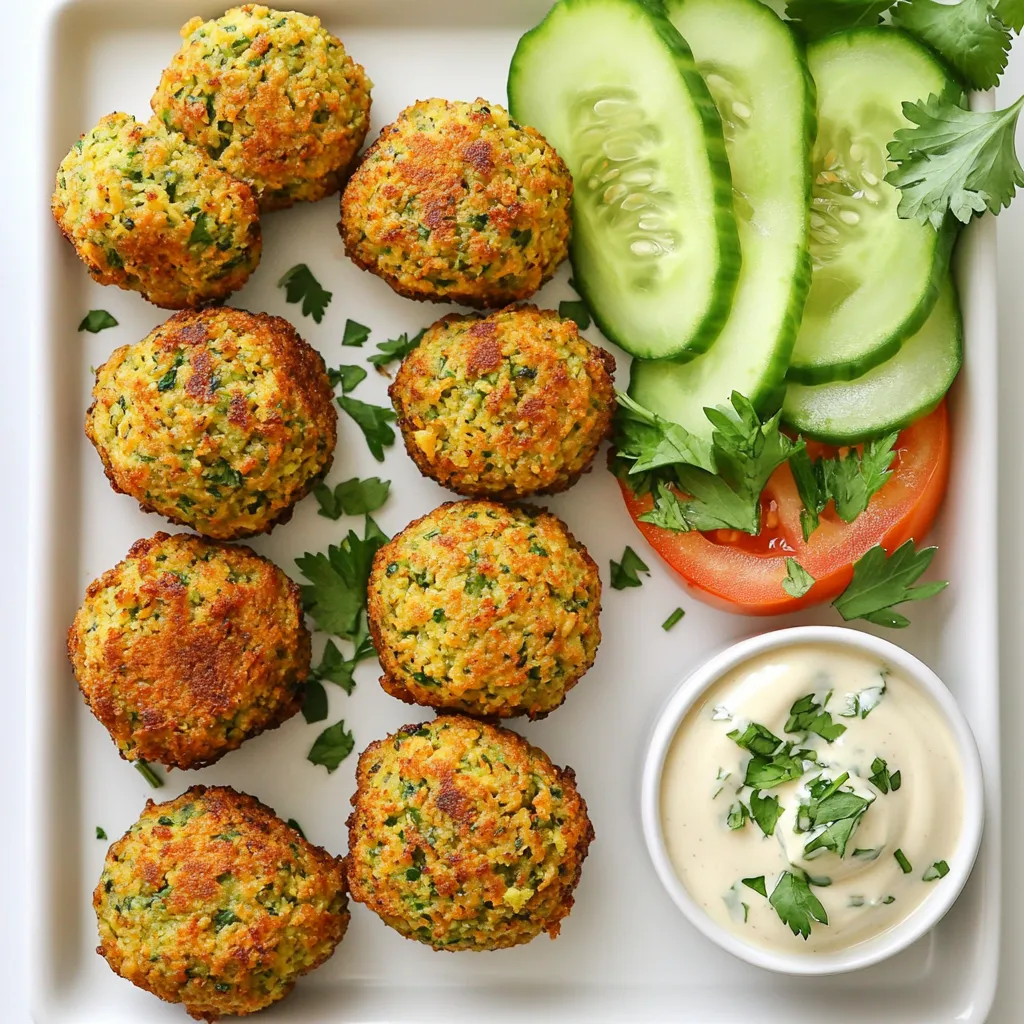
Are you ready to make crispy and flavorful air fryer falafel right at home? This easy recipe is packed with
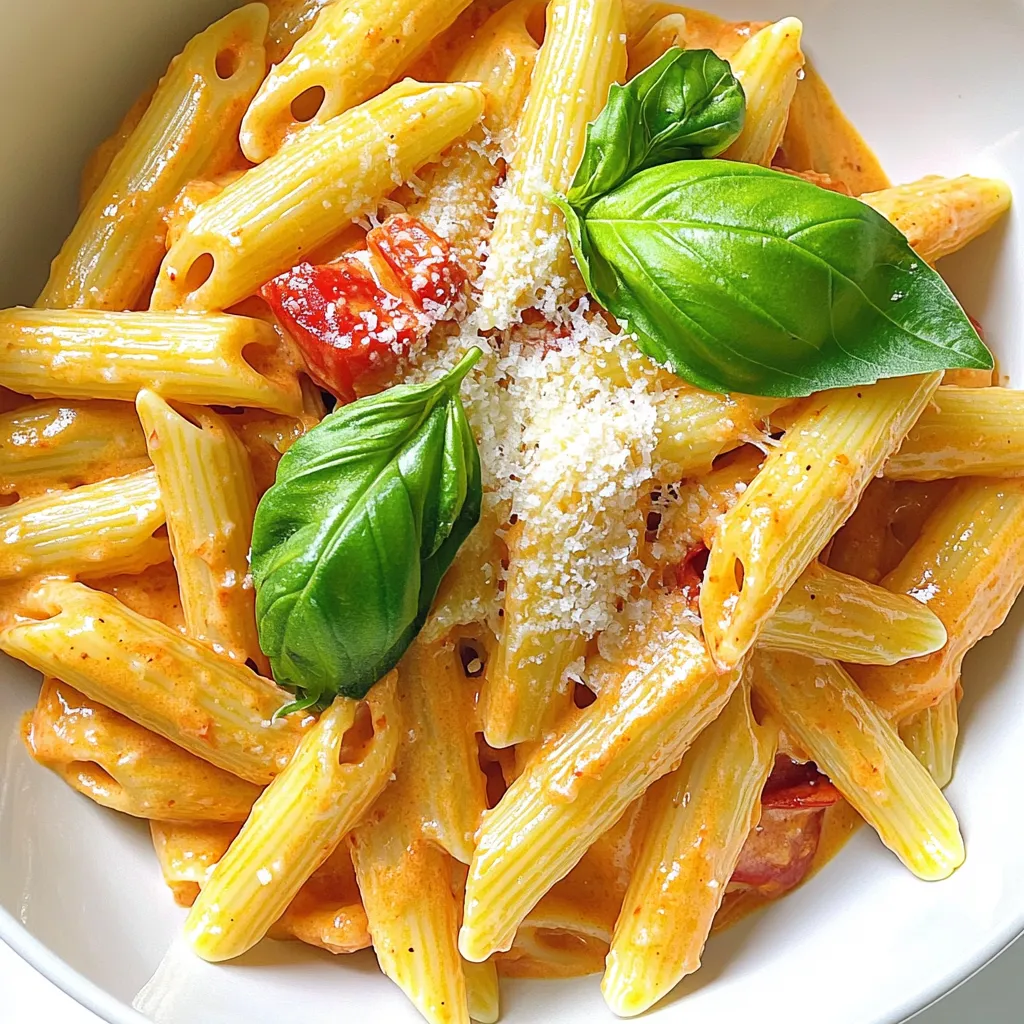
Are you ready for a pasta dish that bursts with flavor? My Creamy Roasted Red Pepper Pasta is a simple
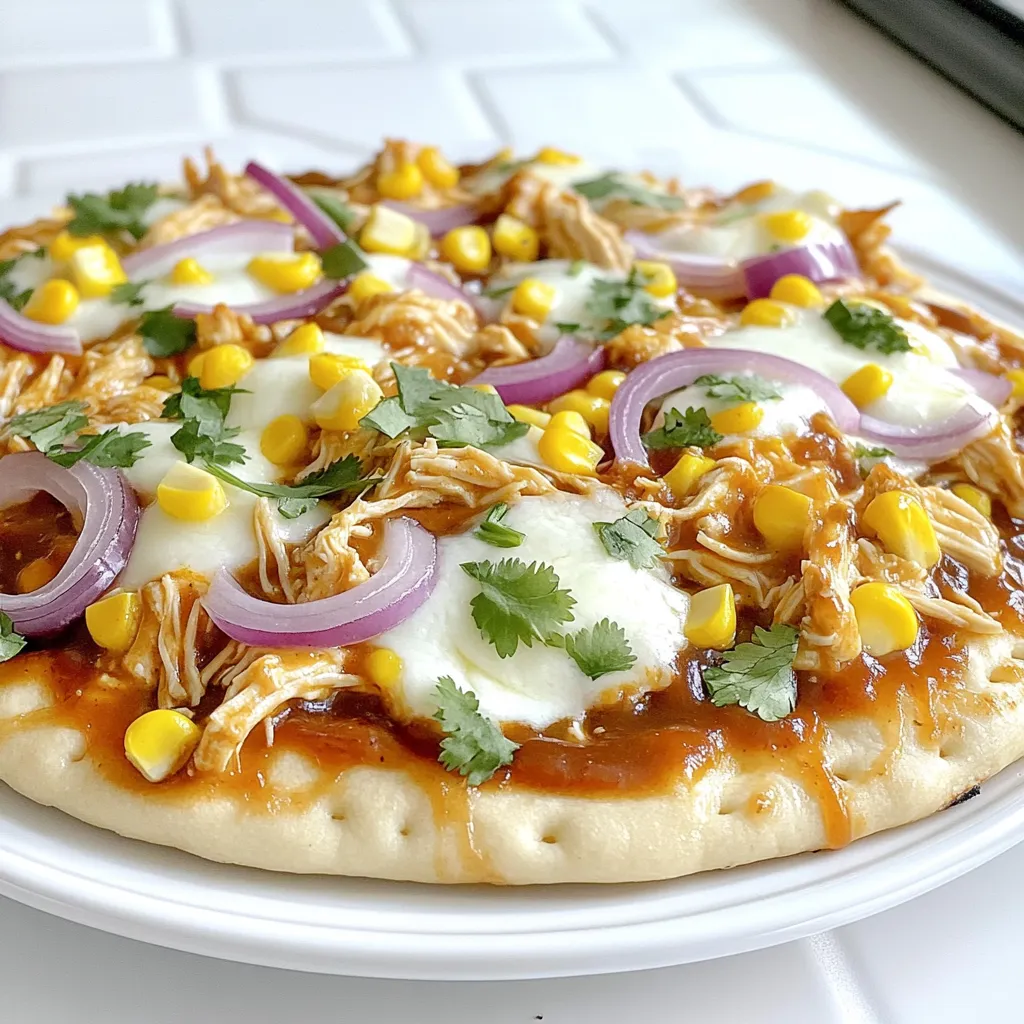
You’re about to discover a quick and tasty recipe for BBQ Chicken Flatbread that will impress everyone. With simple ingredients
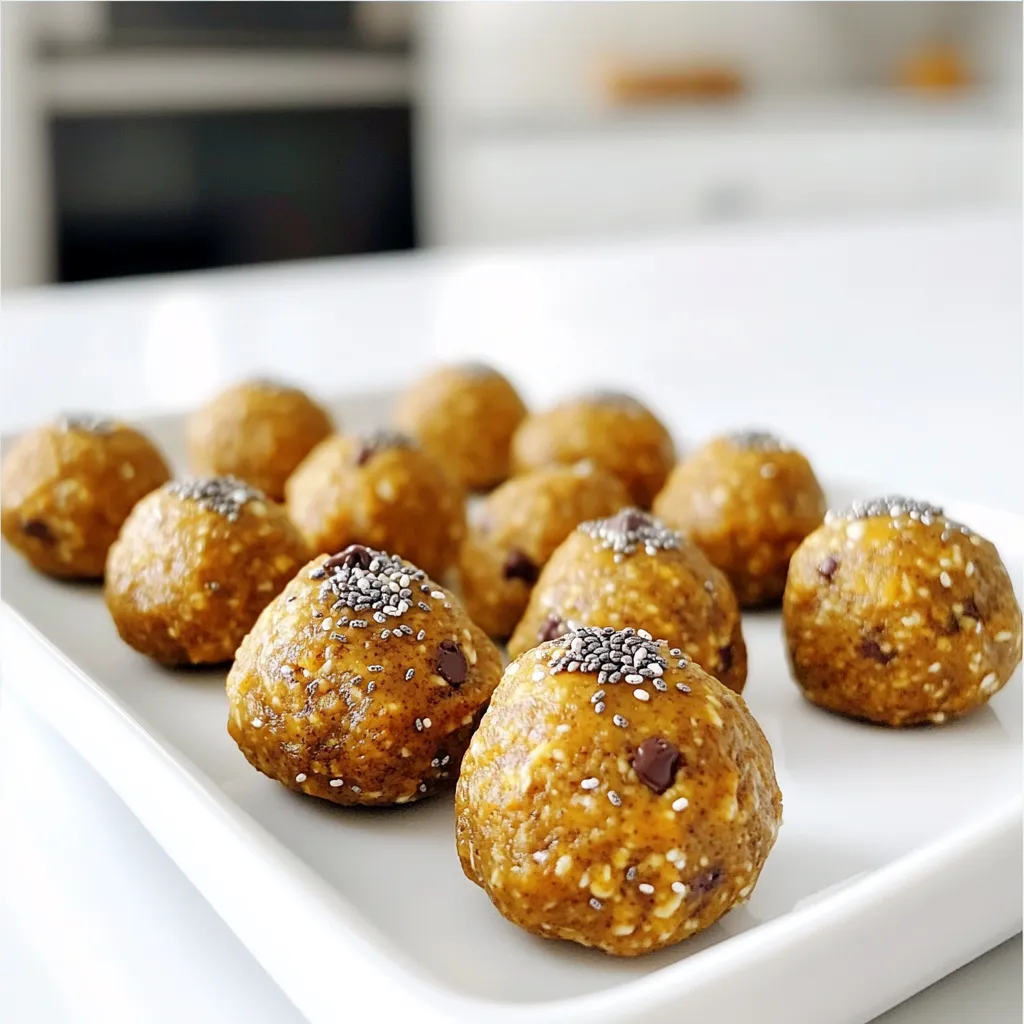
Are you craving a delicious snack that fuels your energy? You’ll love these Pumpkin Spice Energy Bites! They are simple
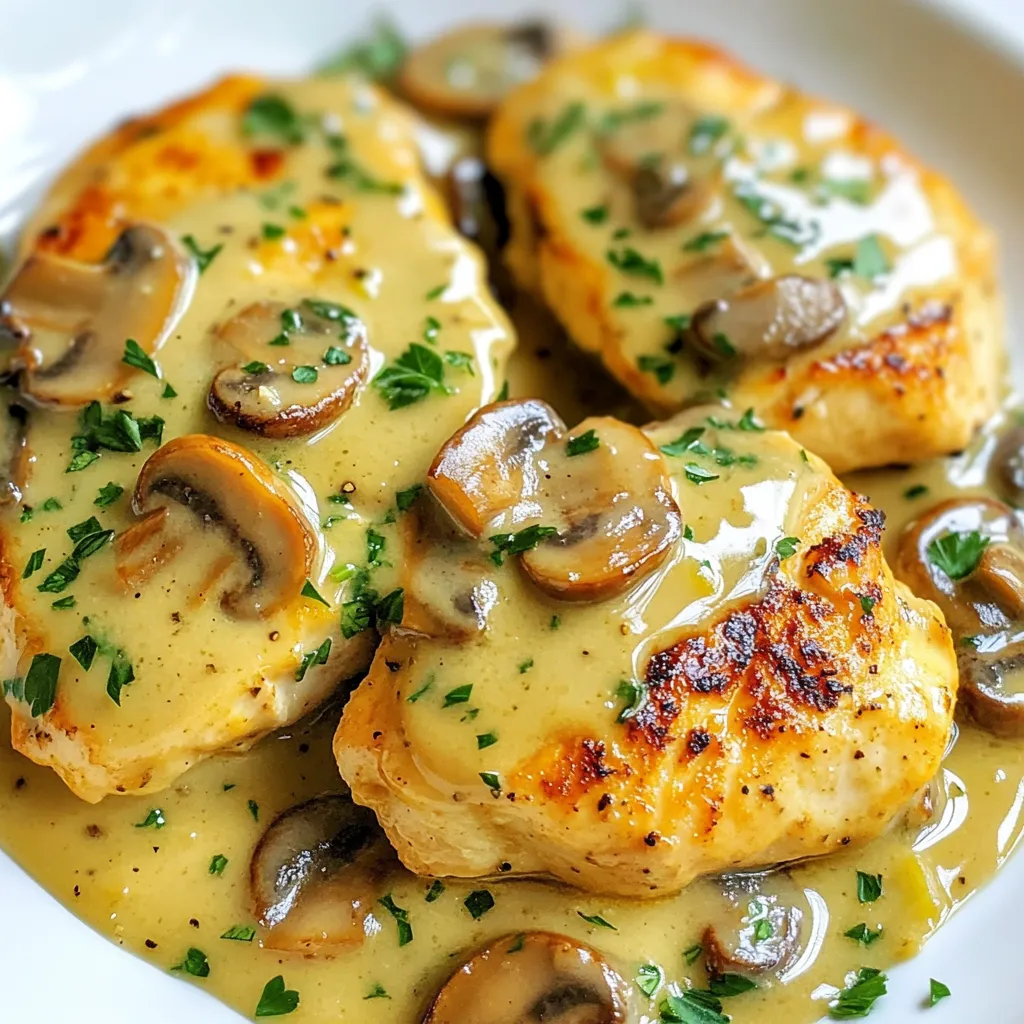
Are you looking for a quick, tasty dinner? This Creamy Garlic Mushroom Chicken delivers big flavor with little fuss. With
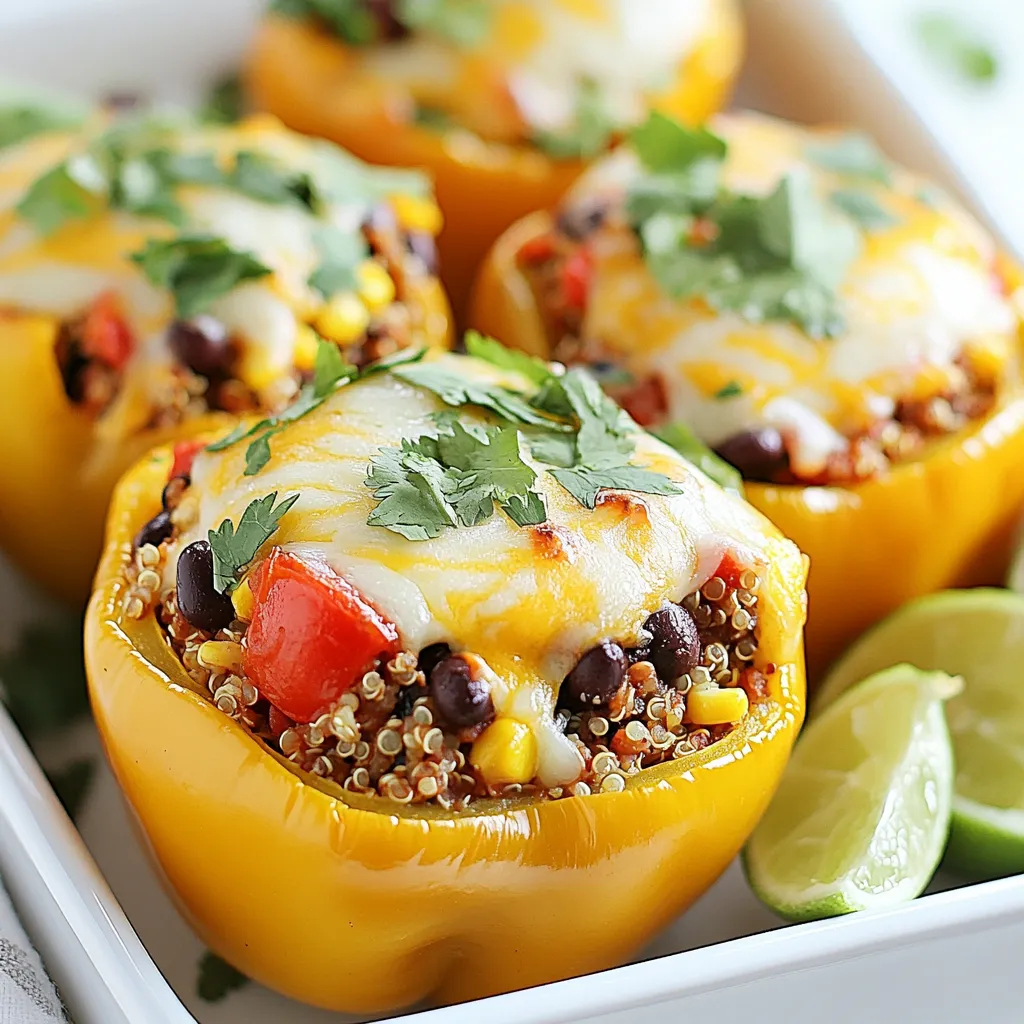
Get ready for a burst of flavor with my Fiesta Quinoa Stuffed Peppers! This fun and colorful dish packs protein,
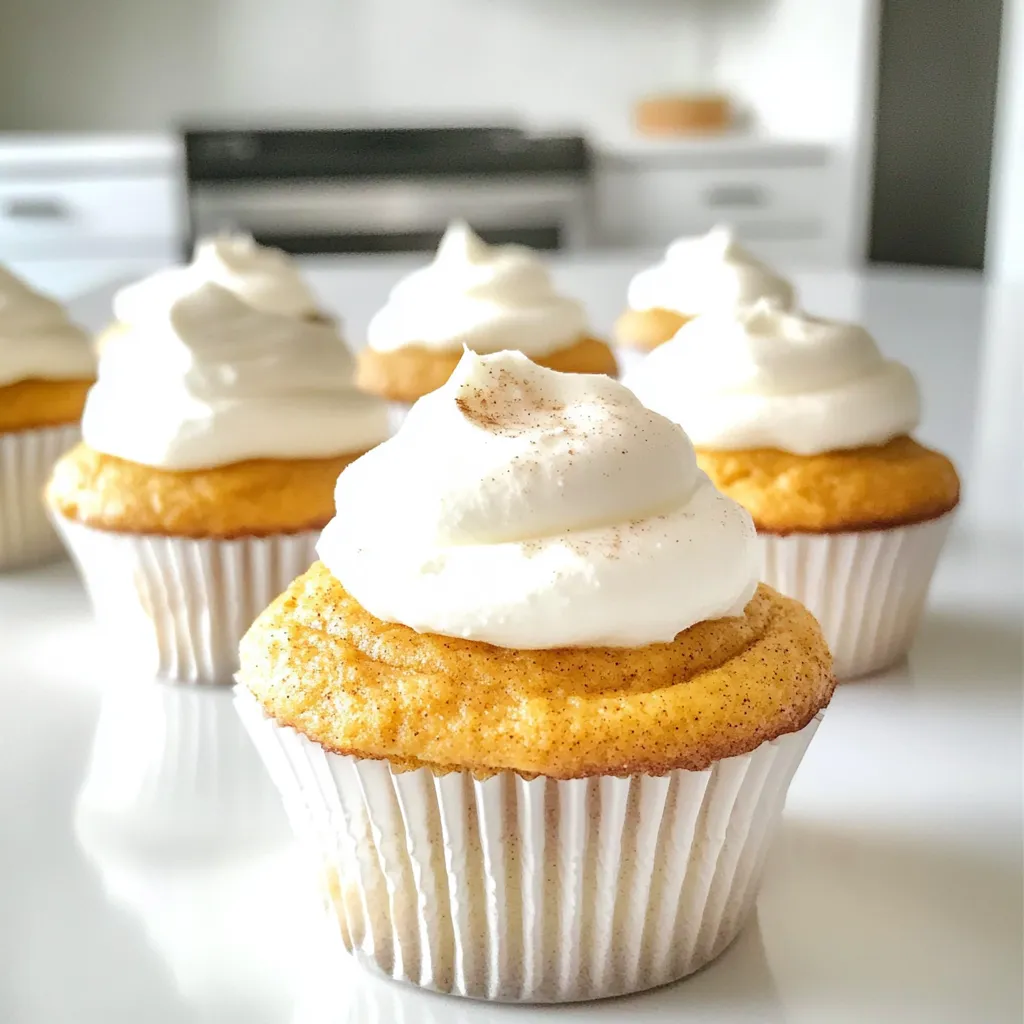
Are you ready to elevate your dessert game? Pumpkin Cheesecake Cupcakes are the perfect blend of rich cheesecake and spiced
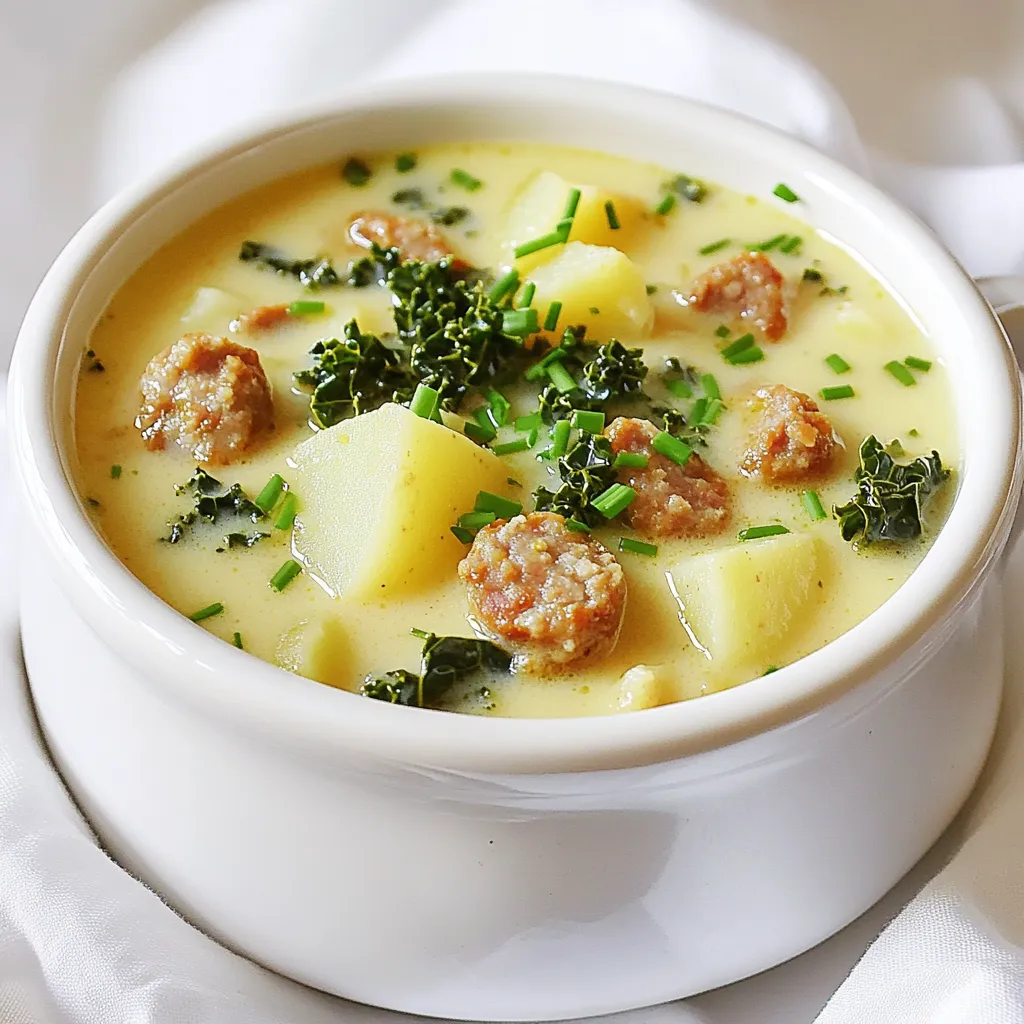
Are you ready to warm up with a bowl of comfort? This Slow Cooker Creamy Sausage Potato Soup is your
