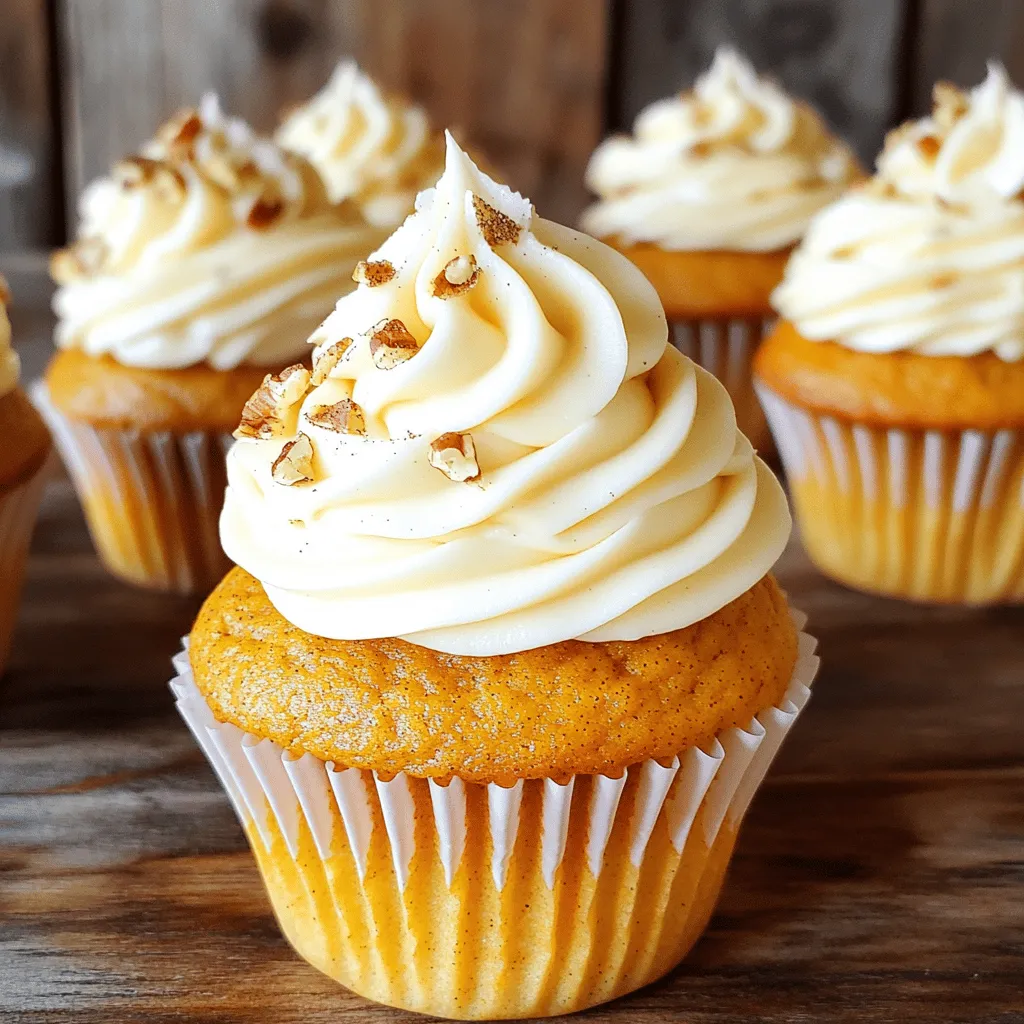
Pumpkin Cream Cheese Cupcakes Delightful and Easy Treat
Welcome to the delightful world of Pumpkin Cream Cheese Cupcakes! If you’re craving a sweet treat that captures the essence
Welcome to the delightful world of Pumpkin Cream Cheese Cupcakes! If you’re craving a sweet treat that captures the essence
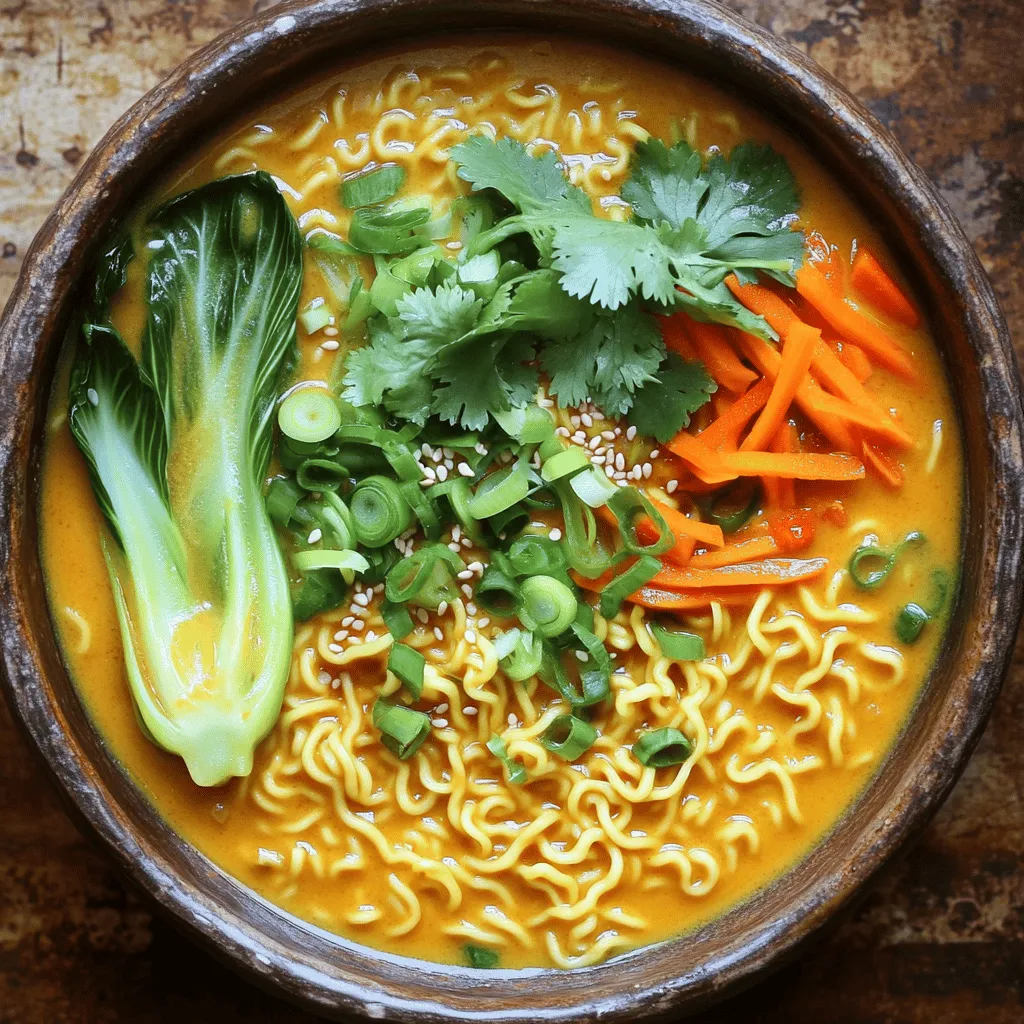
Craving a quick and tasty meal? Look no further! Spicy Peanut Butter Ramen combines creamy peanut butter, fresh veggies, and
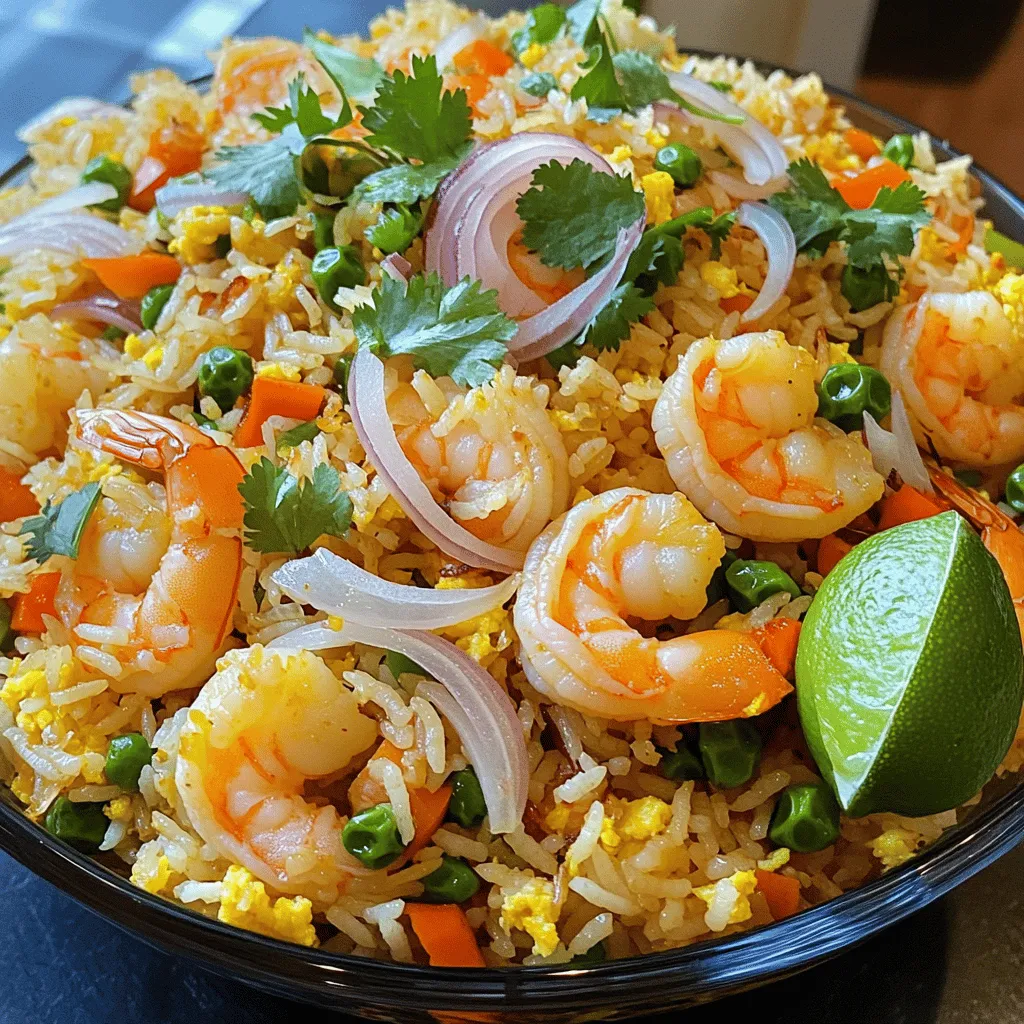
Craving a tasty meal that beats takeout? You’ve got to try my Garlic Shrimp Fried Rice! This dish is packed
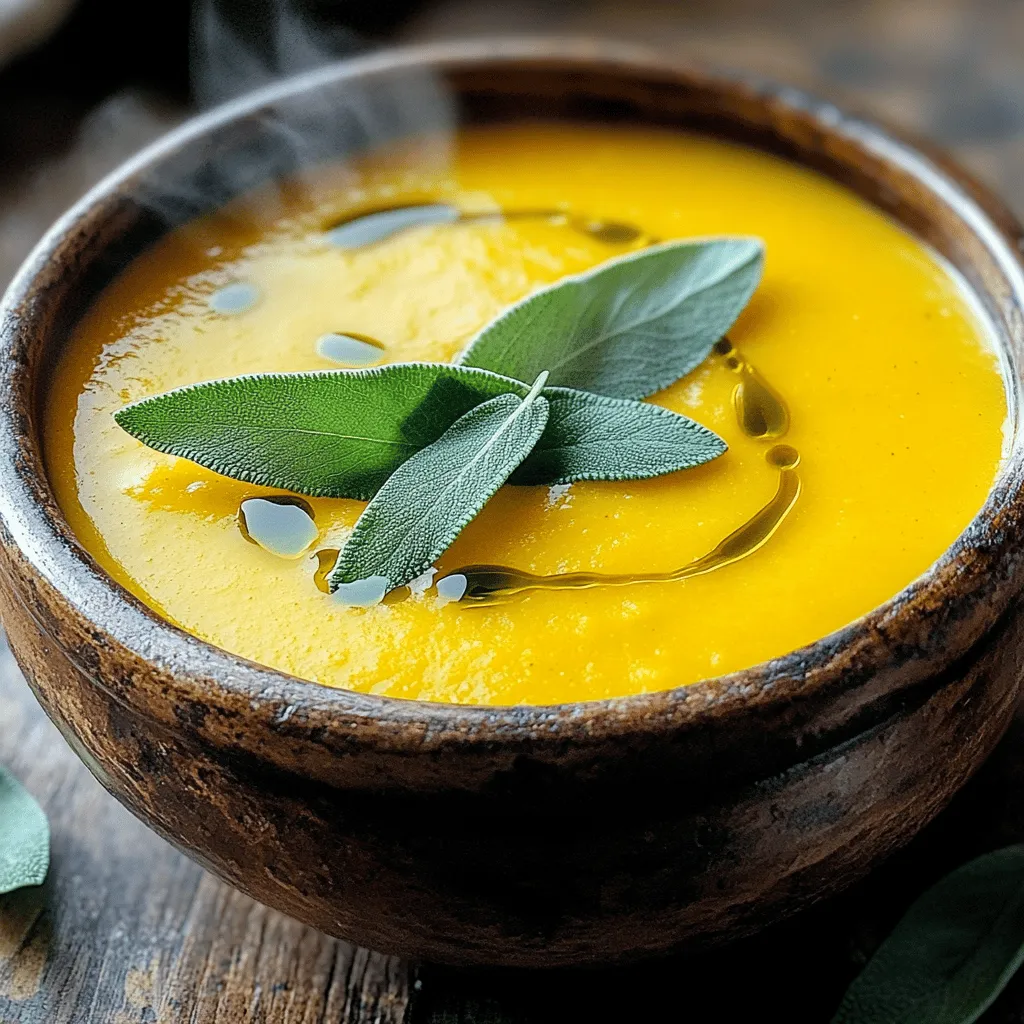
Fall is here, and there’s nothing quite like a warm bowl of creamy butternut squash soup. This recipe is packed
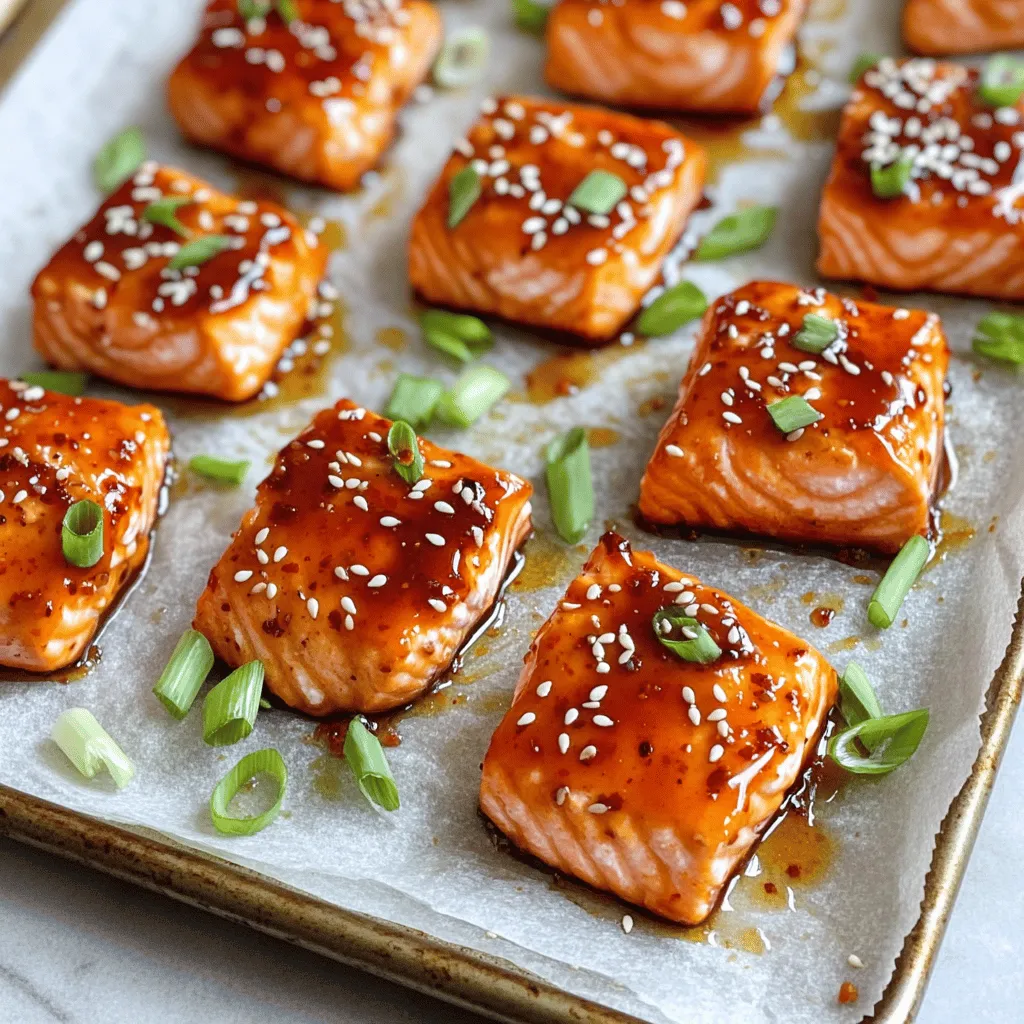
Looking to impress your friends at your next gathering? My Sweet Chili Salmon Bites are both easy and packed with
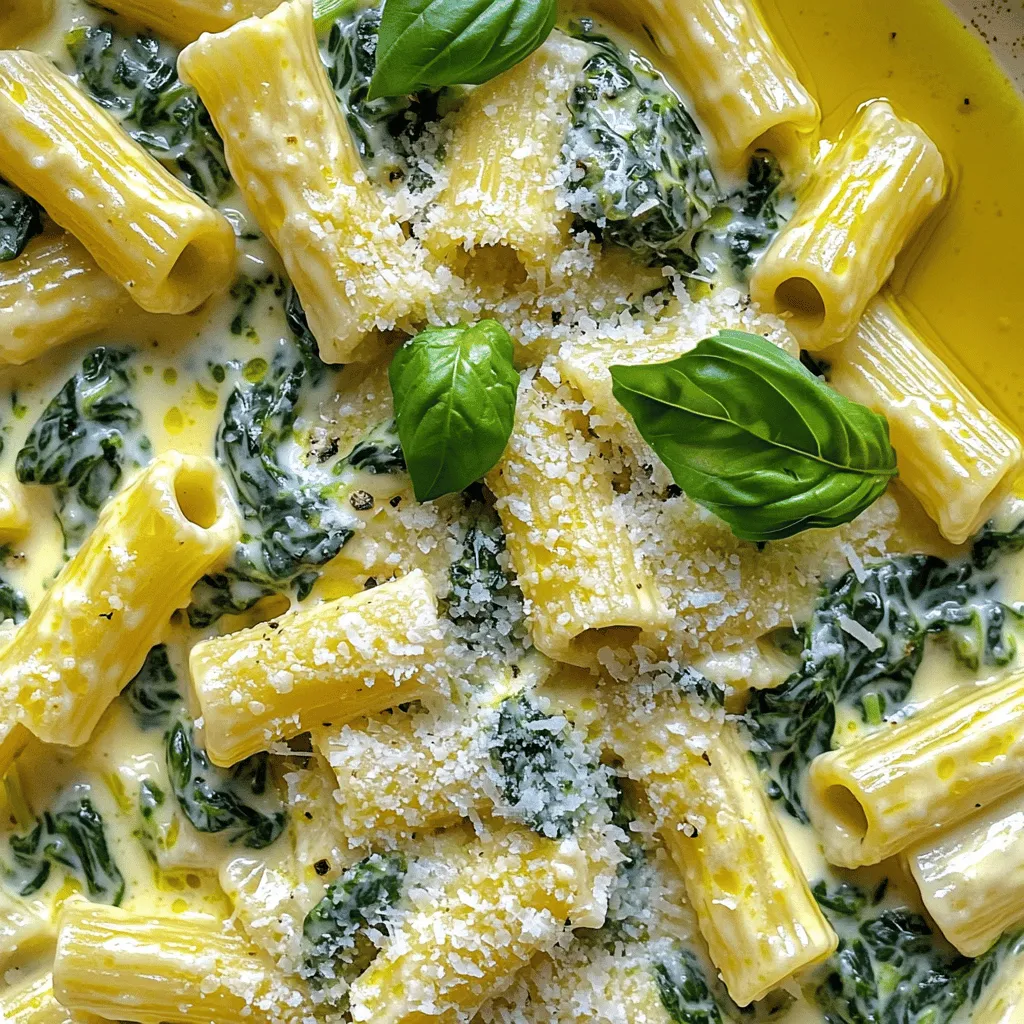
If you’re craving a quick and delicious meal, I’ve got you covered. My Creamy Spinach Ricotta Pasta is a delightful
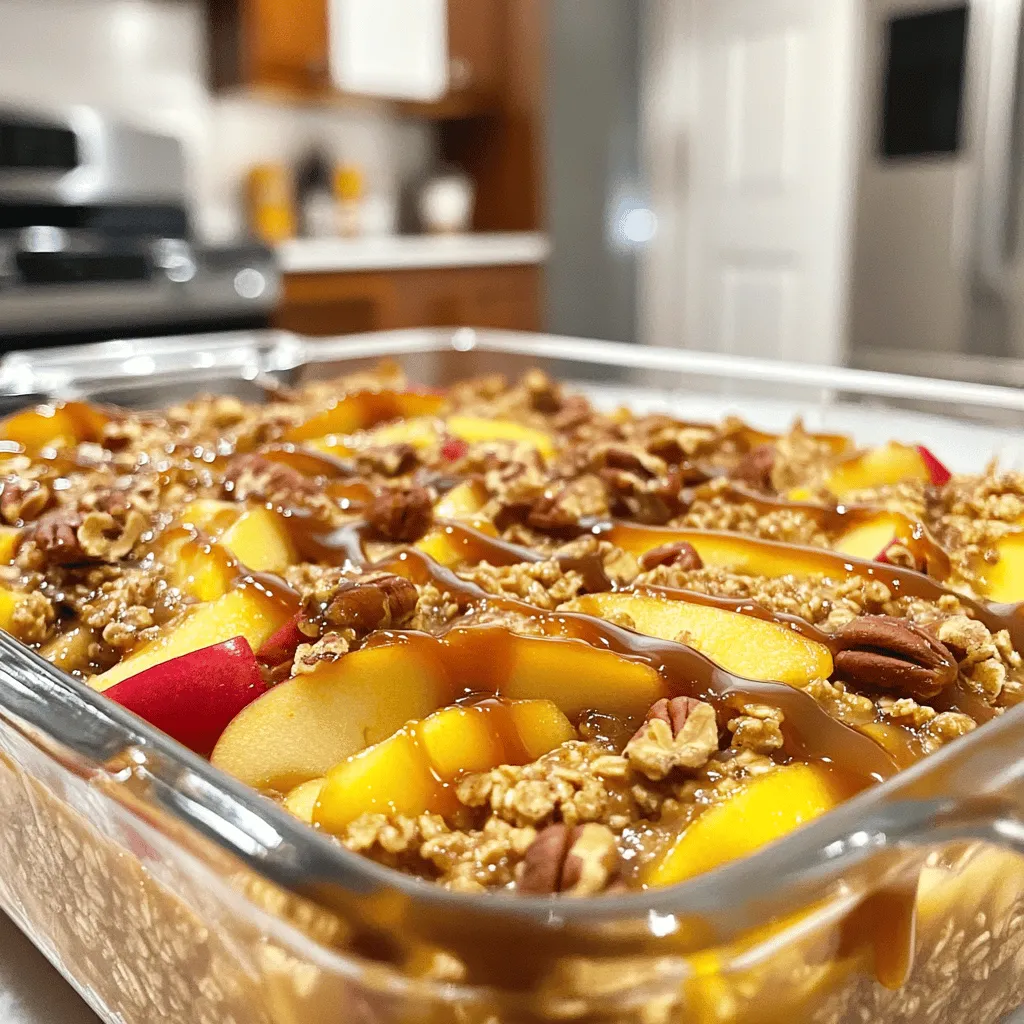
Looking for a warm, sweet treat that’s easy to make? My Caramel Apple Oatmeal Bake is the answer! This dish
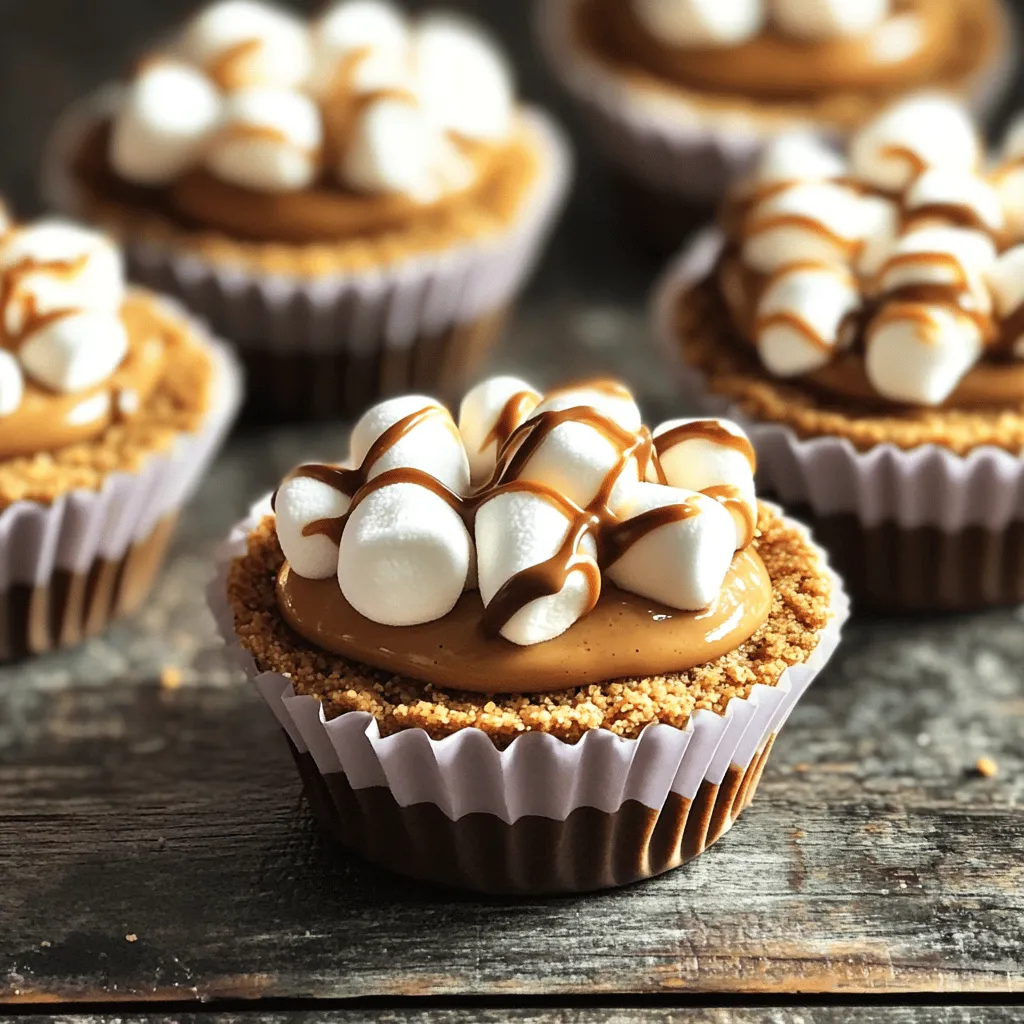
Craving a sweet treat that blends rich flavors with a crunchy twist? Let me introduce you to Peanut Butter S’mores
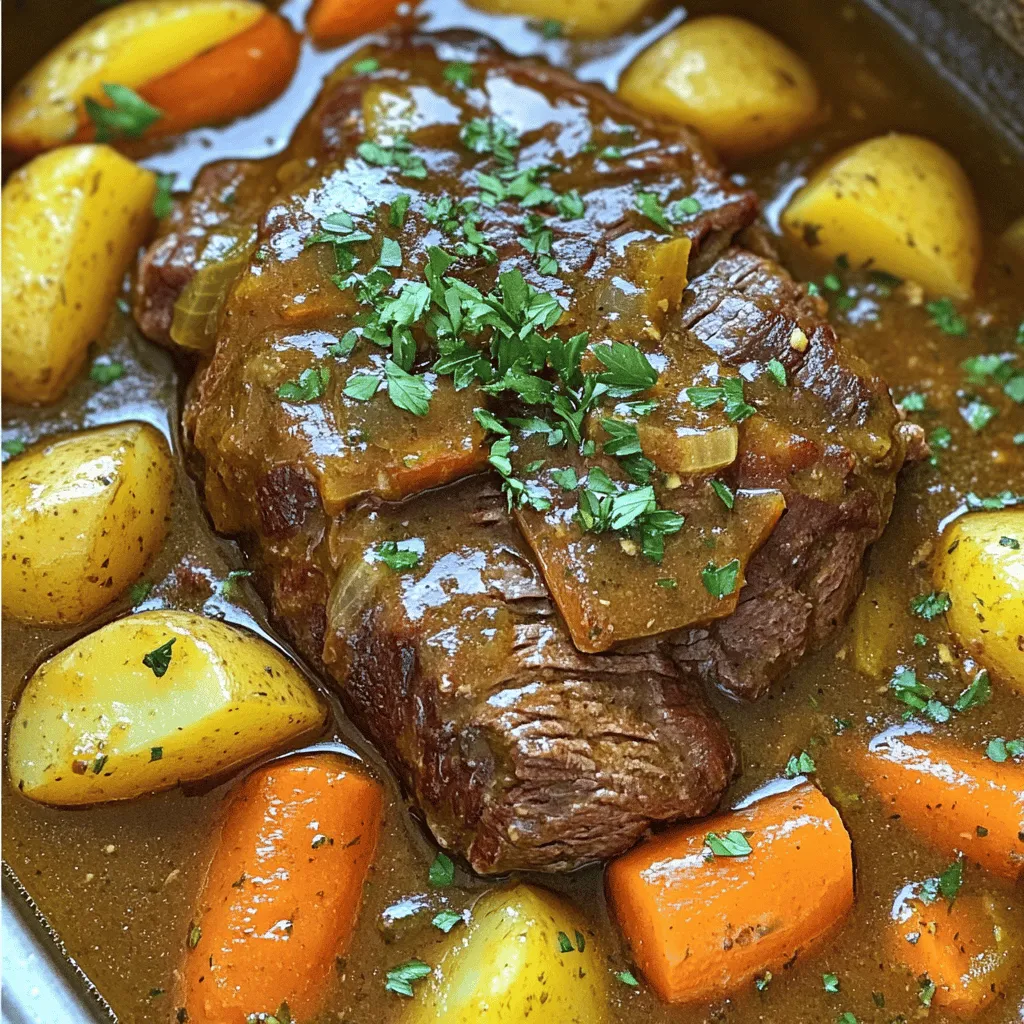
Are you ready to savor the ultimate comfort food? My Slow Cooker Garlic Herb Pot Roast Recipe will make your
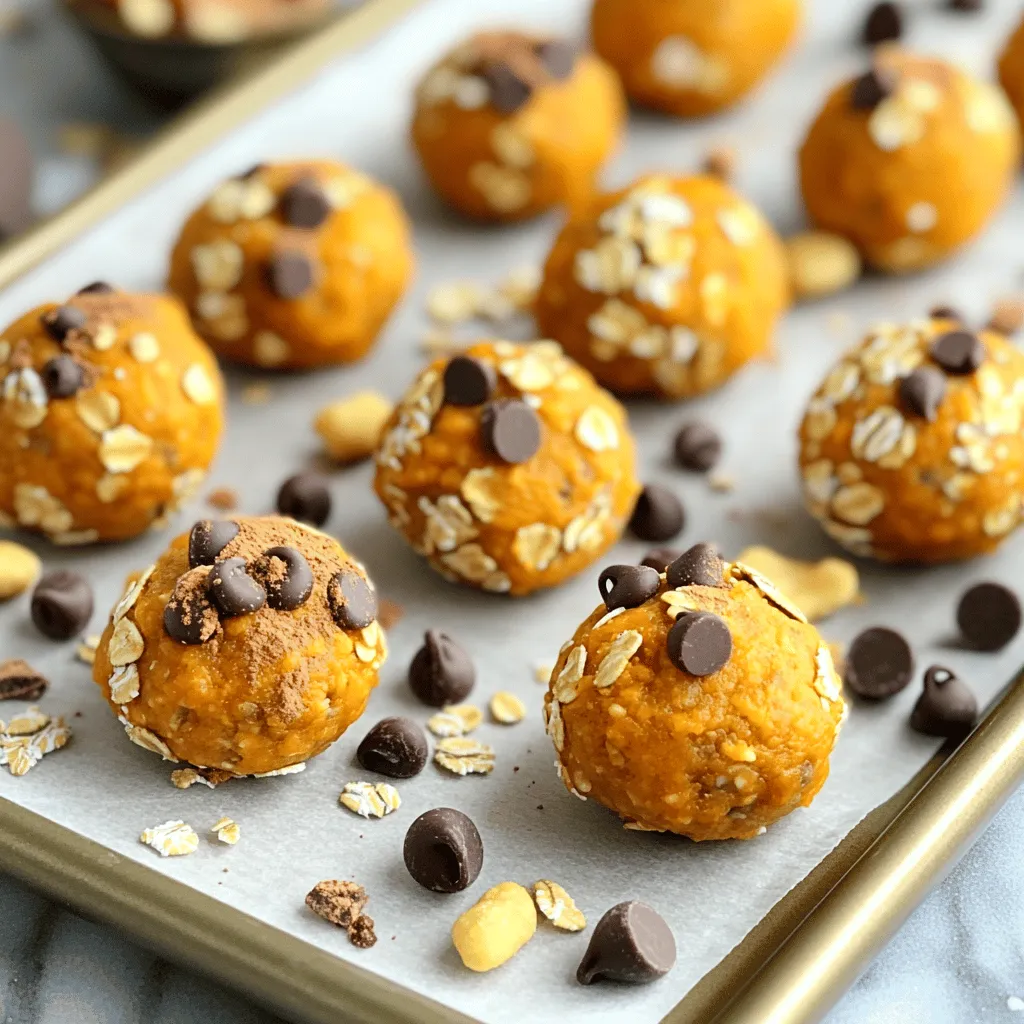
Looking for a simple, healthy snack that packs a punch? Let me introduce you to No-Bake Pumpkin Spice Protein Balls!
