
Garlic Herb Mashed Cauliflower Flavorful Side Dish
If you’re looking for a delicious side dish, Garlic Herb Mashed Cauliflower is perfect. This creamy delight offers a rich
If you’re looking for a delicious side dish, Garlic Herb Mashed Cauliflower is perfect. This creamy delight offers a rich
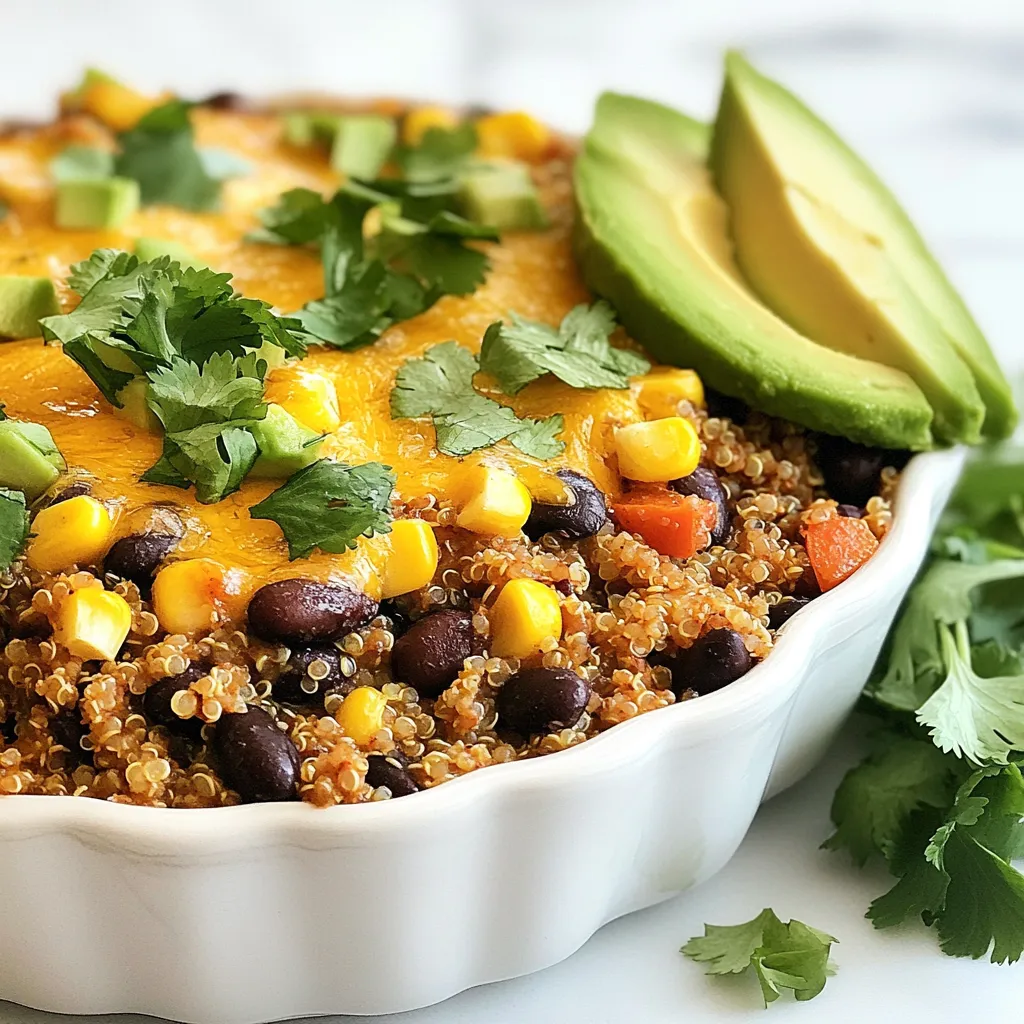
Are you ready for a meal that’s bursting with flavor and nutrition? My Fiesta Black Bean Quinoa Casserole combines hearty

Start your mornings right with my Maple Pecan Coffee Cake. This delicious treat blends rich maple flavor with crunchy pecans,
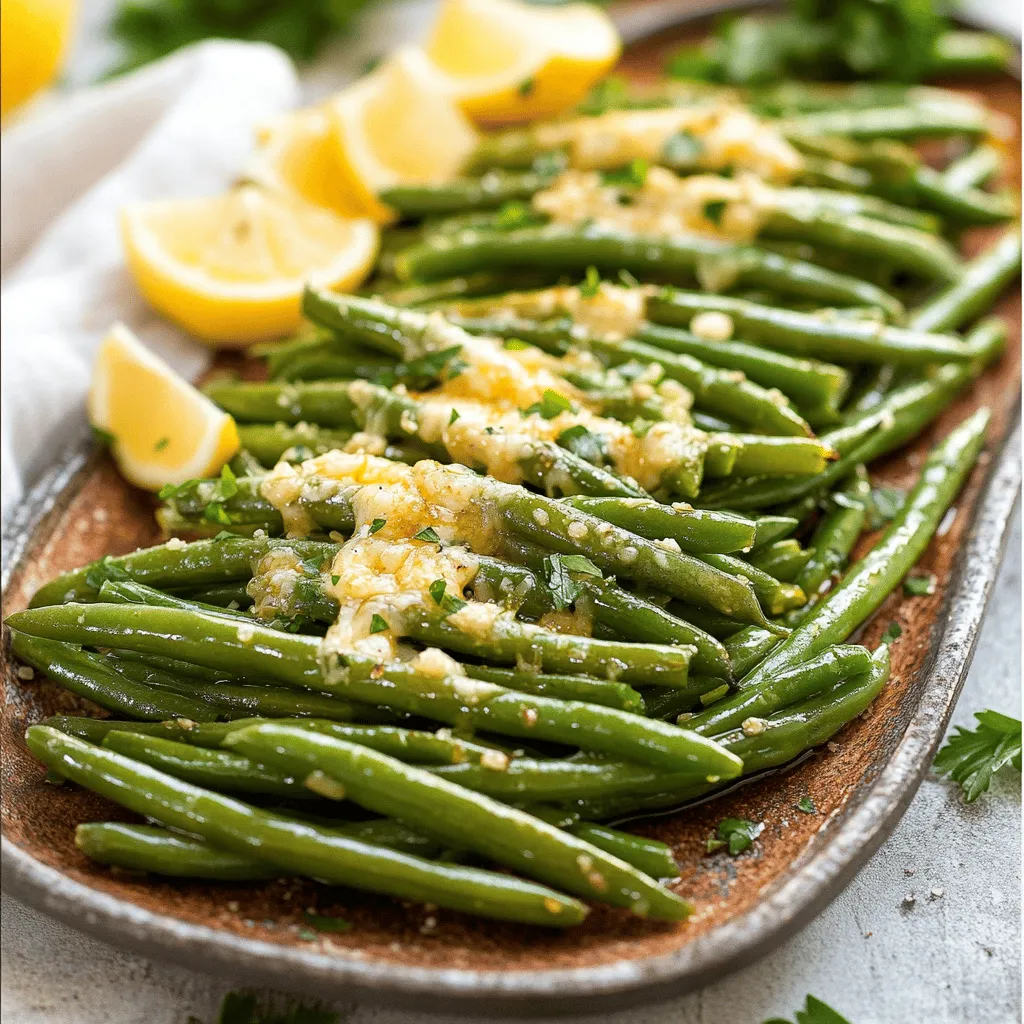
Are you ready to make a quick, healthy side dish that everyone will love? My Air Fryer Garlic Parmesan Green
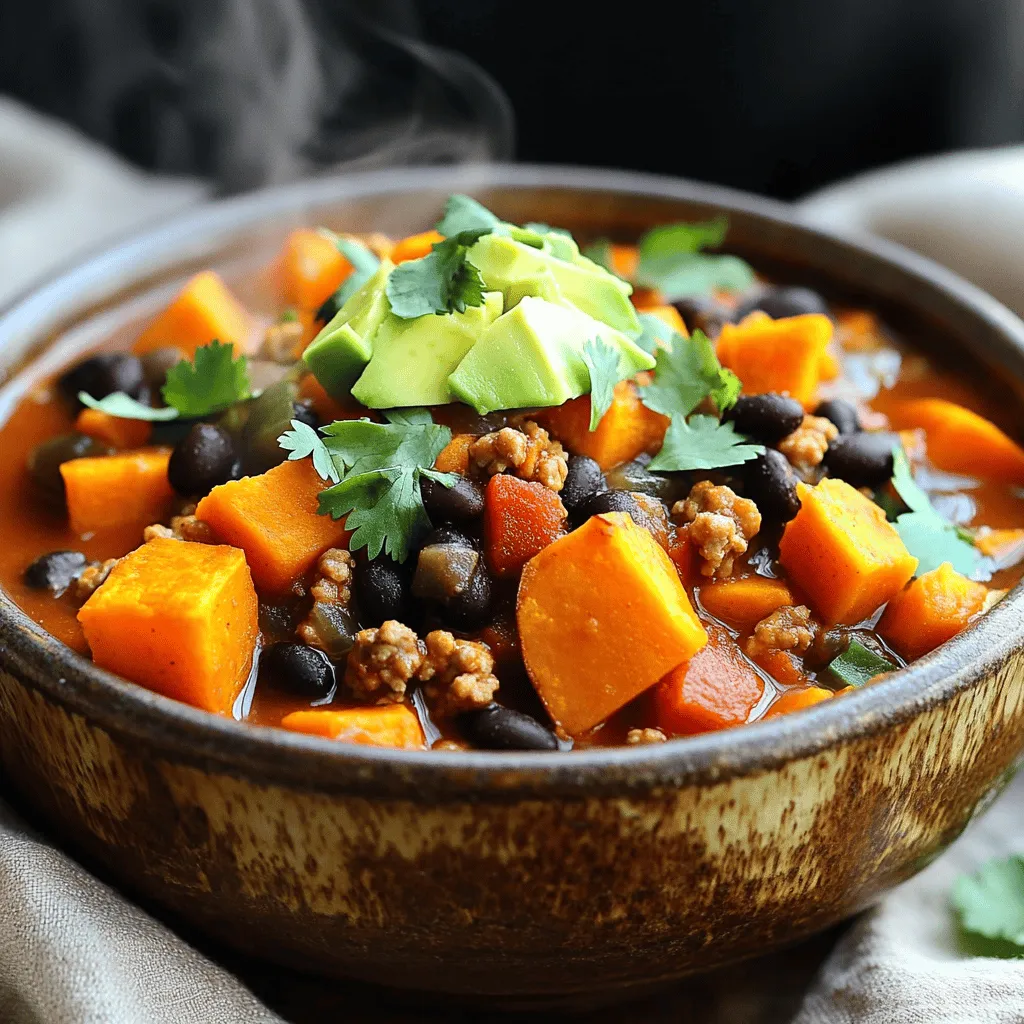
Are you ready to whip up a meal that’s both tasty and easy? My Slow Cooker Sweet Potato Turkey Chili
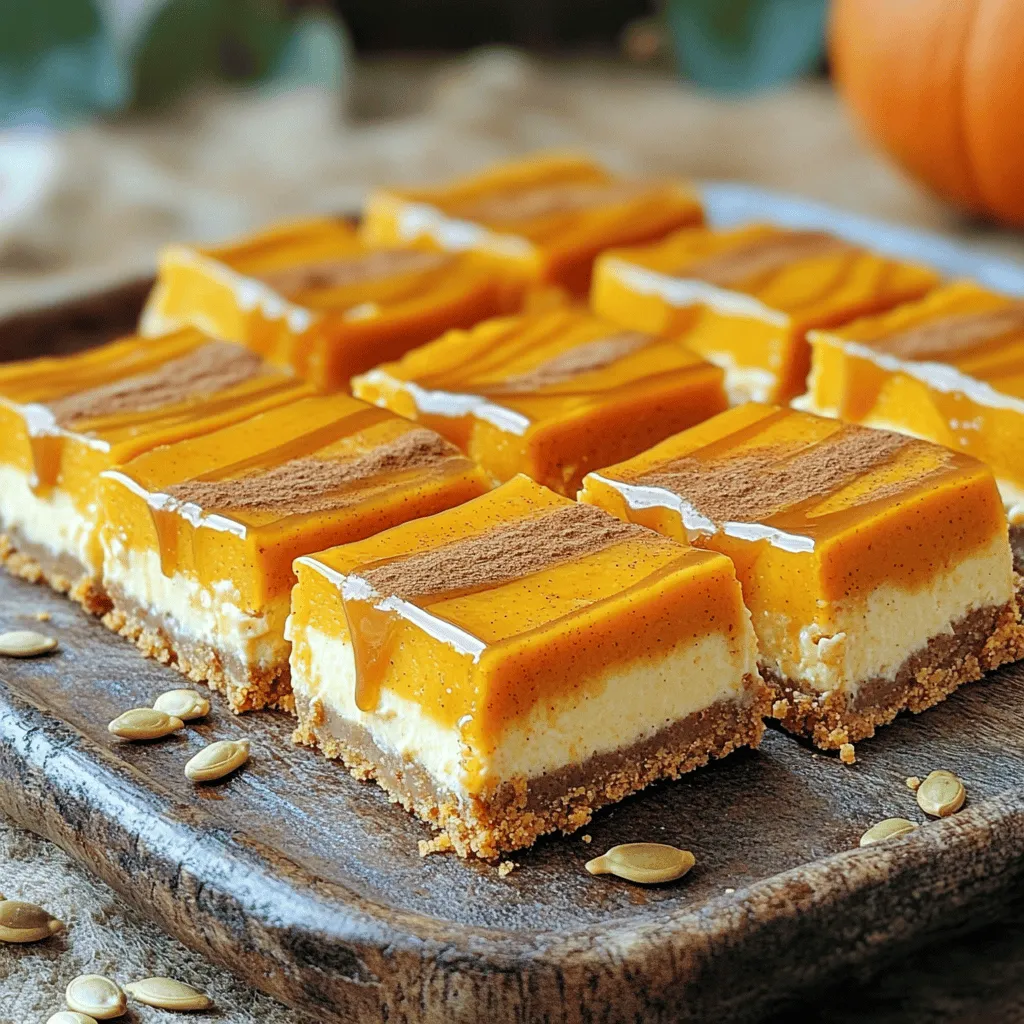
Craving something sweet and festive? These Pumpkin Cheesecake Bars with Caramel Drizzle are a must-try! I’ll guide you through each
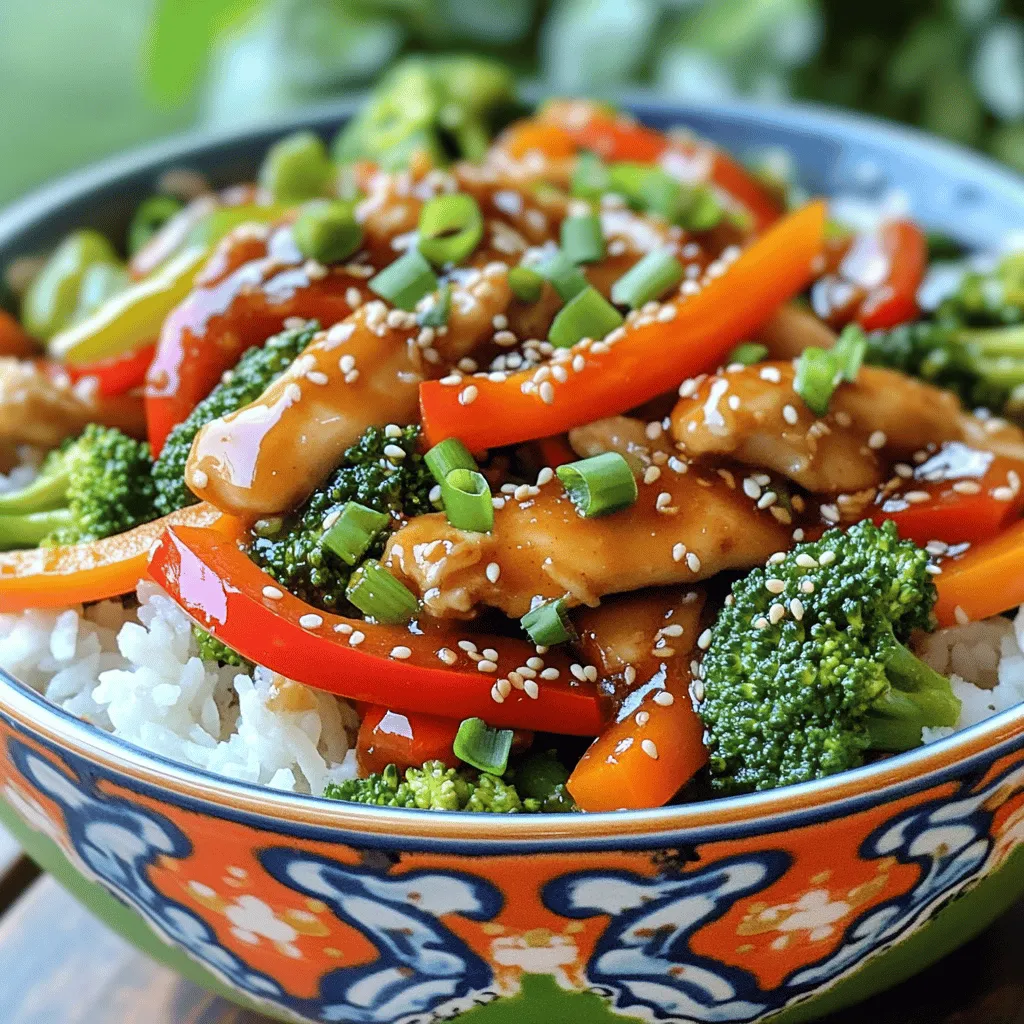
Looking for a quick, tasty meal? Try my Garlic Chili Chicken Stir Fry! This dish is packed with flavors and
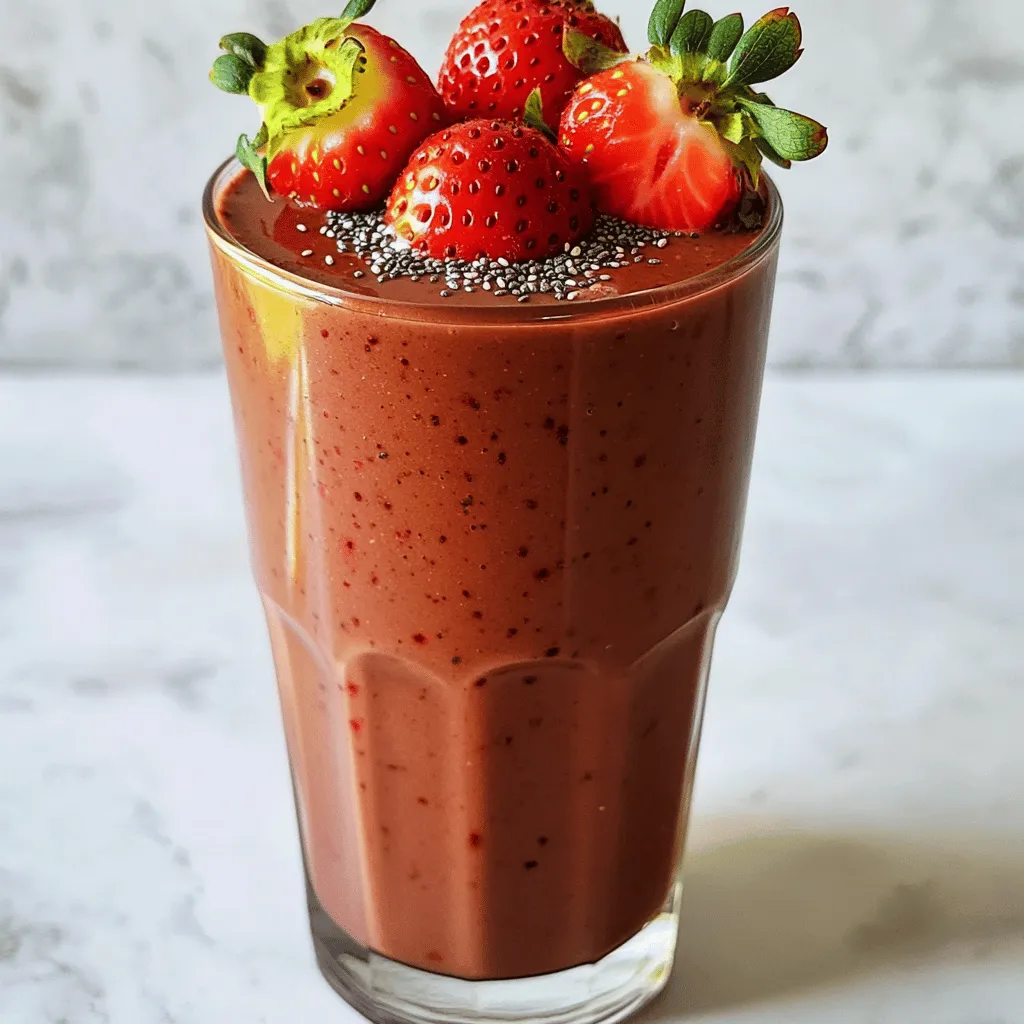
Looking for a delicious way to boost your protein intake? Try my Protein Chocolate Strawberry Smoothie! It’s packed with fresh
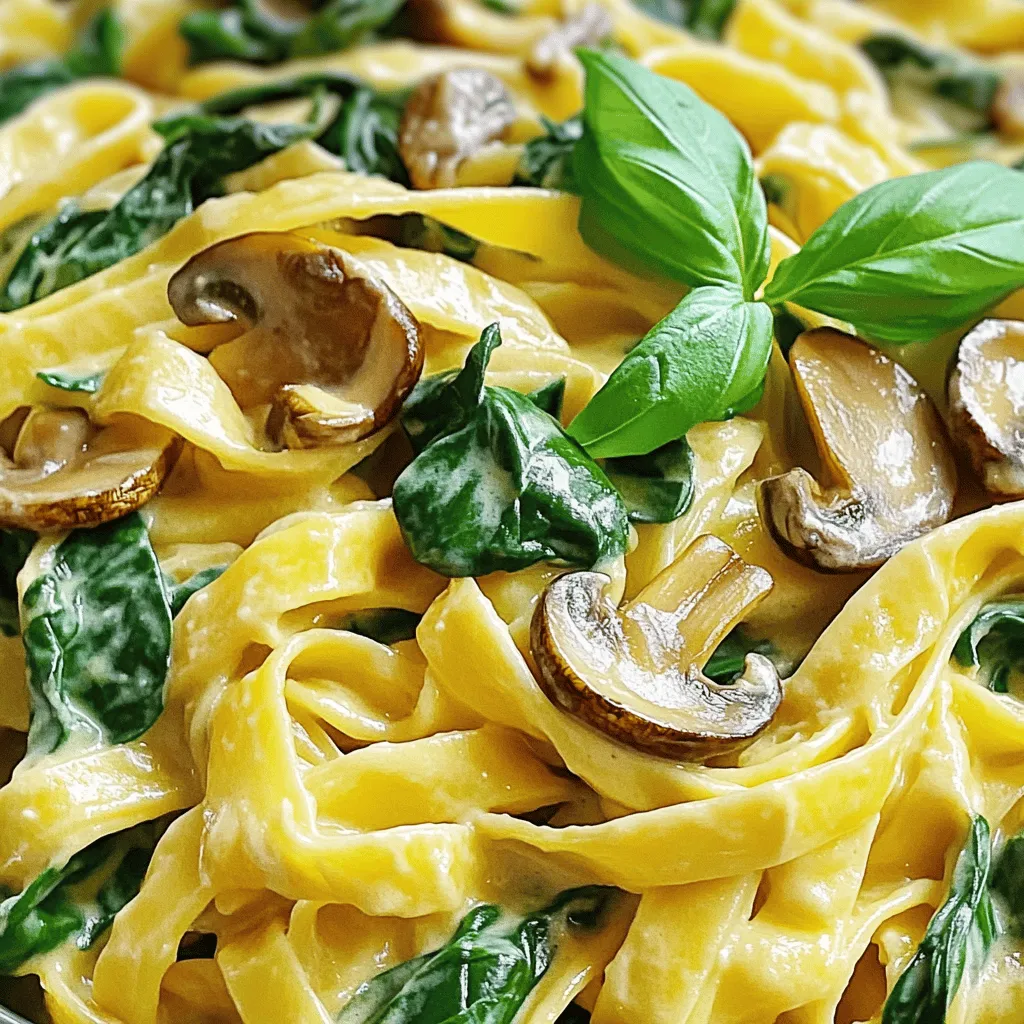
Looking for a quick and tasty meal? Try my Creamy Spinach Mushroom Pasta! This dish is rich, flavorful, and super
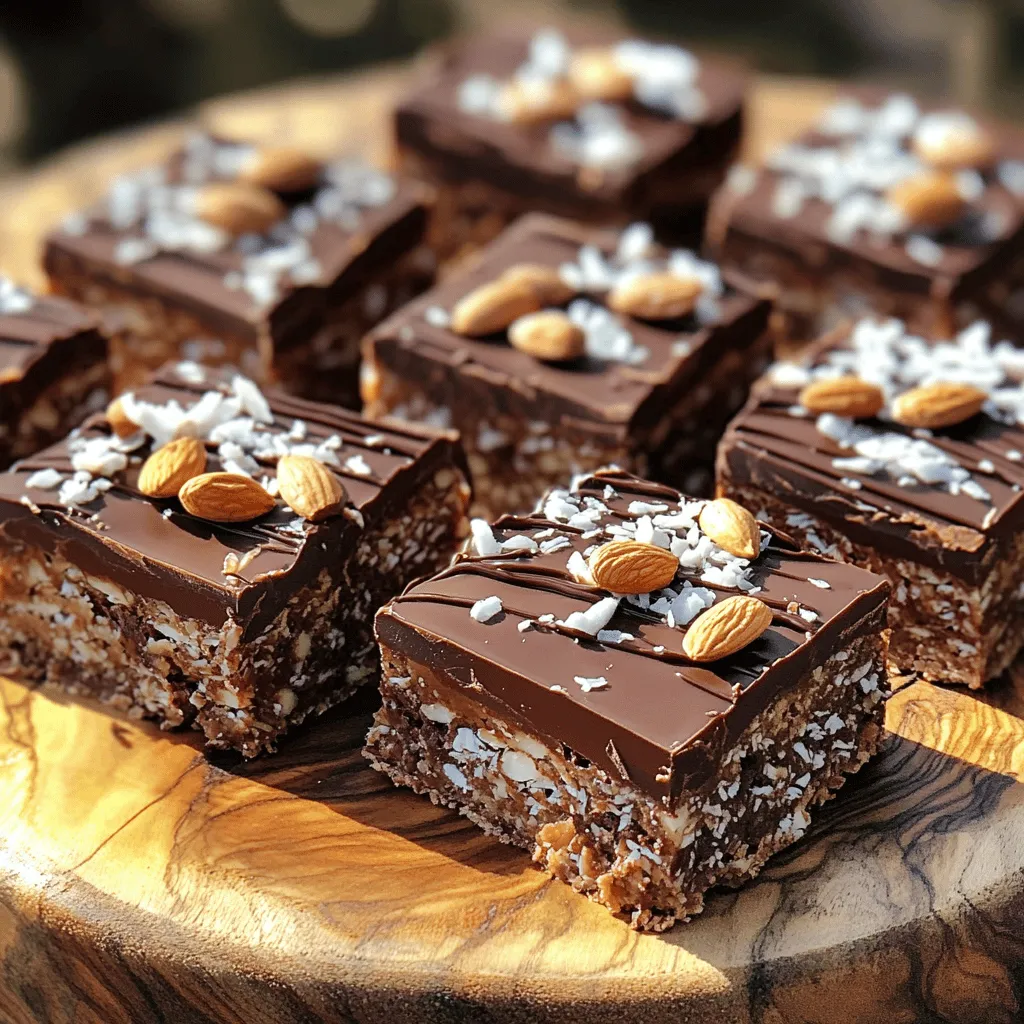
Looking for a sweet treat that’s quick and easy? You’ll love these No Bake Chocolate Coconut Almond Bars. With just
