Air Fryer Parmesan Zucchini Chips Crunchy and Tasty Treat
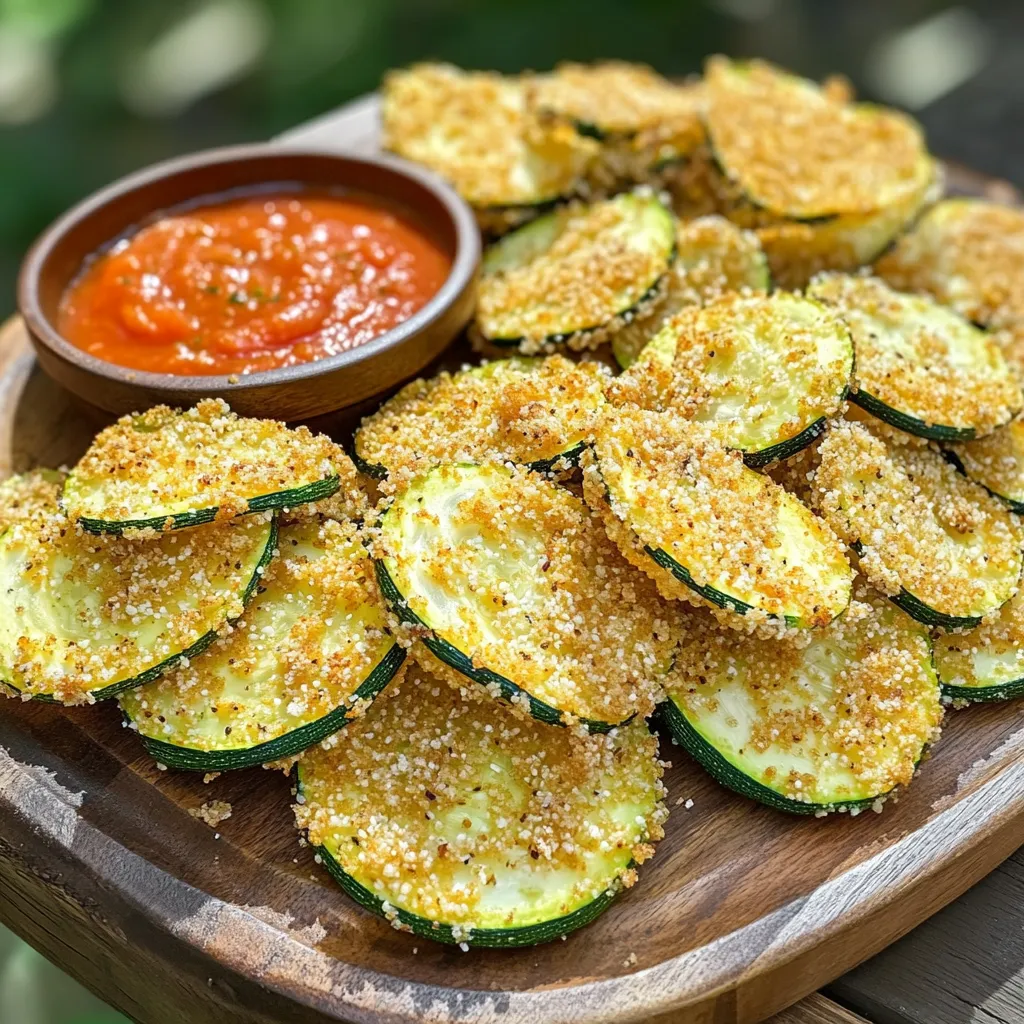
If you’re craving a crunchy snack that won’t ruin your diet, you need to try Air Fryer Parmesan Zucchini Chips!
If you’re craving a crunchy snack that won’t ruin your diet, you need to try Air Fryer Parmesan Zucchini Chips!
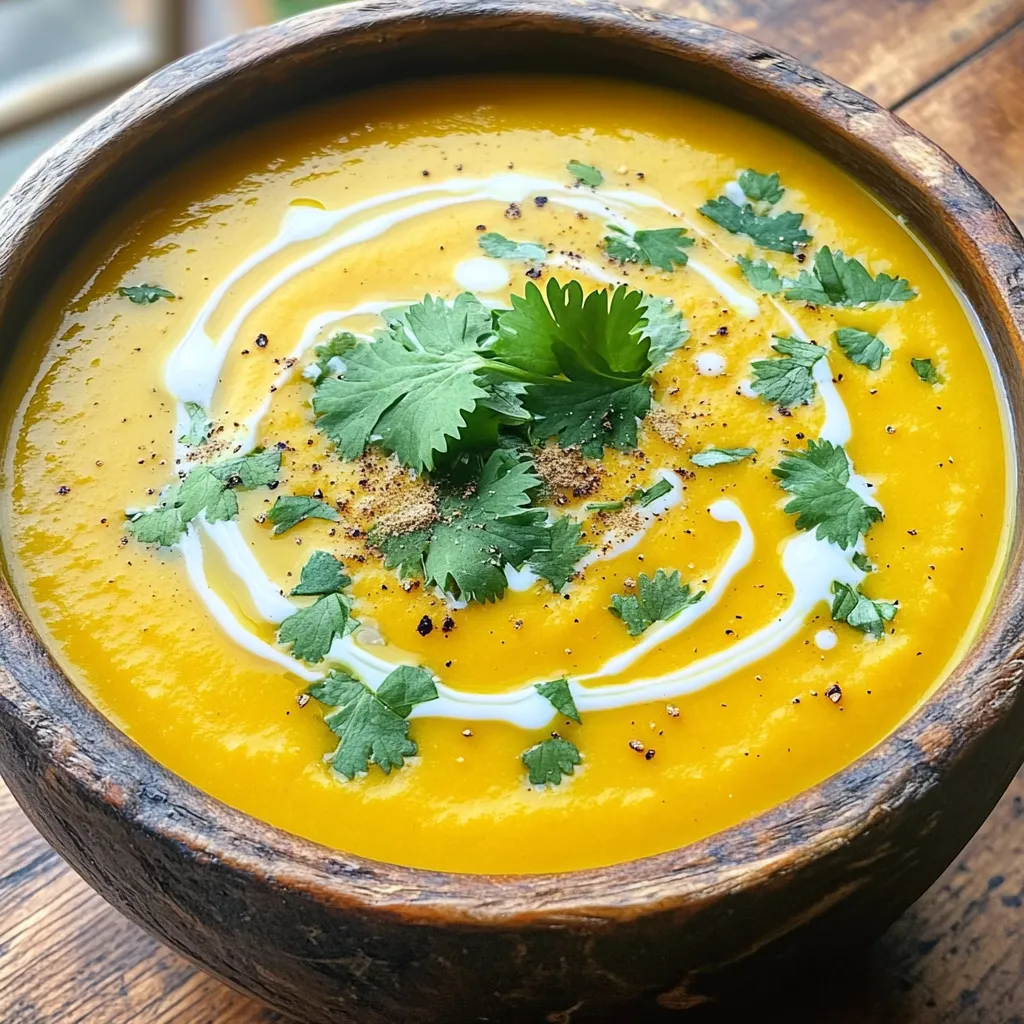
Looking for a warm, creamy dish that’s simple to make? You’re in the right place! My Slow Cooker Creamy Butternut
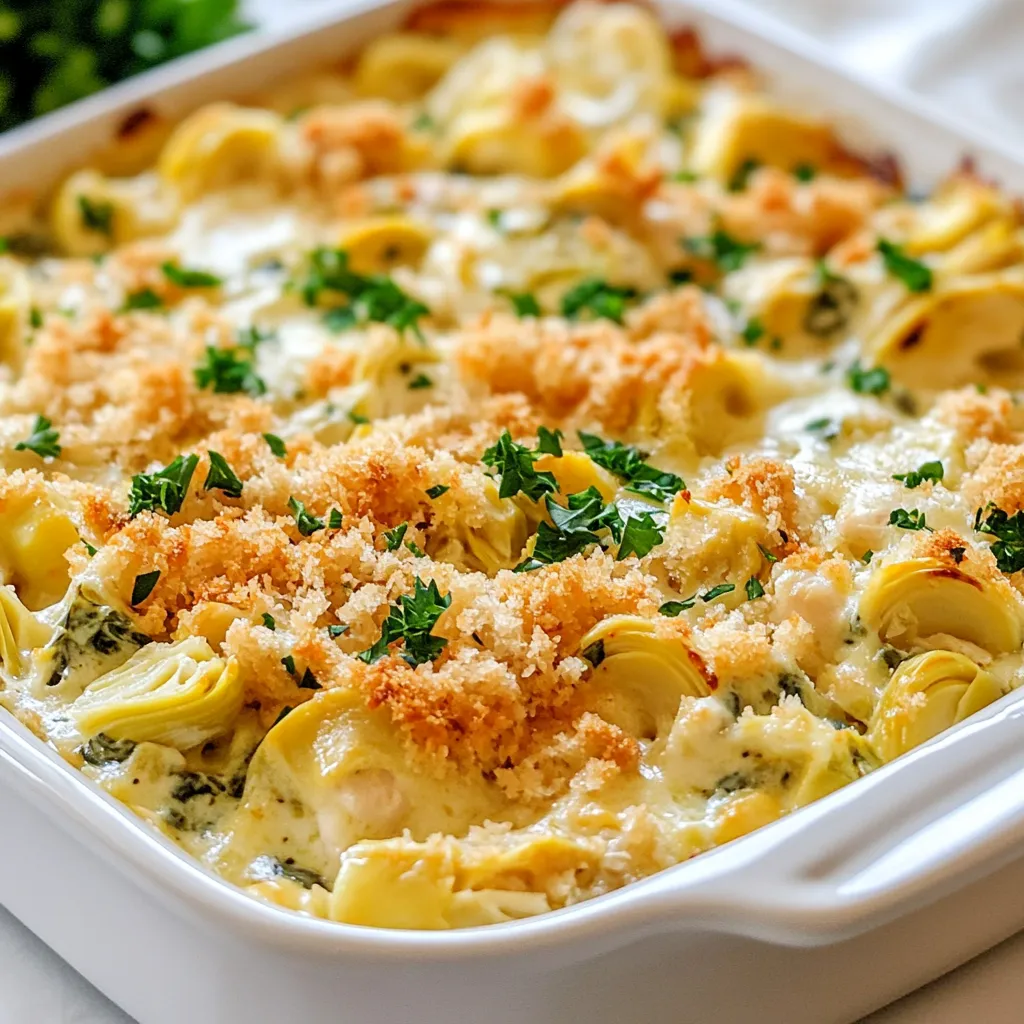
If you’re looking for a dish that feels like a warm hug, you’ve found it! Spinach Artichoke Chicken Casserole is
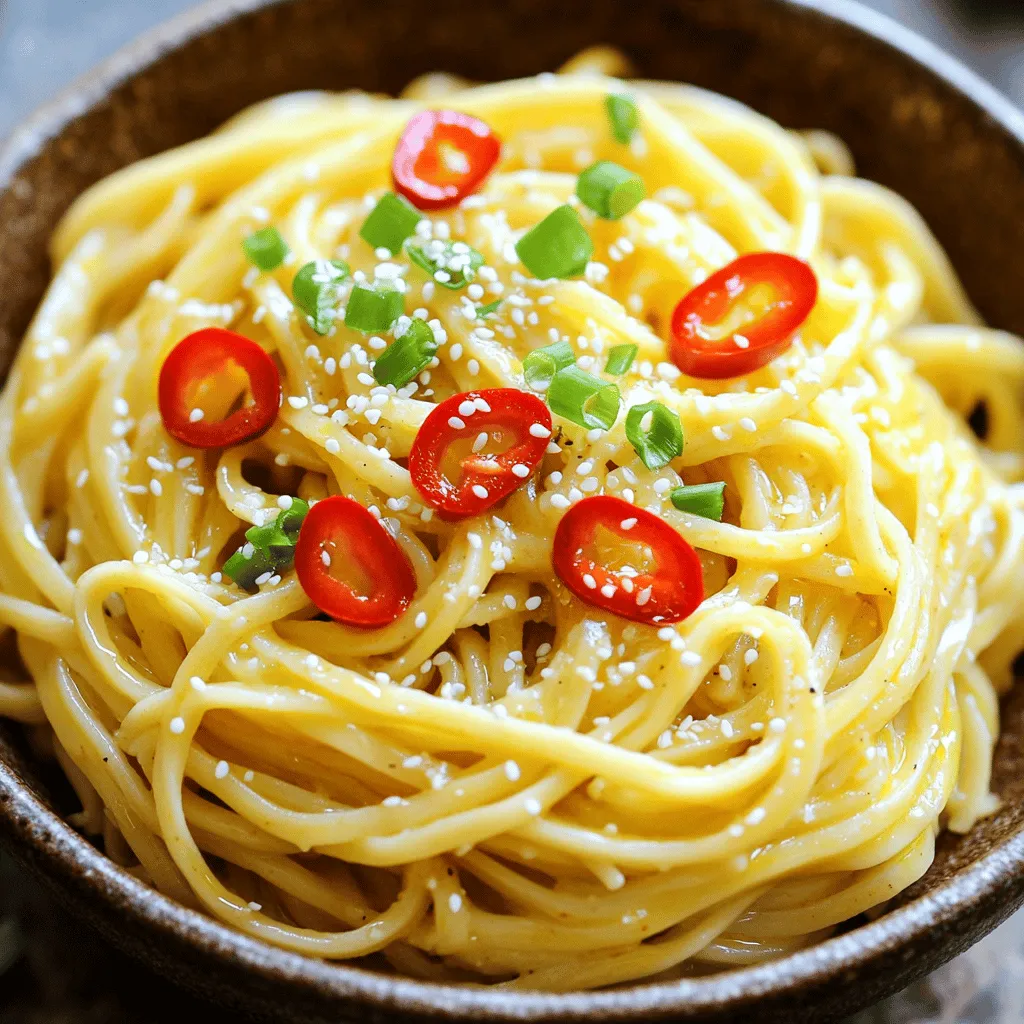
Are you ready to spice up your dinner routine? In just a few simple steps, you can make Spicy Garlic
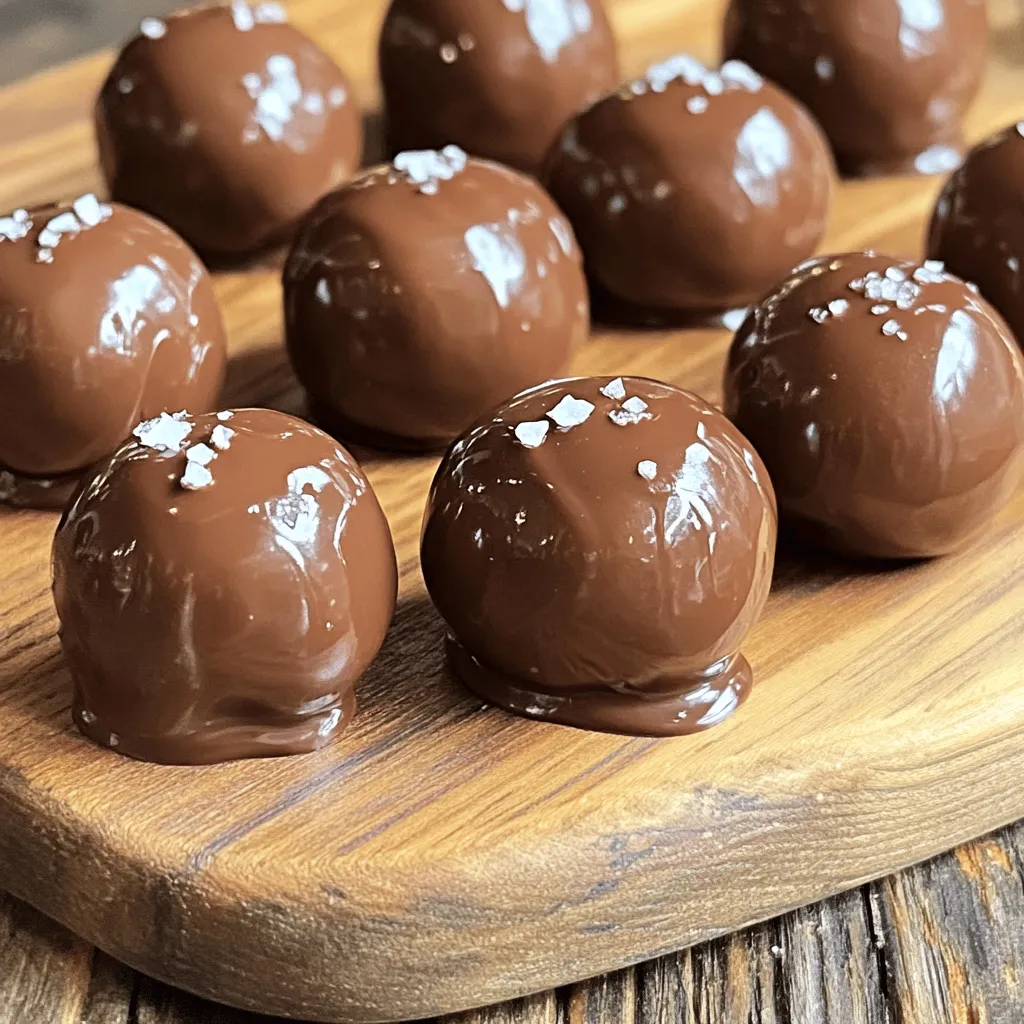
Are you on the hunt for a tasty and energizing snack? Look no further than these Chocolate Peanut Butter Protein
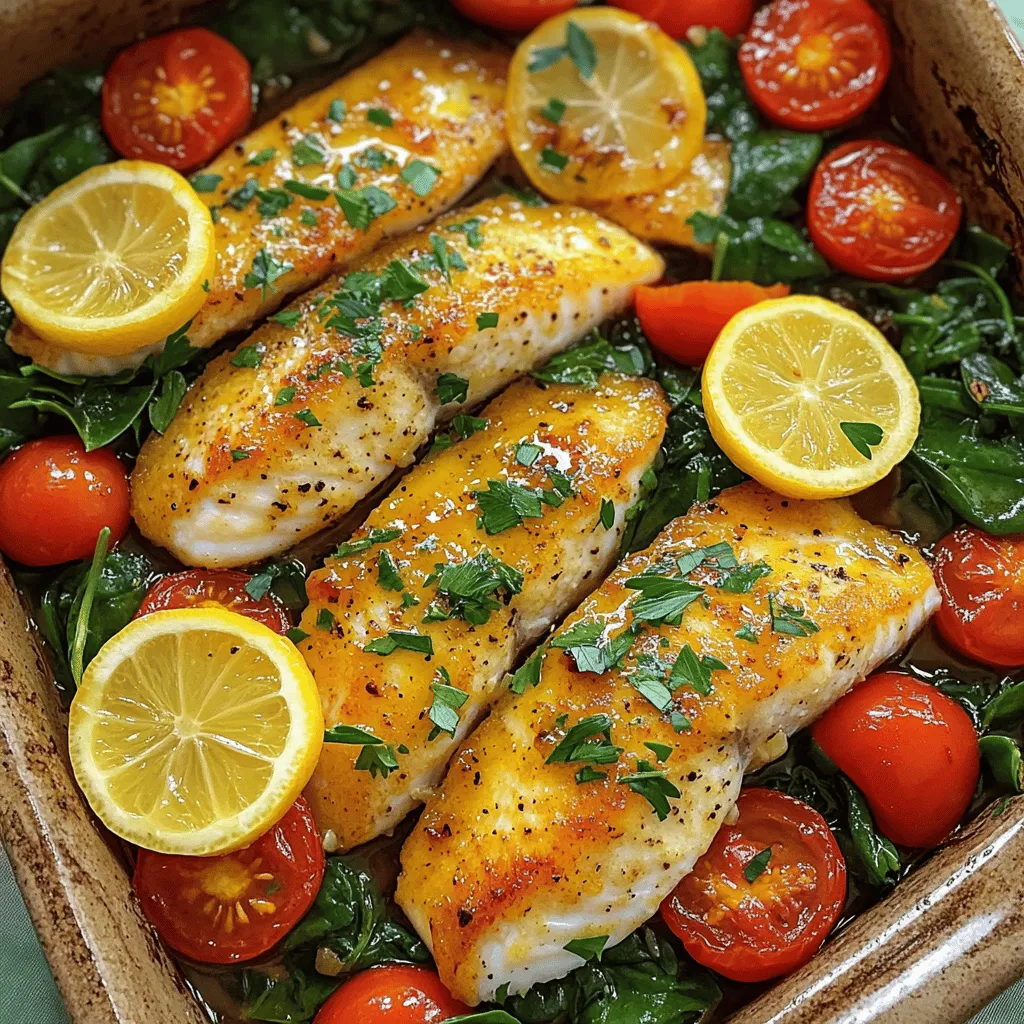
Looking for an easy, tasty dinner? You’re in the right place! My Lemon Garlic Tilapia One Pan recipe brings fresh
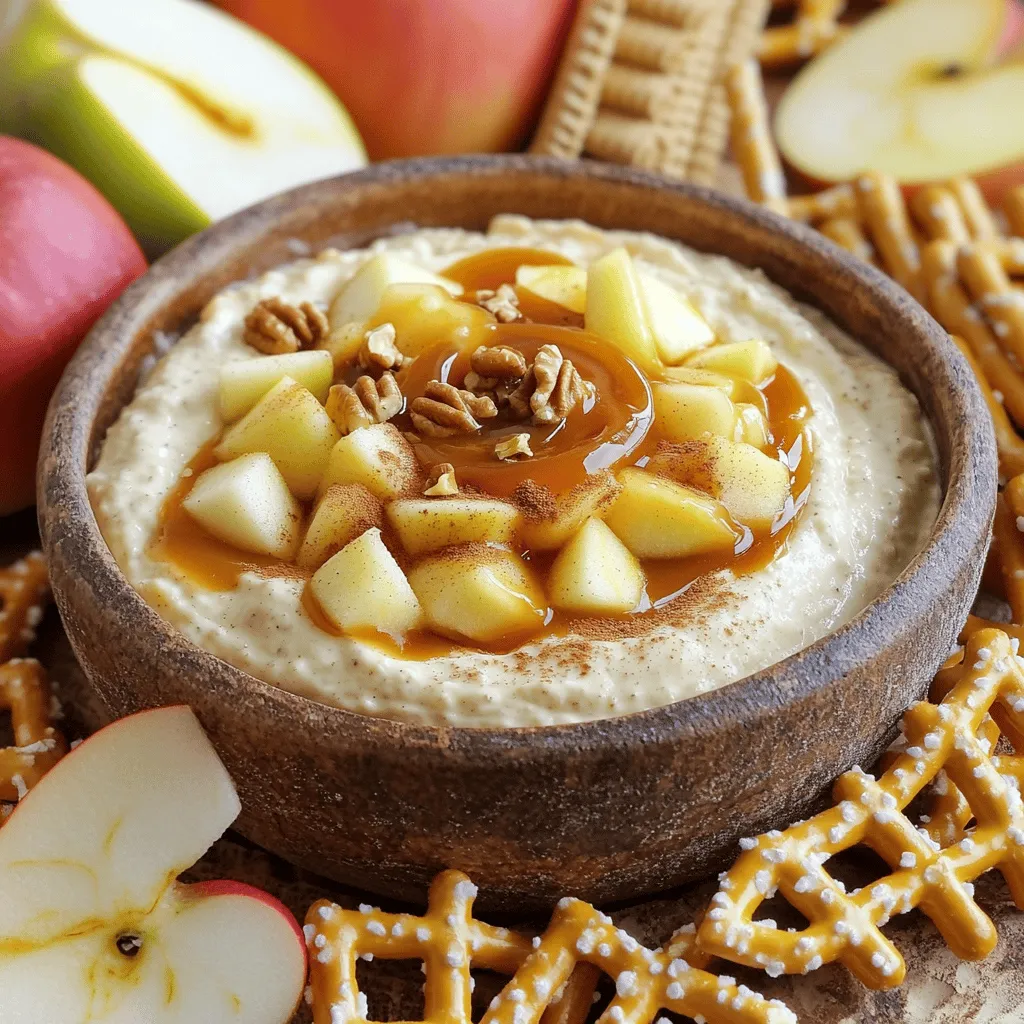
Looking for a fun and tasty treat? You’ll love this Caramel Apple Cheesecake Dip! It’s rich, creamy, and perfect for
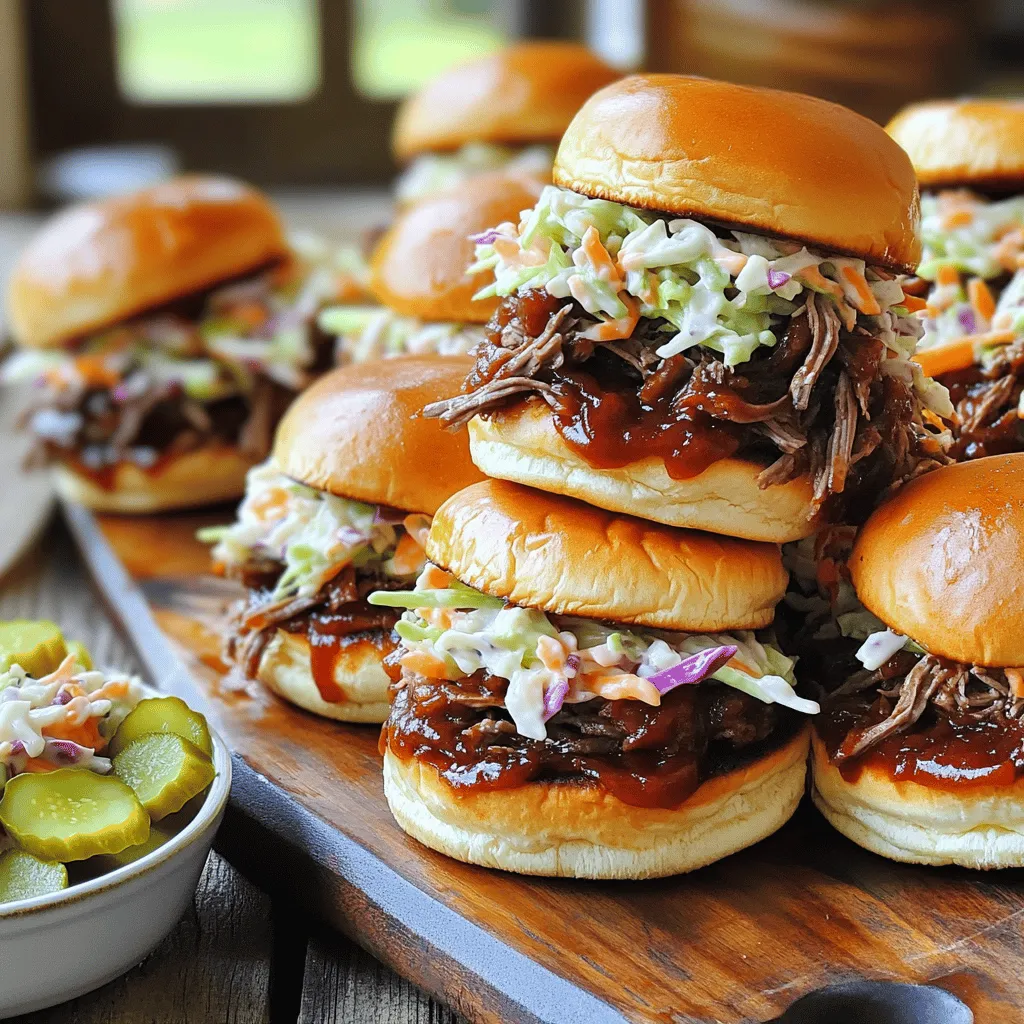
Are you ready to elevate your meal game with a simple yet mouthwatering dish? My BBQ Beef Sliders made in
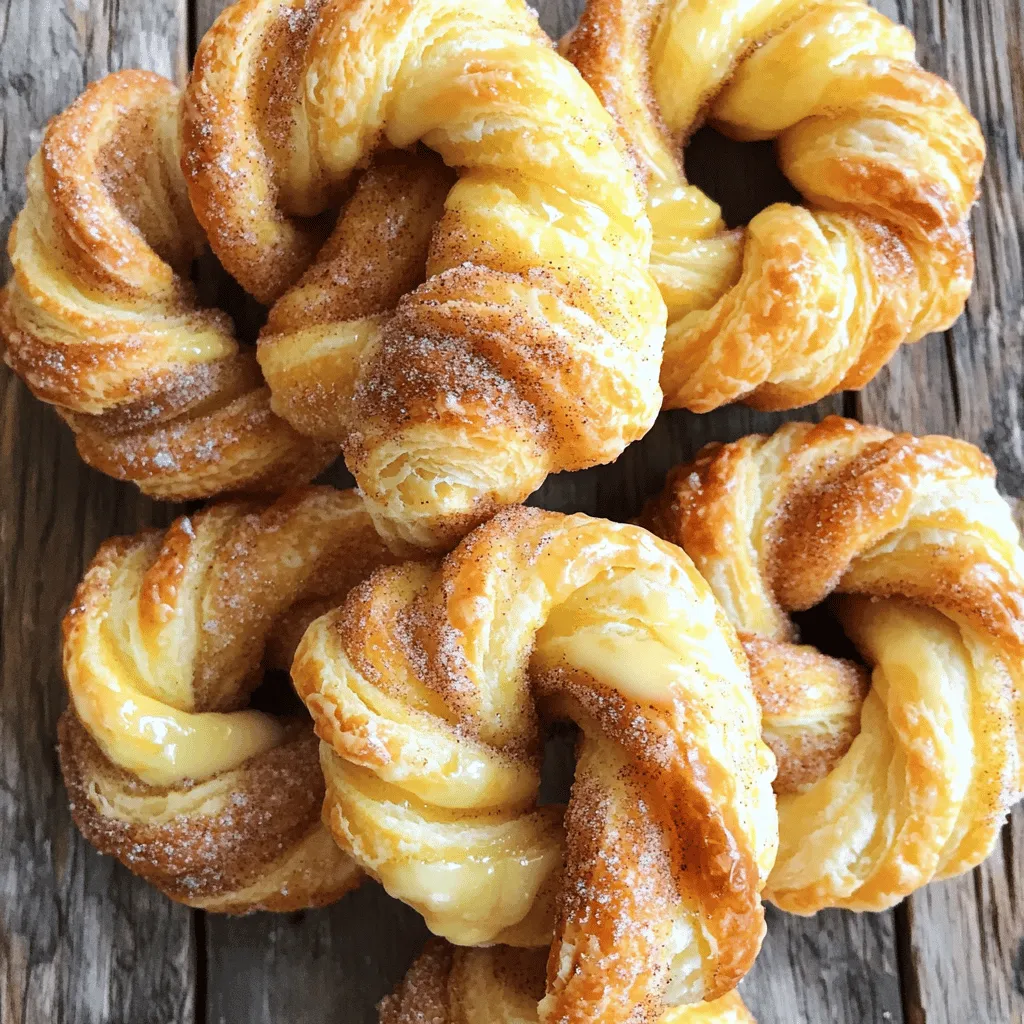
Looking for an easy and tasty snack? These Air Fryer Cinnamon Sugar Twists are perfect for you! Made with simple
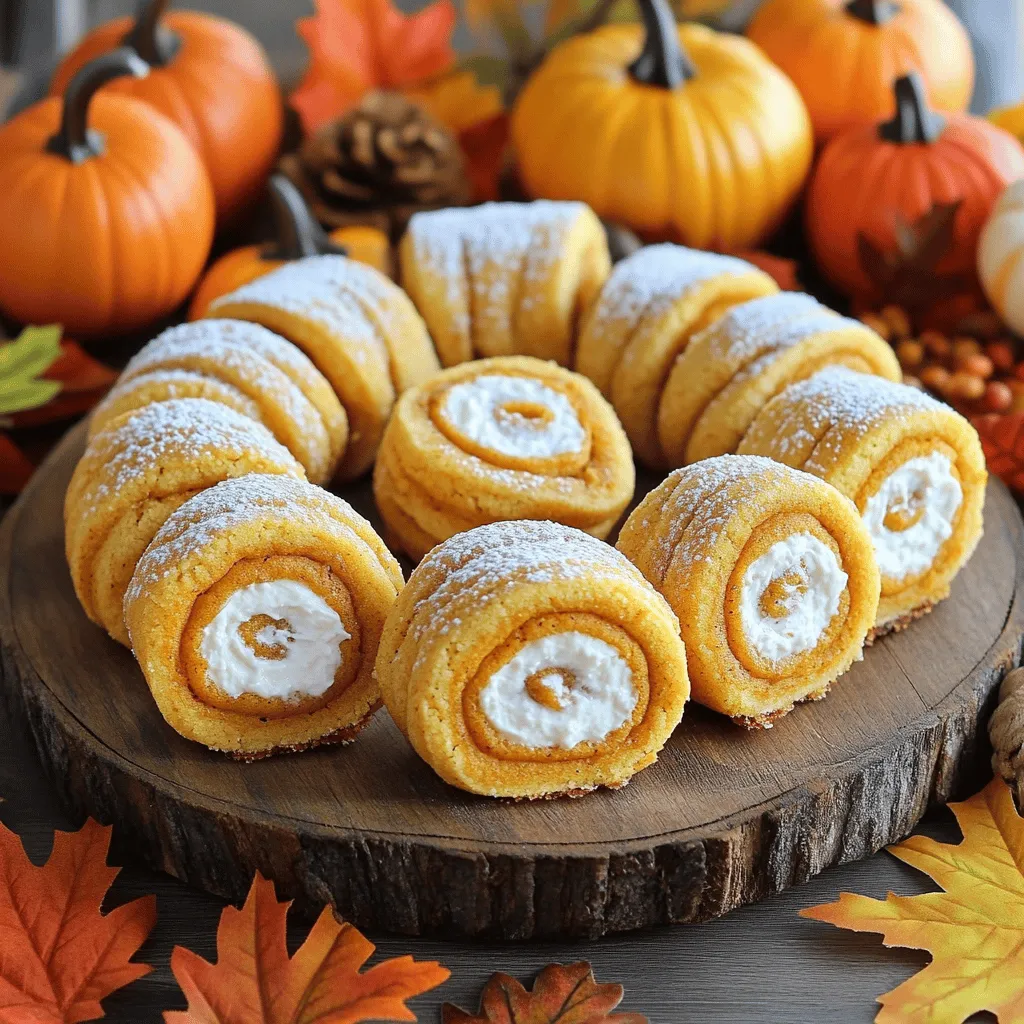
Imagine biting into a soft, sweet pumpkin roll cookie with creamy filling. These treats are not only delightful but also
