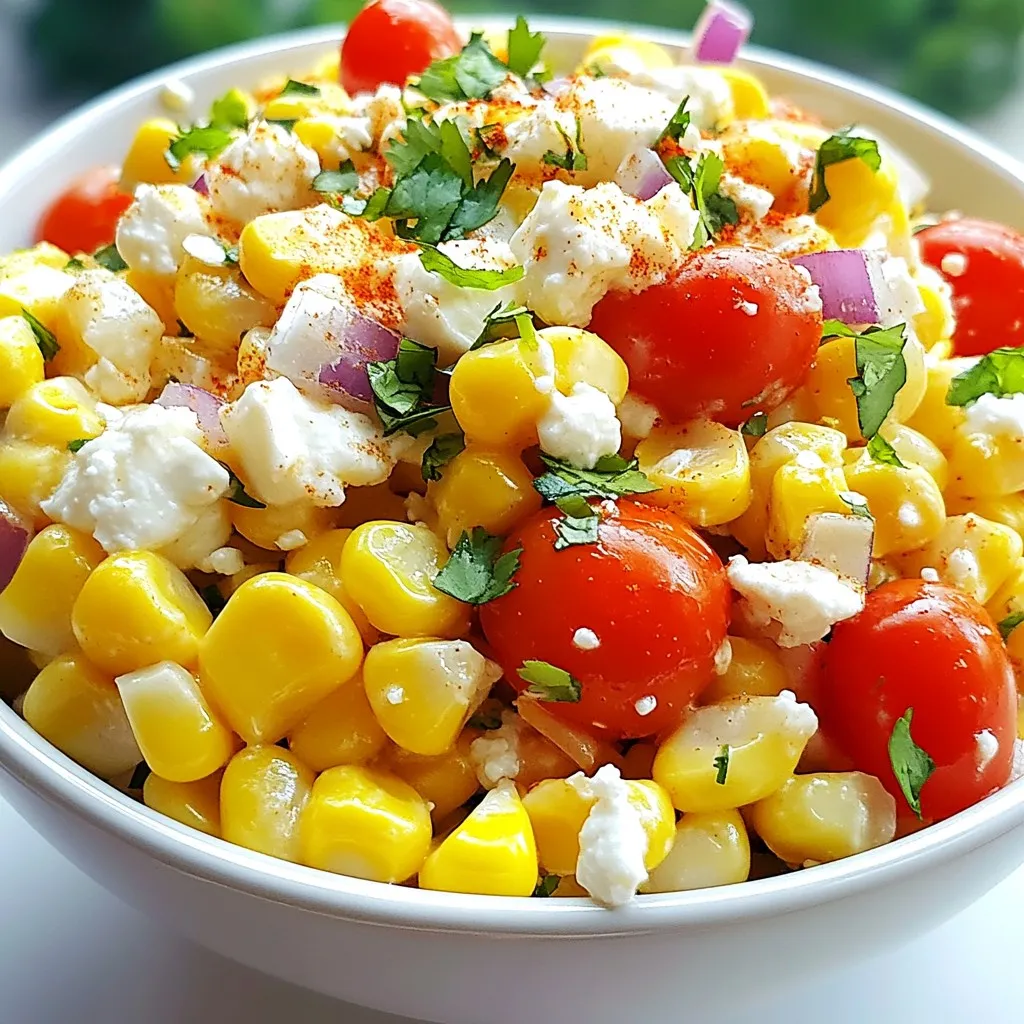
Mexican Street Corn Salad Flavorful and Fresh Dish
Are you ready to transform your next meal with a burst of flavor? Mexican Street Corn Salad is a vibrant
Are you ready to transform your next meal with a burst of flavor? Mexican Street Corn Salad is a vibrant
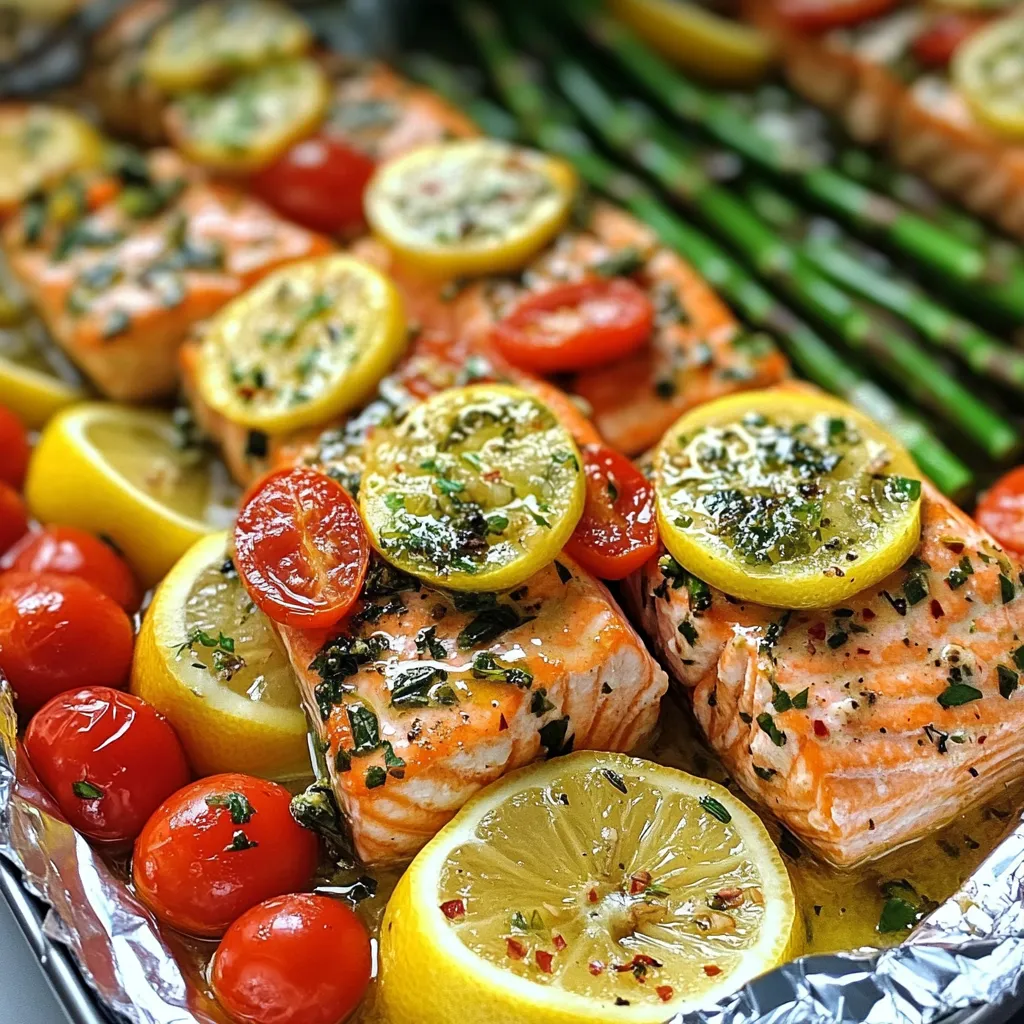
Are you ready to create a tasty meal with minimal cleanup? Herb Butter Salmon Foil Packets are the answer! This
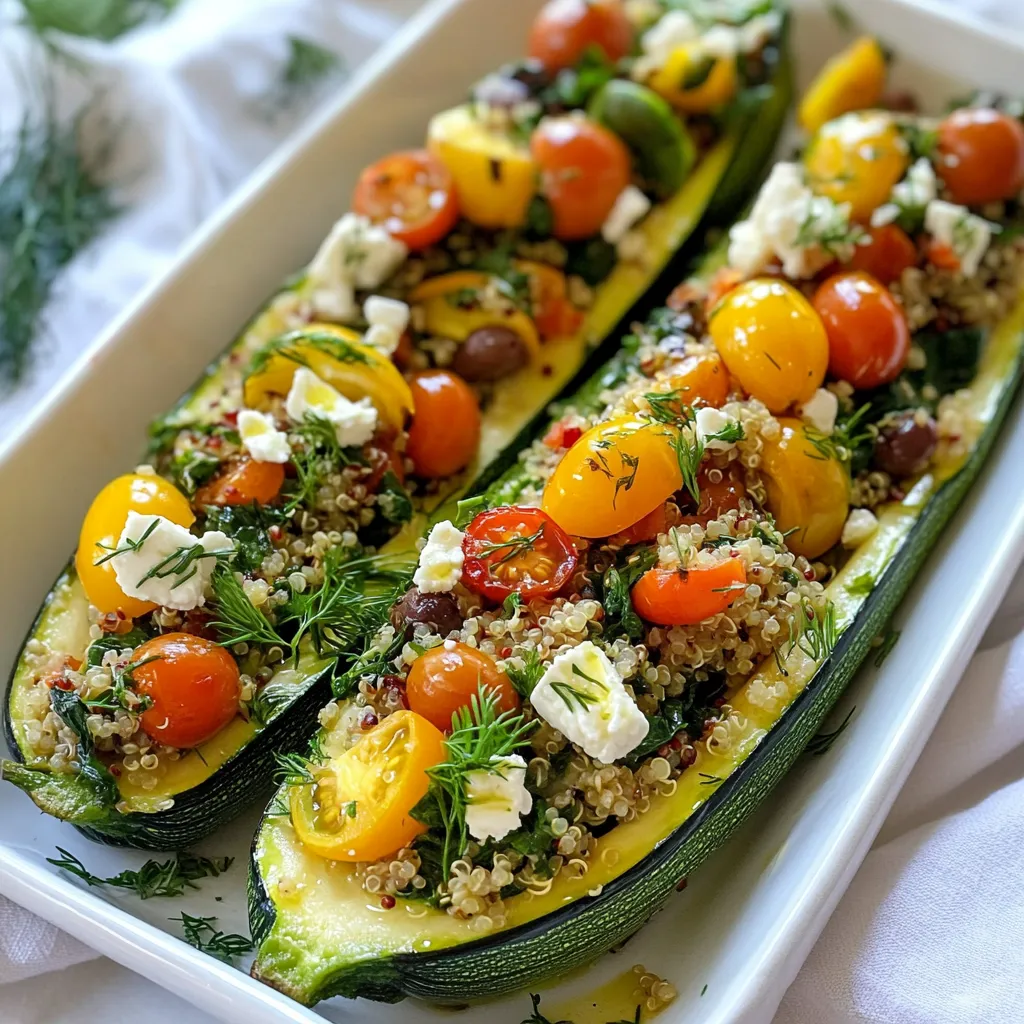
Looking for a delicious and healthy dish? Greek Stuffed Zucchini Boats are here! These tasty boats are packed with flavor
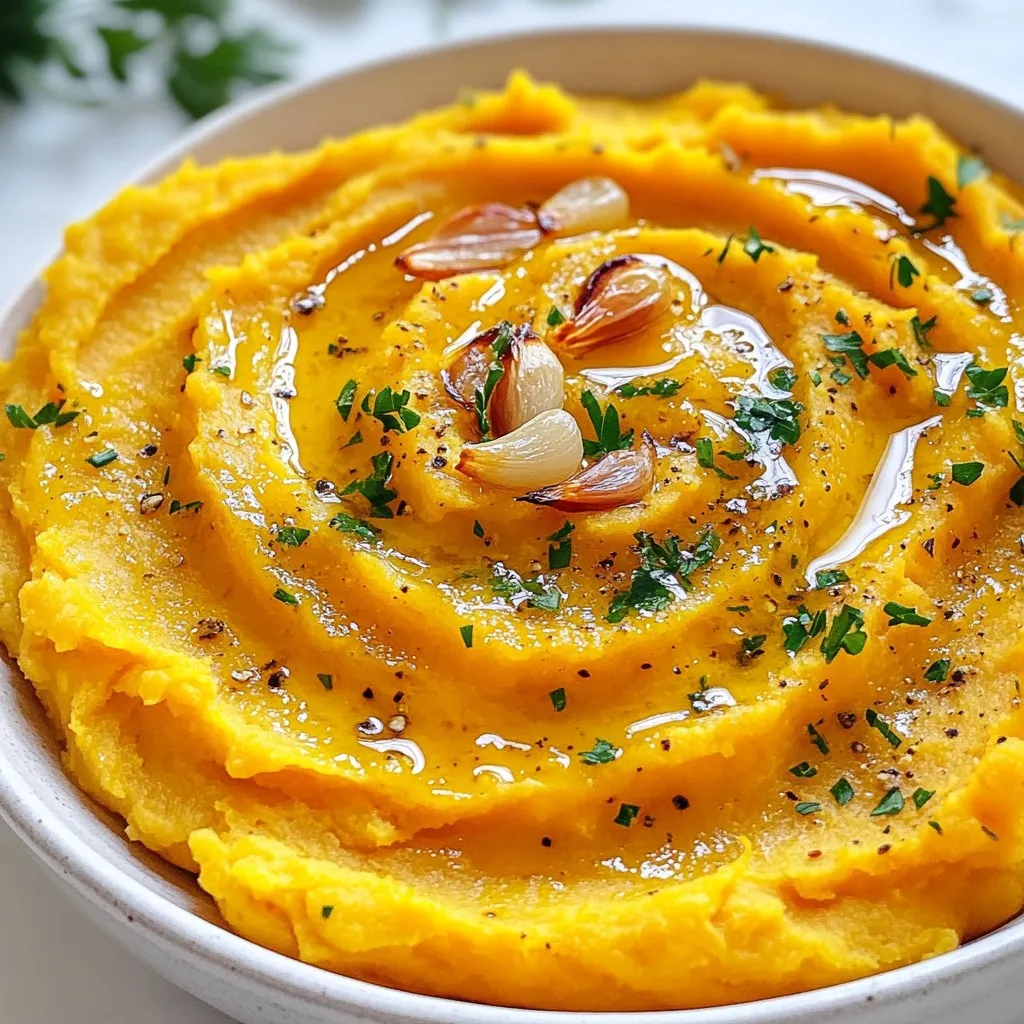
Welcome to a creamy delight that will make your taste buds dance! In this post, I’ll show you how to
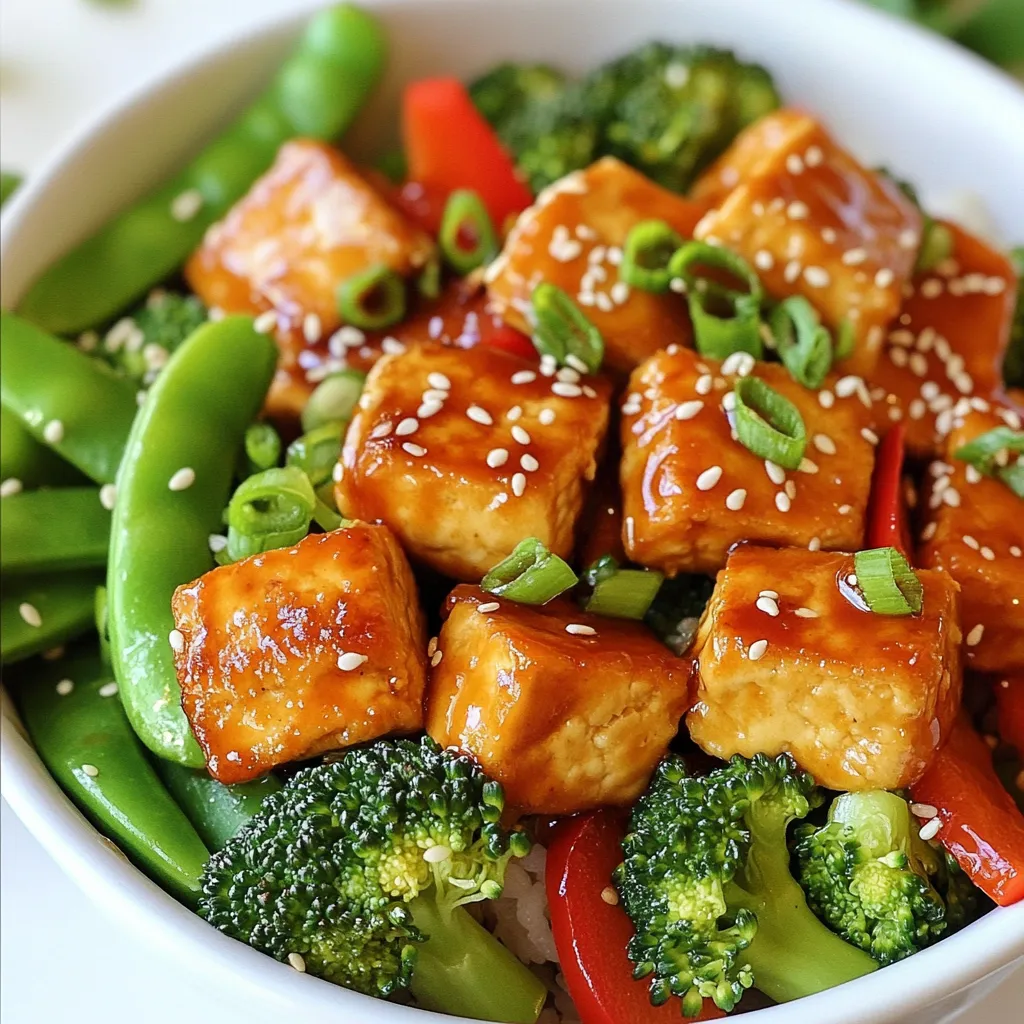
Are you ready to elevate your weeknight dinners? My Crispy Tofu Teriyaki Stir Fry is a game-changer! With its perfect
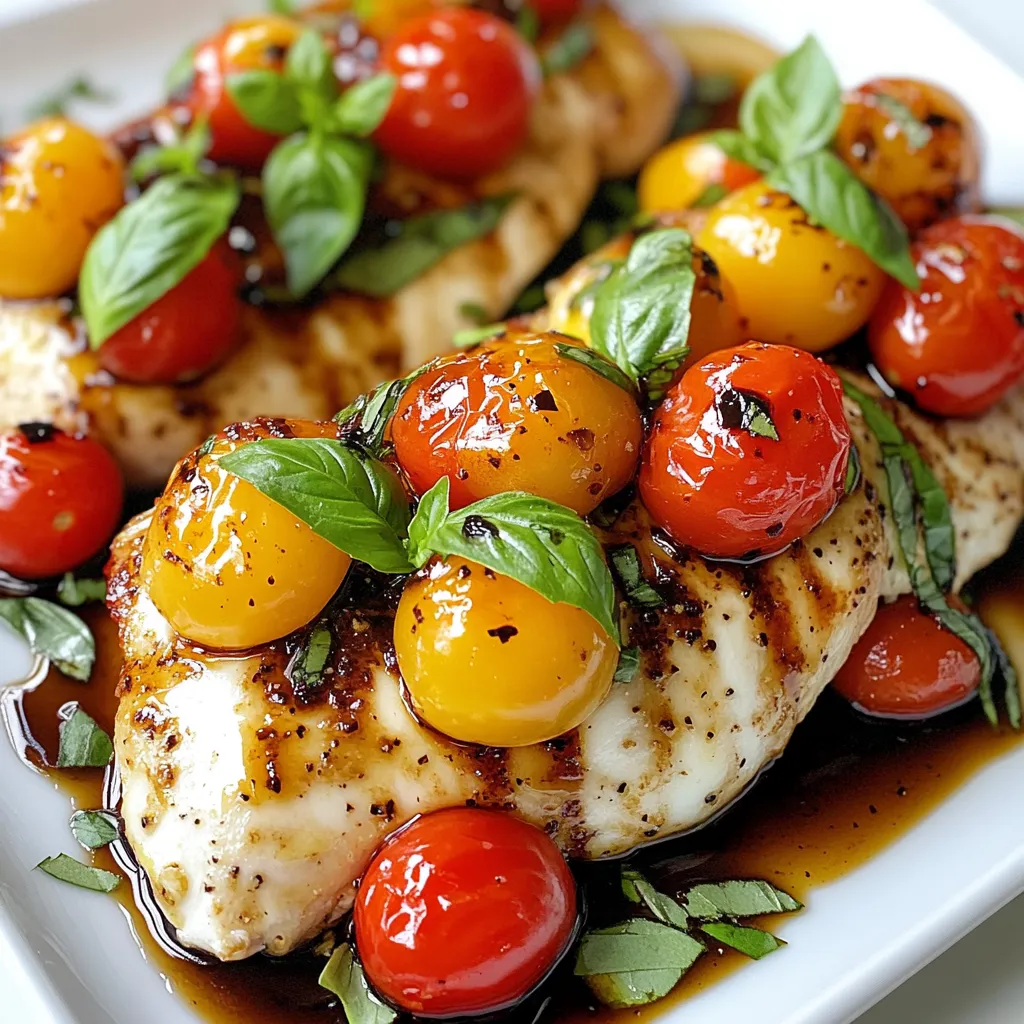
Are you ready to whip up a delicious meal that’s quick and easy? Minute Caprese Chicken combines juicy chicken, fresh
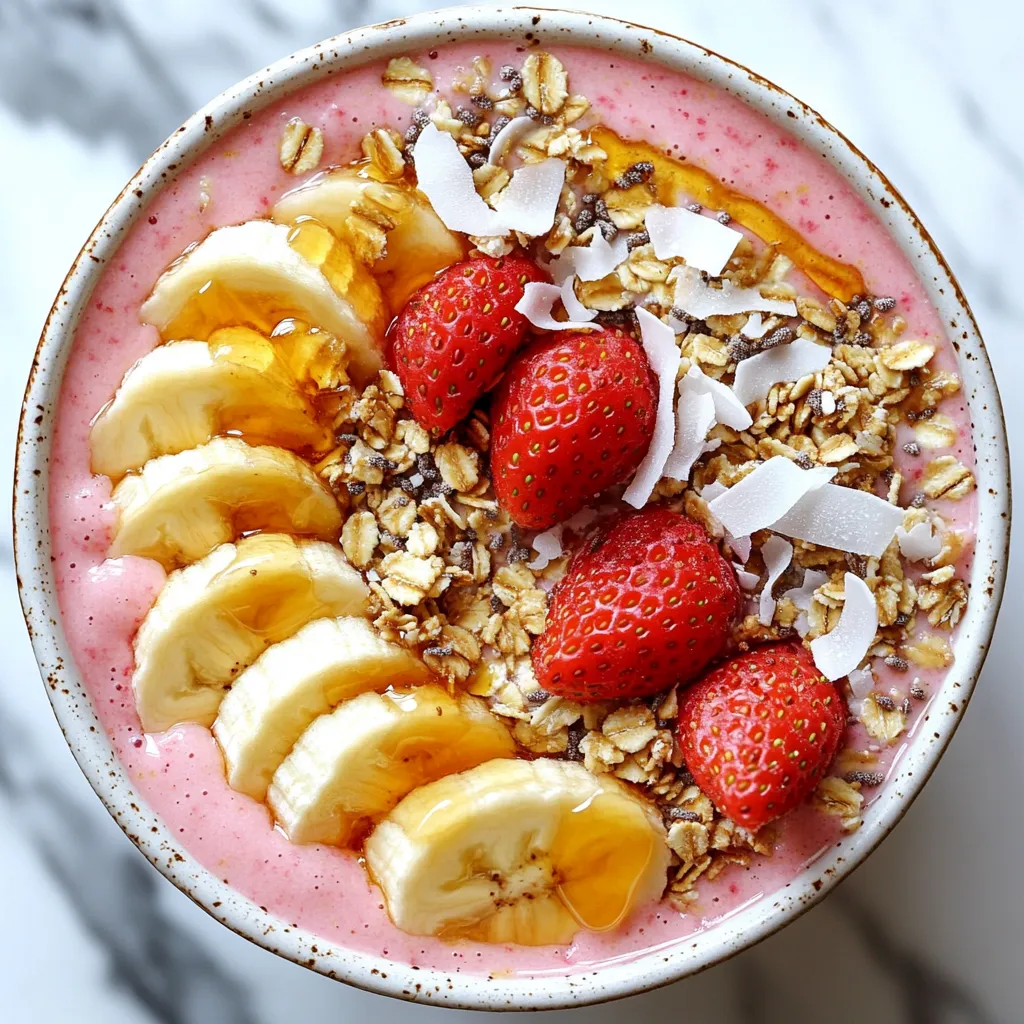
Are you ready to whip up a delicious Strawberry Banana Smoothie Bowl? This tasty treat is not only simple to
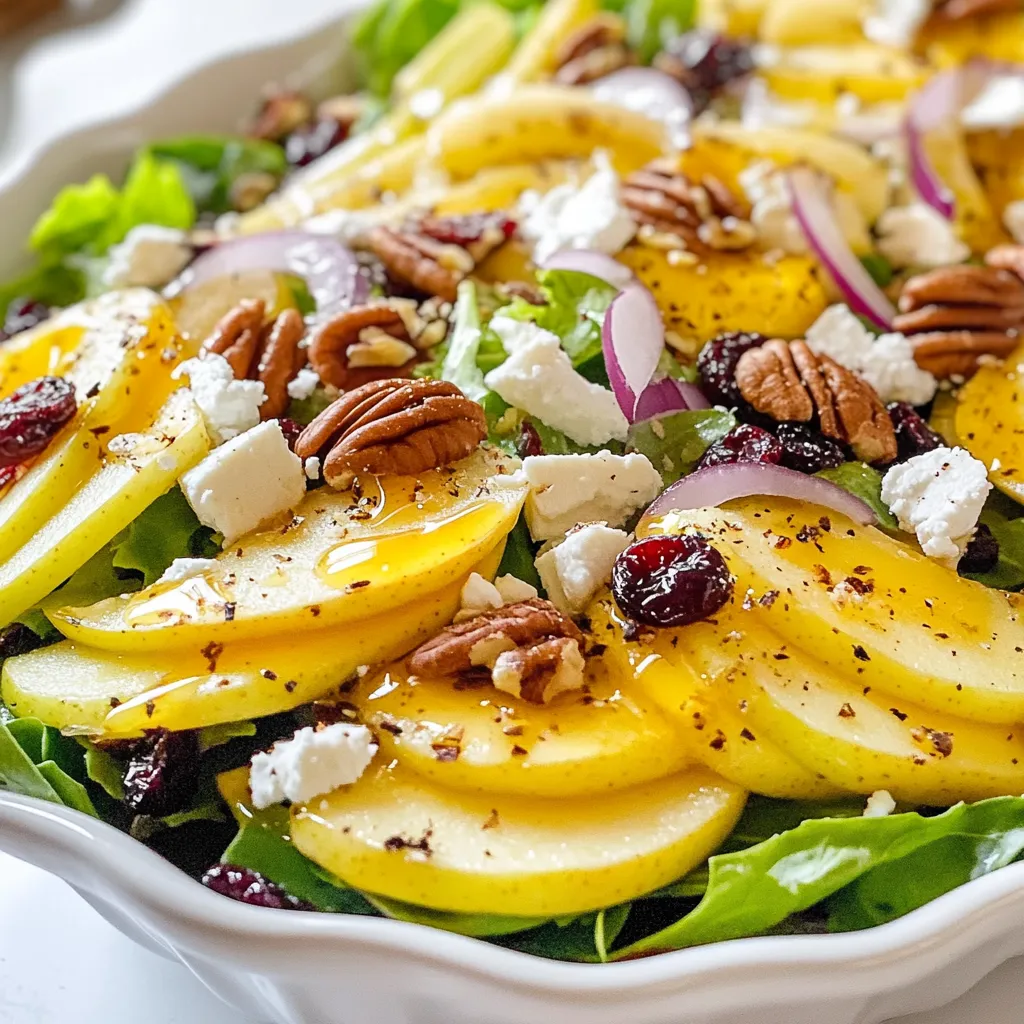
Craving a fresh and tasty salad that bursts with flavor? Look no further than my Apple Pecan Salad with Maple
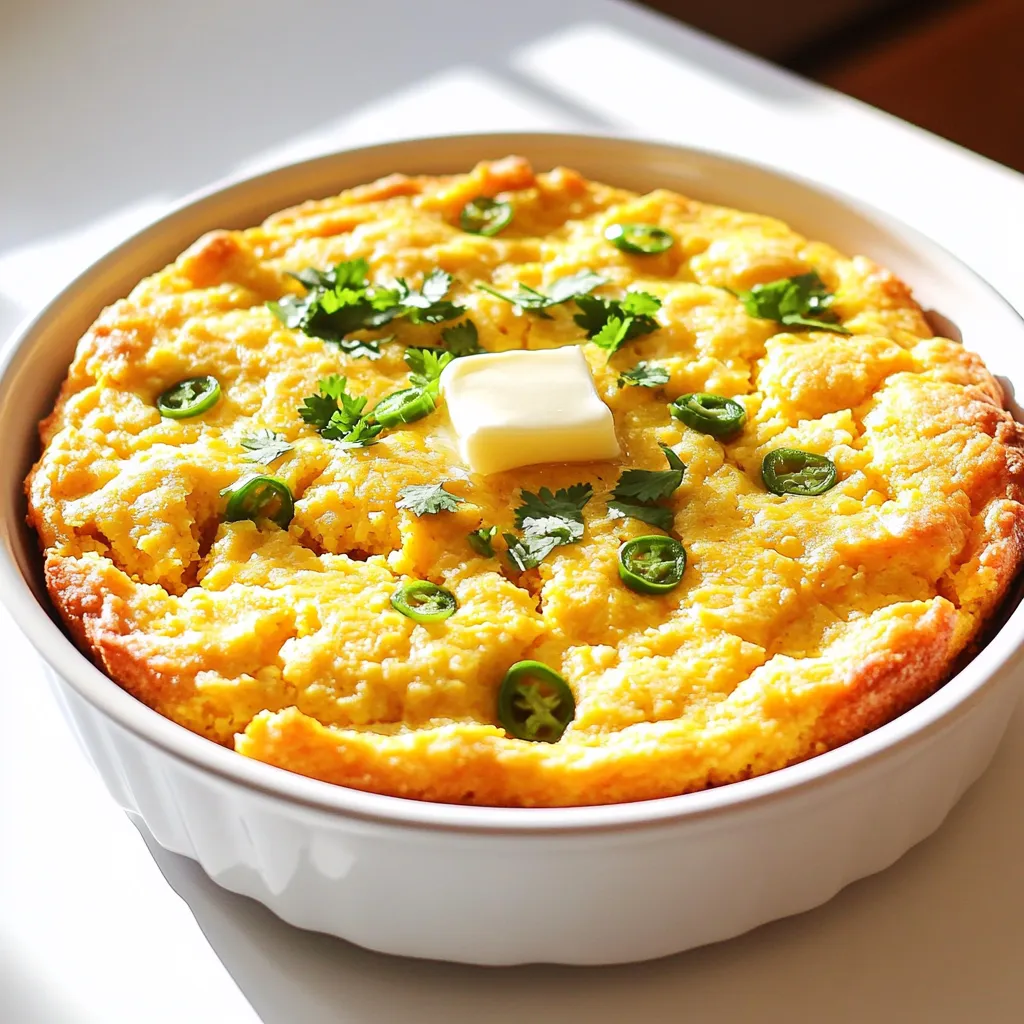
Are you ready to spice up your meal with something special? This Jalapeño Cheddar Cornbread recipe is not only tasty
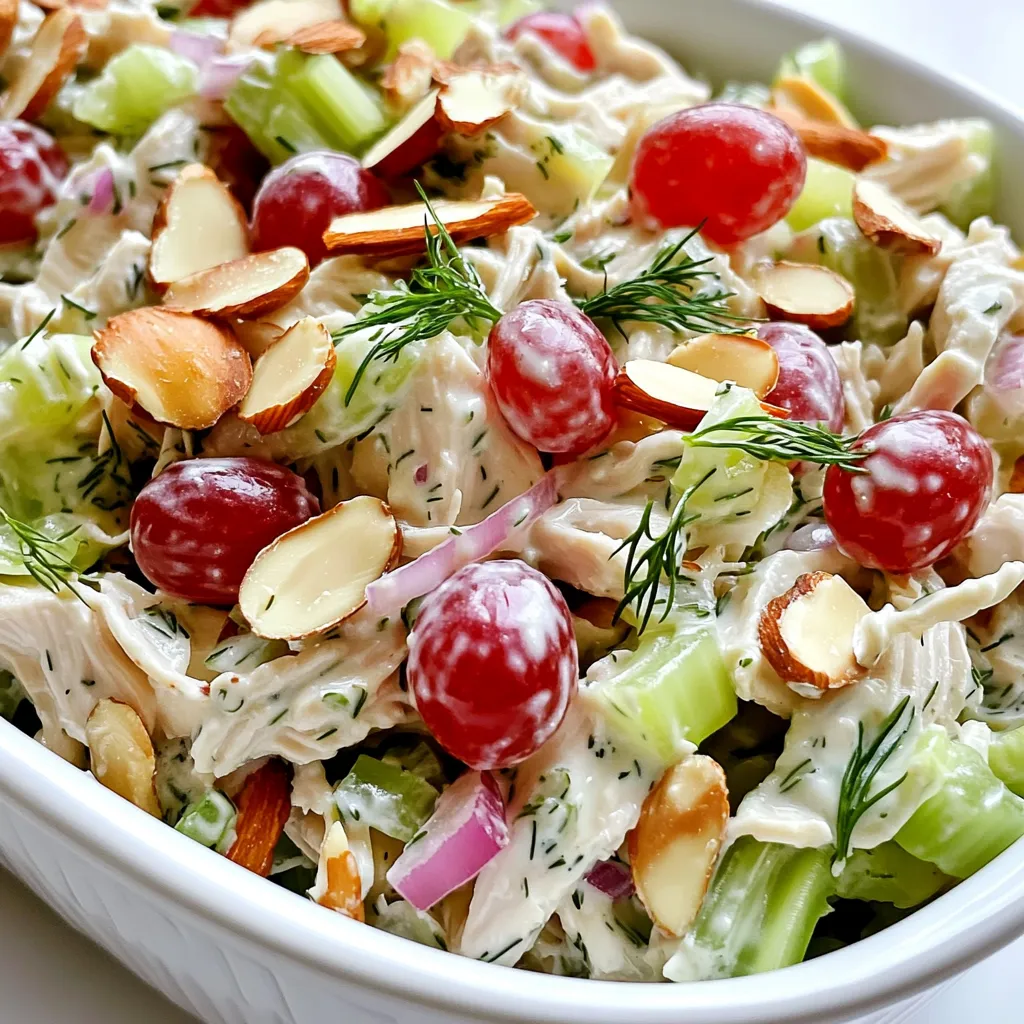
Looking for a light yet filling meal? Greek Yogurt Chicken Salad is the answer! This dish combines tender chicken, crunchy
