Are you ready to whip up a tasty treat? This Roasted Garlic Hummus recipe is both simple and scrumptious. You’ll learn how to combine just five key ingredients for a dip that’s perfect for any gathering. Plus, I’ll share tips on making it even better. Whether you enjoy it with veggies or pita bread, you won’t want to miss this flavorful twist on classic hummus!
Ingredients
Main Ingredients for Roasted Garlic Hummus
To make roasted garlic hummus, you need a few key ingredients:
– 1 can (15 oz) chickpeas, drained and rinsed
– 1 head of garlic
– 3 tablespoons tahini
– 2 tablespoons olive oil
– 2 tablespoons lemon juice
Chickpeas are the base. They provide protein and fiber. Roasted garlic adds a sweet, rich flavor. Tahini brings creaminess, while olive oil adds smoothness. Lemon juice gives a bright touch.
Optional Toppings
You can dress up your hummus with these toppings:
– Paprika
– Olive oil drizzle
– Chopped parsley
Paprika adds color and a subtle warmth. A drizzle of olive oil enhances flavor and richness. Chopped parsley gives a fresh flavor and brightens the dish.
Recommended Equipment
You will need a few tools to make this recipe:
– Food processor
– Aluminum foil
– Baking sheet
A food processor blends the hummus smoothly. Aluminum foil helps roast the garlic evenly. A baking sheet holds the garlic while it cooks.
Step-by-Step Instructions
Preparing the Garlic
1. Preheat the oven: Start by turning your oven to 400°F (200°C). This heat helps the garlic become sweet and soft.
2. Roast the garlic: Take a head of garlic and slice off the top. This exposes the cloves. Drizzle a bit of olive oil on top. Wrap the garlic tightly in aluminum foil. Place it on a baking sheet and roast for 30-35 minutes. The garlic is ready when the cloves feel soft and smell sweet.
Blending the Hummus
1. Combine ingredients in the food processor: After roasting, let the garlic cool a bit. Squeeze the soft cloves into a food processor. Add the drained chickpeas, tahini, olive oil, lemon juice, ground cumin, and a pinch of salt.
2. Adjust consistency with water: Blend the mixture until it is smooth. If it feels too thick, add water a tablespoon at a time. Keep blending until you reach your desired creaminess.
Final Touches
1. Seasoning adjustments: Taste your hummus. You can add more salt, lemon juice, or cumin if needed. Adjust the flavors to suit your taste.
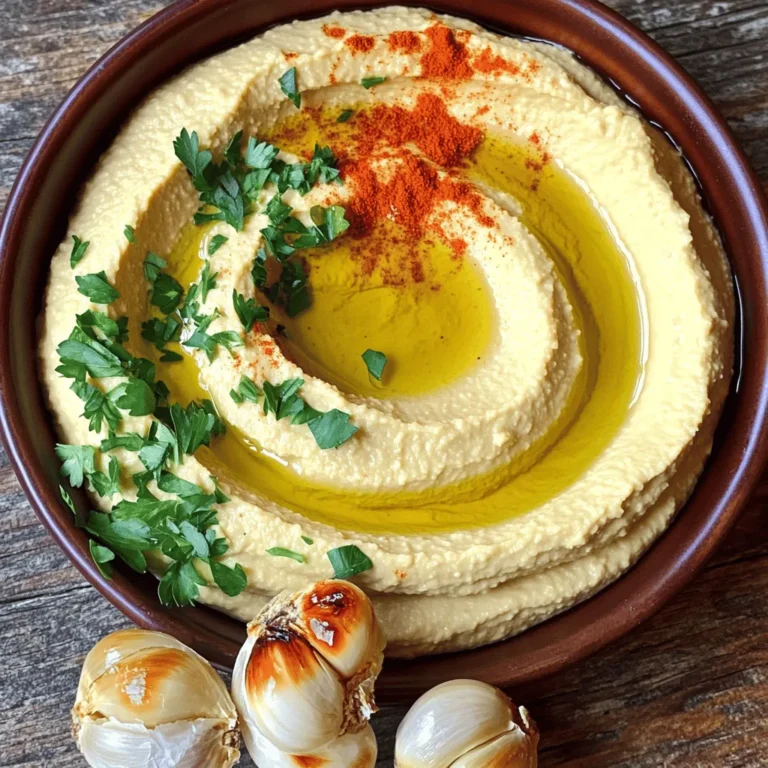
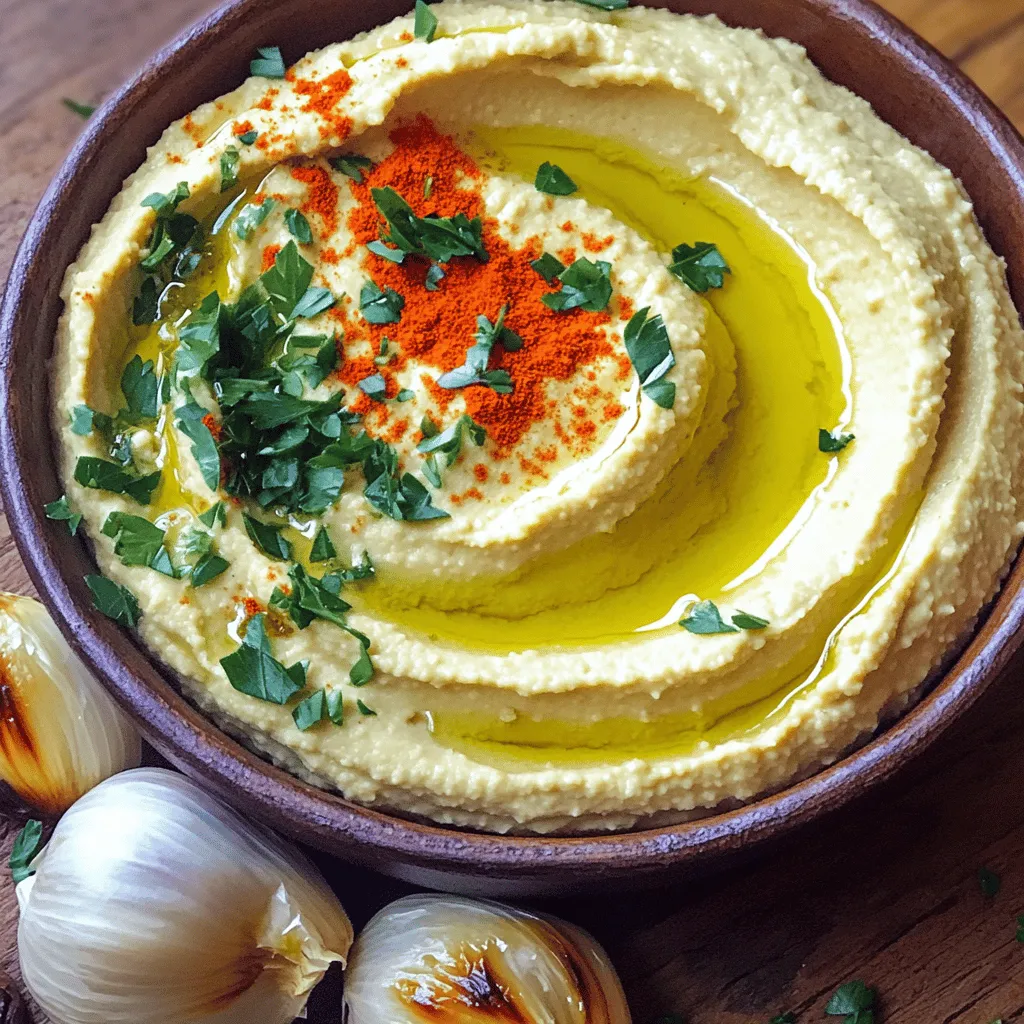
2. Garnishing the hummus: Transfer the hummus to a serving bowl. Use the back of a spoon to create a swirl on top. Drizzle olive oil over the surface. Sprinkle with paprika and chopped parsley for a pretty finish.
This simple method makes a tasty roasted garlic hummus that everyone will enjoy.
Tips & Tricks
Achieving the Perfect Consistency
To get the best texture for your hummus, add water slowly. Start with one tablespoon at a time. Blend the mixture after each addition. This helps you control the thickness. Too much water can make it runny. Aim for a smooth, creamy texture that holds its shape.
Flavor Enhancements
You can make your hummus even better by trying new spices. Cumin gives a warm taste, while smoked paprika adds depth. Try adding a pinch of cayenne for heat. You can also use flavored oils. For example, garlic-infused oil can boost the garlic flavor. Olive oil adds richness and smoothness.
Serving Suggestions
Hummus pairs well with fresh veggies. Carrots, cucumbers, and bell peppers make great dippers. You can also serve it with warm pita or crispy crackers. This adds a nice crunch. Try adding some olives or feta for extra flavor. Your guests will love these tasty options.
Variations
Roasted Vegetable Hummus
You can change up the flavor of your hummus with roasted veggies.
– Adding roasted red peppers: Roasted red peppers add a sweet and smoky taste. Just blend them into the hummus after you roast the garlic. They will make your hummus vibrant and colorful.
– Incorporating roasted beetroot: Roasted beetroot gives a lovely earthy flavor and a stunning color. Just chop them up and mix them in for a unique twist.
Herb-Infused Hummus
Fresh herbs can elevate your hummus to new heights.
– Using fresh herbs like cilantro or basil: Adding herbs gives your hummus a fresh, bright taste. Just toss in a handful before blending. Try cilantro for a zesty kick or basil for a sweet aroma.
– Spicy versions with jalapeños: If you like heat, add jalapeños for a spicy kick. Remove the seeds for less heat. Blend them in for a spicy hummus that packs flavor.
Nutty Hummus Options
Nuts can add richness and crunch to your hummus.
– Adding toasted nuts or seeds: Toasted pine nuts or sunflower seeds can add texture. Just pulse them in after blending your hummus. They enhance the flavor and add a nice crunch.
– Incorporating different nut butters: You can also try almond or cashew butter. Substitute some tahini with nut butter for a creamy, nutty taste. This variation adds depth and richness to your hummus.
Feel free to explore these variations to find your favorite flavor!
Storage Info
Refrigeration Guidelines
Store your roasted garlic hummus in airtight containers. This keeps it fresh longer. After making the hummus, let it cool first. Then, transfer it to a container. Seal it tight. The hummus stays good for about five days in the fridge. Always check for signs of spoilage before eating.
Freezing Hummus
You can freeze hummus for later use. Use freezer-safe containers. Leave some space at the top for expansion. When you want to use it, take it out of the freezer. Thaw it in the fridge overnight. Stir it well before serving. If it seems thick, add a little water and mix again.
Shelf Life
Hummus lasts about a week in the fridge. If you freeze it, it stays good for up to three months. Look for changes in color or smell. If it smells sour or looks different, throw it out. Always trust your senses when it comes to food safety.
FAQs
What is the easiest way to roast garlic?
Roasting garlic is simple and rewarding. Here’s how you do it:
1. Preheat your oven to 400°F (200°C).
2. Cut the top off the head of garlic. This exposes the cloves.
3. Drizzle a bit of olive oil on the cut side.
4. Wrap the garlic head in aluminum foil tightly.
5. Place it on a baking sheet.
6. Roast for 30-35 minutes until the cloves are soft.
7. Let it cool before squeezing out the soft garlic.
This method gives garlic a sweet and rich flavor. You can use it in your roasted garlic hummus for a tasty twist.
Can I make this recipe vegan?
Yes, you can easily make this recipe vegan. All the ingredients in this roasted garlic hummus are plant-based. Use chickpeas, roasted garlic, tahini, olive oil, lemon juice, and spices. Just ensure your tahini does not contain any non-vegan additives. It is a great choice for vegans and non-vegans alike.
What are the health benefits of garlic?
Garlic is packed with health benefits:
– It boosts the immune system.
– It has anti-inflammatory properties.
– Garlic may help lower blood pressure.
– It contains antioxidants that help fight disease.
Roasted garlic is milder and sweeter than raw garlic. It still offers great health benefits while adding flavor to your hummus.
How can I make this hummus creamier?
To achieve a creamier hummus, try these tips:
– Add more tahini for richness.
– Use cold water instead of warm water when blending.
– Blend for longer to incorporate air and create a smoother texture.
– You can also add a bit of olive oil while blending for added creaminess.
These simple steps will help you create a rich and smooth hummus that is hard to resist.
Roasted garlic hummus is easy to make with simple ingredients like chickpeas and tahini. Remember to roast the garlic for the best flavor. Blend the ingredients well, adjusting for the right thickness.
Don’t forget to try optional toppings like paprika for added taste. With these tips and tricks, feel free to create variations that suit your taste. Store your hummus properly for lasting freshness. Enjoy discovering new flavors while making this healthy snack!

