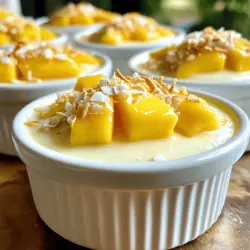
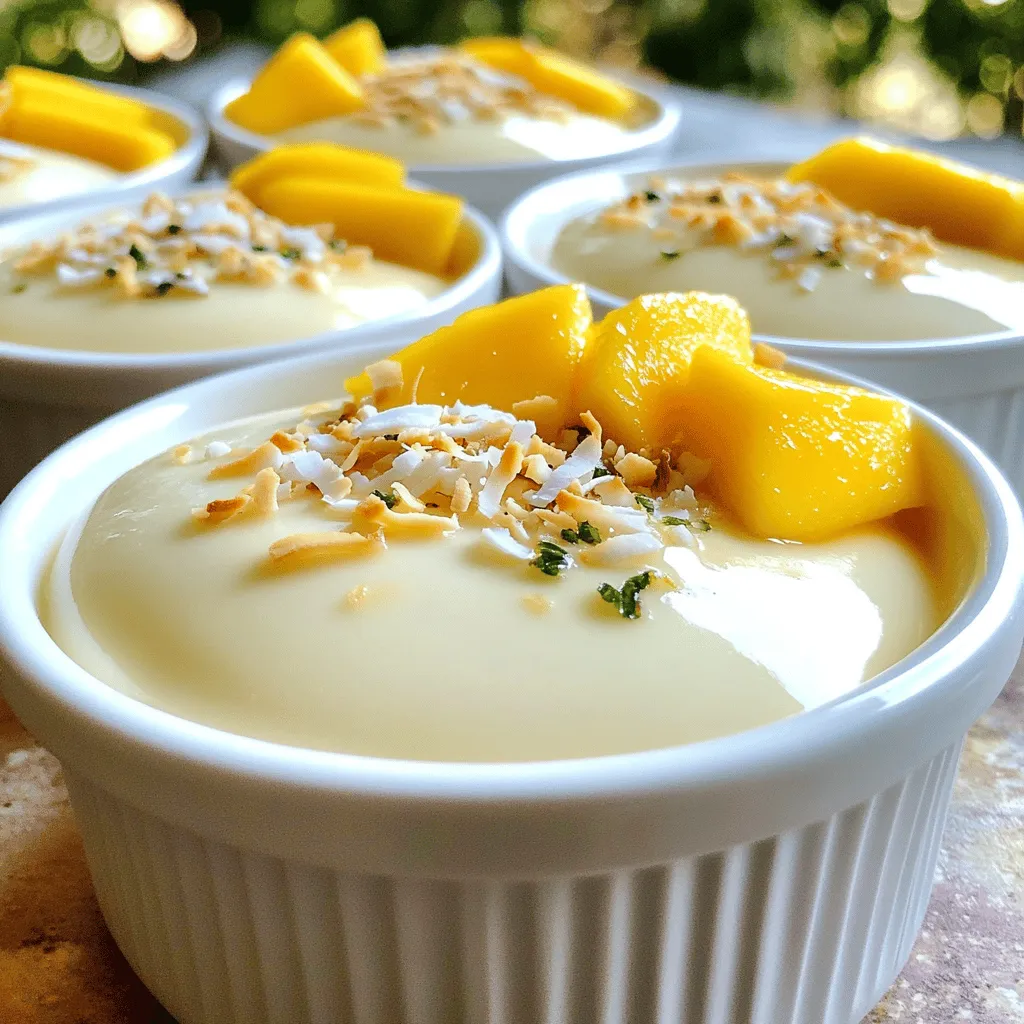
If you’re seeking a delightful dessert that’s both simple and creamy, look no further than Coconut Panna Cotta. This easy treat combines rich coconut flavor with a smooth texture, making it perfect for any occasion. In this post, I’ll share the ingredients, step-by-step instructions, and helpful tips to create this delicious dish. Whether you’re a newbie or a seasoned cook, you’ll find practical advice here to impress your guests. Let’s dive in!
Ingredients
List of Ingredients
To make Coconut Panna Cotta, gather these items:
– 1 can (400 ml) coconut milk
– 1 cup heavy cream
– 1/2 cup granulated sugar
– 1 teaspoon vanilla extract
– 2 tablespoons gelatin powder
– 1/4 cup cold water
– A pinch of salt
Optional Garnishes
You can make your panna cotta extra special with these garnishes:
– Fresh mango slices
– Toasted coconut flakes
Any Special Equipment Needed
You will need a few tools to make this dessert:
– A small bowl for blooming gelatin
– A saucepan for mixing
– Whisk for combining ingredients
– Individual serving cups or ramekins for serving
This recipe is simple and fun. Using fresh mango and toasted coconut adds a lovely touch. Enjoy the creamy texture with each bite!
Step-by-Step Instructions
Detailed Cooking Instructions
To make Coconut Panna Cotta, I start by blooming the gelatin. I sprinkle 2 tablespoons of gelatin powder over 1/4 cup of cold water and let it sit for about 5 minutes. This step helps the gelatin dissolve better later. Next, I grab a saucepan. I mix 1 can of coconut milk, 1 cup of heavy cream, 1/2 cup of sugar, 1 teaspoon of vanilla extract, and a pinch of salt. I heat the mixture over medium heat. I stir it until the sugar dissolves, but I make sure it doesn’t boil. After that, I take the saucepan off the heat. I add the bloomed gelatin and whisk it until it fully dissolves.
Now, I let the mixture cool a bit. Once it’s not too hot, I pour it into cups or ramekins. I like to use small cups for a lovely presentation.
Tips for Achieving the Right Texture
To get a smooth and creamy texture, it’s crucial not to let the mixture boil. Boiling can cause the panna cotta to become grainy. After adding the gelatin, whisk it well to ensure there are no lumps. Cooling the mixture slightly before pouring it helps too. If you pour it too hot, it can create bubbles.
Cooling and Setting Time
I cover the cups with plastic wrap and place them in the fridge. They need at least 4 hours to set. If you want the best results, I suggest letting them chill overnight. Once they are set, I run a knife around the edges to loosen them. I can either invert them onto a plate or serve them directly in the cups for a rustic look. Enjoy your creamy delight!
Tips & Tricks
Common Mistakes to Avoid
One common mistake is not blooming the gelatin properly. If you skip this step, your panna cotta may not set right. Always sprinkle gelatin over cold water and let it sit for five minutes. Another mistake is boiling the mixture. Heat it just until hot, not boiling. Boiling can ruin the creamy texture.
How to Get the Perfect Consistency
To achieve a silky texture, balance the coconut milk and cream. Using too much coconut milk can make it too thick. Aim for one can of coconut milk and one cup of cream. This blend creates a rich, creamy panna cotta. If you want a firmer set, add a little more gelatin.
Enhancing Flavor Profiles
You can enhance the flavor by adding fresh ingredients. Consider mixing in a bit of lime or ginger for a twist. Fresh mango slices also add a burst of flavor. Try using flavored extracts, like almond or coconut, to add depth. Don’t forget the garnish! Toasted coconut flakes give a nice crunch and visual appeal. For a fun touch, drizzle some coconut milk on top before serving.
Variations
Alternative Milk Options
You can change the flavor of your panna cotta by using different types of milk. Almond milk gives a nutty taste. Oat milk adds a creamy texture. Cashew milk is rich and smooth. These options keep the dish light and fun. Just remember, each milk will change the flavor a little.
Flavor Add-ins
You can make your coconut panna cotta even more exciting with fun flavor add-ins. Matcha powder gives a bright green color and a fresh taste. Coffee adds a rich, bold flavor. You can also use spices like cardamom for a warm kick. Mix in these flavors when you heat the coconut milk for best results.
Different Fruit Garnishes
Fruits can make your panna cotta shine! Fresh mango slices are sweet and colorful. You can also use berries like strawberries or blueberries for a tart touch. Kiwi adds a fun green color. Arrange the fruits on top or around the panna cotta for a pretty look. Each fruit choice will add a new taste and texture.
Storage Info
How to Store Leftovers
To store leftover Coconut Panna Cotta, cover each cup with plastic wrap. This keeps out air and moisture. You can also place them in an airtight container. Be careful not to disturb the panna cotta as you cover it. This helps keep its smooth shape and texture.
Shelf Life in the Refrigerator
Coconut Panna Cotta lasts about 3 to 4 days in the fridge. Make sure to check for any changes in smell or texture before eating. If it looks or smells off, it’s best to throw it away. Always trust your senses when it comes to food safety.
Freezing Guidance
I don’t recommend freezing Coconut Panna Cotta. The texture may change when thawed. If you must freeze it, do so in an airtight container. You can freeze it for up to 2 months. When ready to eat, thaw it in the fridge overnight. The texture may not be as creamy, but it can still taste good. For best results, enjoy it fresh from the fridge.
FAQs
Can I substitute the heavy cream?
Yes, you can use coconut cream instead of heavy cream. This change keeps the flavor rich and creamy. The panna cotta will still taste great, and it will be dairy-free.
How can I make Coconut Panna Cotta vegan?
To make this dessert vegan, replace heavy cream with coconut cream. Use agar-agar instead of gelatin. Agar-agar is a plant-based thickener. Follow the same steps in the recipe, and enjoy!
What is the best way to serve Coconut Panna Cotta?
I love serving Coconut Panna Cotta in individual cups. You can also use ramekins. For a fun touch, garnish with fresh mango slices and toasted coconut flakes. This makes the dish look lovely and tasty.
How long can Coconut Panna Cotta stay in the fridge?
Coconut Panna Cotta can stay in the fridge for up to five days. Store it in an airtight container to keep it fresh. For the best taste, enjoy it within three days.
In this article, we covered how to make Coconut Panna Cotta. We discussed the required ingredients, steps for cooking, and tips for success. We explored variations like different milk options and flavor add-ins. I also shared storage tips to keep your panna cotta fresh.
With these insights, you can make this dessert with ease. Enjoy experimenting in your kitchen and creating your unique version! Remember, practice helps improve your skills and flavors. Happy cooking!