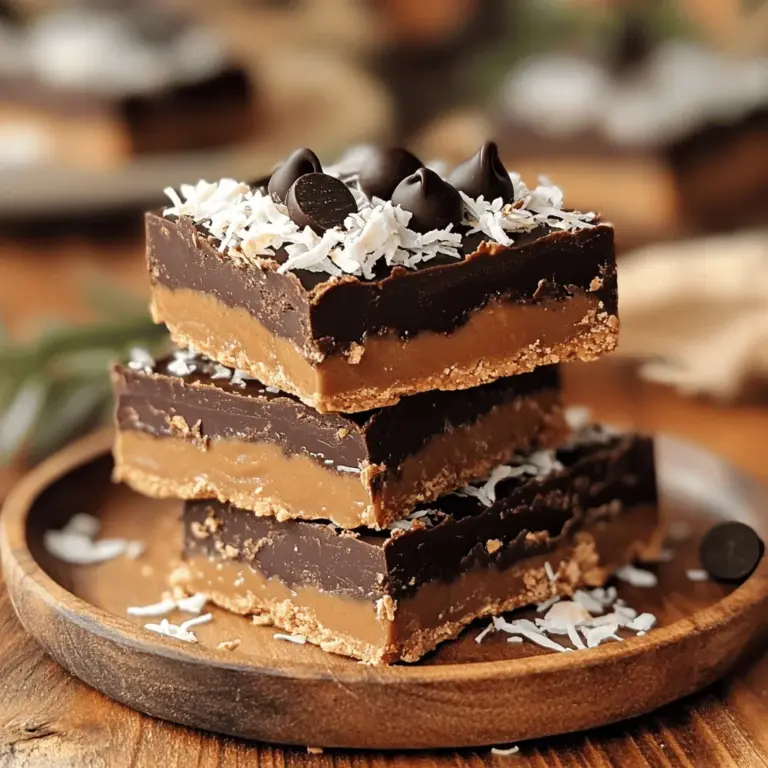
Are you ready for a quick and tasty treat? These No-Bake Chocolate Peanut Butter Bars are easy to make and perfect for snack time. They are rich, sweet, and packed with flavor. Plus, you don’t need an oven! In just a few simple steps, you’ll create a dessert everyone will love. Let’s gather our ingredients and dive into the world of this crunchy, chocolatey goodness. You won’t want to miss it!
Ingredients
List of Required Ingredients
– 1 cup rolled oats
– 1 cup natural peanut butter (smooth or crunchy)
– 1/2 cup honey or maple syrup
– 1/2 cup unsweetened cocoa powder
– 1/4 cup dark chocolate chips
– 1/4 cup shredded coconut (optional)
– 1/4 teaspoon sea salt
– 1 teaspoon vanilla extract
To make no-bake chocolate peanut butter bars, you need simple ingredients. Each item plays a key role in the taste and texture.
The rolled oats give the bars a hearty base. They add fiber, which is good for digestion. You can choose either smooth or crunchy peanut butter. Both taste great, but smooth gives a creamier texture, while crunchy adds a fun bite.
Using honey or maple syrup adds sweetness and binds the mixture. I prefer honey for its rich flavor, but maple syrup works well too. Unsweetened cocoa powder gives the bars a deep chocolate taste without extra sugar.
Dark chocolate chips add little bursts of flavor in every bite. You can skip them if you want a less sweet treat. If you like, shredded coconut gives a tropical twist. It’s optional, but it adds a nice chew.
Finally, a pinch of sea salt balances the sweetness. The vanilla extract adds depth and warmth to the overall flavor.
Nutritional Information
– Calories per serving: About 150
– Macronutrient breakdown:
– Fats: 9g
– Proteins: 4g
– Carbs: 15g
These bars are tasty and nutritious! Each serving packs a good amount of healthy fats and proteins. They make a great snack or dessert.
Optional Add-ins
You can customize these bars with extra ingredients. Here are some ideas:
– Chopped nuts for crunch
– Chia seeds for added fiber
– Dried fruits like raisins or cranberries for sweetness
Feel free to mix and match until you find your favorite combo!
Step-by-Step Instructions
Preparation Steps
First, gather your ingredients. You need rolled oats, cocoa powder, and sea salt. Mix these dry ingredients in a large bowl. It should look like a chocolatey blend.
Next, you need to heat the wet ingredients. In a separate bowl, combine natural peanut butter and honey. Microwave this for about 20-30 seconds. This makes it easier to mix. Stir in vanilla extract until it’s smooth.
Combining Ingredients
Now, it’s time to combine the dry and wet. Pour the peanut butter mix into the bowl with the dry ingredients. Stir well until the oats are fully coated. The mix should be thick and sticky.
After that, add the dark chocolate chips and coconut if you like. Gently fold these in until they are just combined.
Setting the Bars
Prepare your baking dish by lining it with parchment paper. Leave some paper hanging over the edges for easy removal.
Next, pour the mixture into the dish. Press it down firmly with your hands or a spatula. This makes an even layer.
Now, put it in the fridge for at least one hour. This helps the bars set properly. After they are firm, lift them out using the paper overhang. Cut them into squares or rectangles as you like.Enjoy!
Tips & Tricks
Common Mistakes to Avoid
– Overheating peanut butter: Heat the peanut butter just enough. If it gets too hot, it may lose its flavor and texture. Aim for a warm, but not bubbling, mixture.
– Not mixing well enough: Mix the dry and wet ingredients thoroughly. This ensures every bite is rich and flavorful. If you skip this step, some bars might taste dry.
Consistency Adjustments
– How to adjust for thicker or thinner bars: If you want thicker bars, add more oats. For thinner bars, reduce the oats. You can also adjust the peanut butter or honey amount. Just remember, these changes affect the taste and feel of the bars.
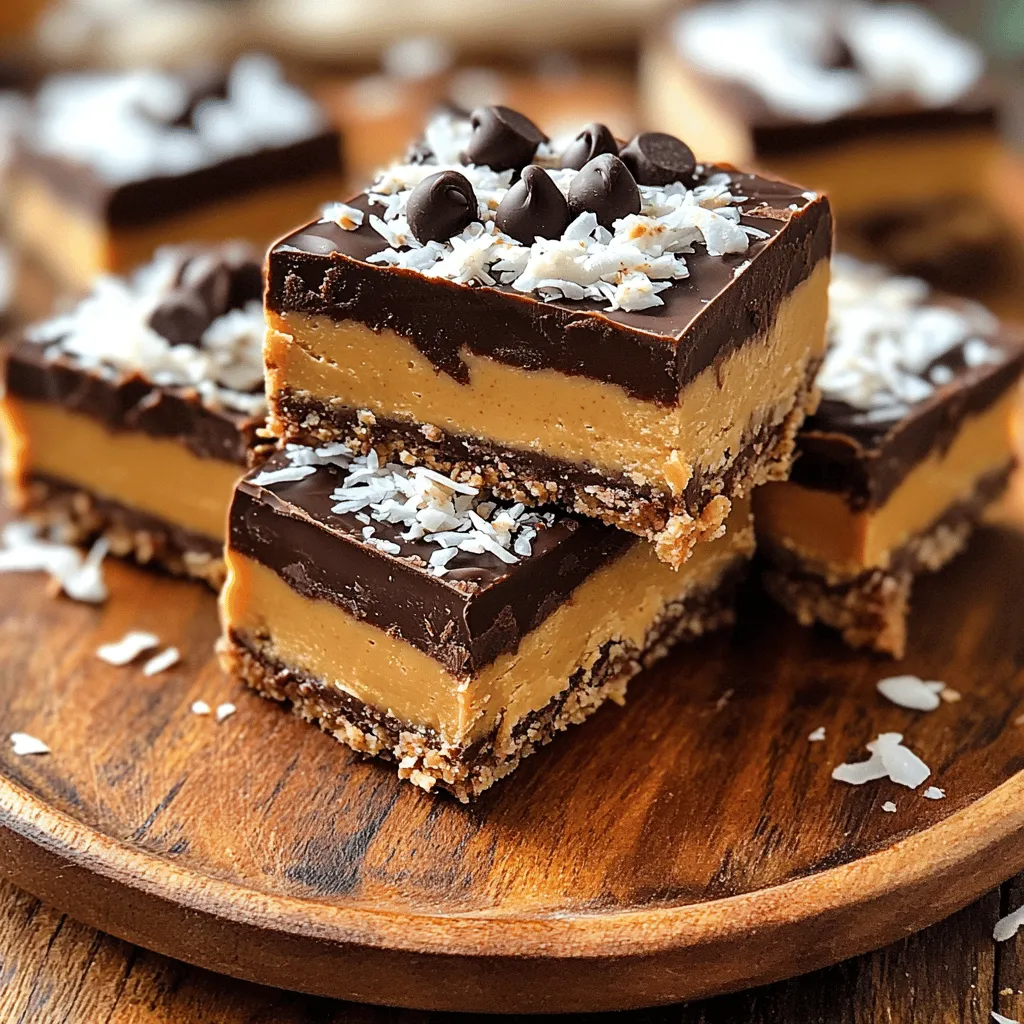
Presentation Tips
– Ideas for serving and garnishing: Stack the bars neatly on a plate. Sprinkle extra shredded coconut or chocolate chips on top. This adds a nice touch. For a special treat, drizzle melted chocolate over the bars before serving. This makes them look even more inviting.
Try these tips to make your no-bake chocolate peanut butter bars shine.
Variations
Flavor Variations
You can easily change the flavor of your bars. Try using almond or cashew butter instead of peanut butter. Each nut butter adds a unique taste. For sweetness, swap honey for agave syrup or maple syrup. These choices can alter the flavor profile nicely.
Dietary Adjustments
Want to make it vegan? Use maple syrup and nut butter that’s vegan. You can also use gluten-free oats to make it gluten-free. This way, more people can enjoy the bars without worry.
Seasonal Variations
Get creative with the seasons! In fall, add pumpkin spice to the mix. This gives your bars a warm, cozy flavor. In summer, try adding fresh berries or nuts for a refreshing twist. Adapting your bars keeps them exciting all year round.
Storage Info
Best Storage Practices
Store your no-bake chocolate peanut butter bars in an airtight container. This keeps them fresh and prevents drying out. You can refrigerate them for a cool treat. If you want to keep them longer, freezing is a great option too. Just make sure to wrap them well to avoid freezer burn.
Shelf Life
At room temperature, these bars last about 3 to 5 days. If you store them in the fridge, they can stay fresh for up to 2 weeks. Freezing extends their life to about 2 to 3 months. When you want to eat them, just take out what you need.
Reheating Suggestions
If your bars are cold from the fridge, they may be hard. To soften them, let them sit at room temperature for about 10 minutes. You can also warm them slightly in the microwave for 10 to 15 seconds. This makes them easier to bite into without losing their shape.
FAQs
How long do No-Bake Chocolate Peanut Butter Bars last?
No-bake chocolate peanut butter bars can last up to one week in the fridge. Store them in an airtight container to keep them fresh. If you freeze them, they can last about three months. Just let them thaw in the fridge before you eat them.
Can I substitute almond butter for peanut butter?
Yes, you can use almond butter instead of peanut butter. Almond butter will change the flavor a bit, but it still tastes great. Just make sure to choose a smooth or crunchy almond butter, just like with peanut butter.
What can I use instead of honey for a vegan option?
For a vegan option, use maple syrup instead of honey. Maple syrup gives a nice sweetness and works well in this recipe. It mixes easily with the other ingredients and keeps the bars moist.
Can I add protein powder to the recipe?
Absolutely! Adding protein powder is a great way to boost nutrition. Just mix in a scoop when combining the dry ingredients. This will enhance the bars’ protein content without changing the taste too much.
Is it necessary to refrigerate the bars?
Yes, refrigerating the bars is important. It helps them set and keeps them firm. If you skip refrigeration, the bars may be too soft and hard to cut.
We covered the key ingredients for no-bake chocolate peanut butter bars. You learned how to mix and set your bars, along with tips to avoid common mistakes. Explore flavor variations and how to store them properly.
These bars are simple and fun to make. Experiment with ingredients for unique tastes. Enjoy your delicious creations and share them with others!

